

<!doctype html>
My Crochet Universe · Bunny Booties Series
Crochet Bunny Baby Booties Pattern: 14 Easy Steps for Beginners
Turn the complete five-page pattern into one clear online walkthrough, preserving its materials, measurements, stitch counts, construction checks, safety notes, and finishing guidance.
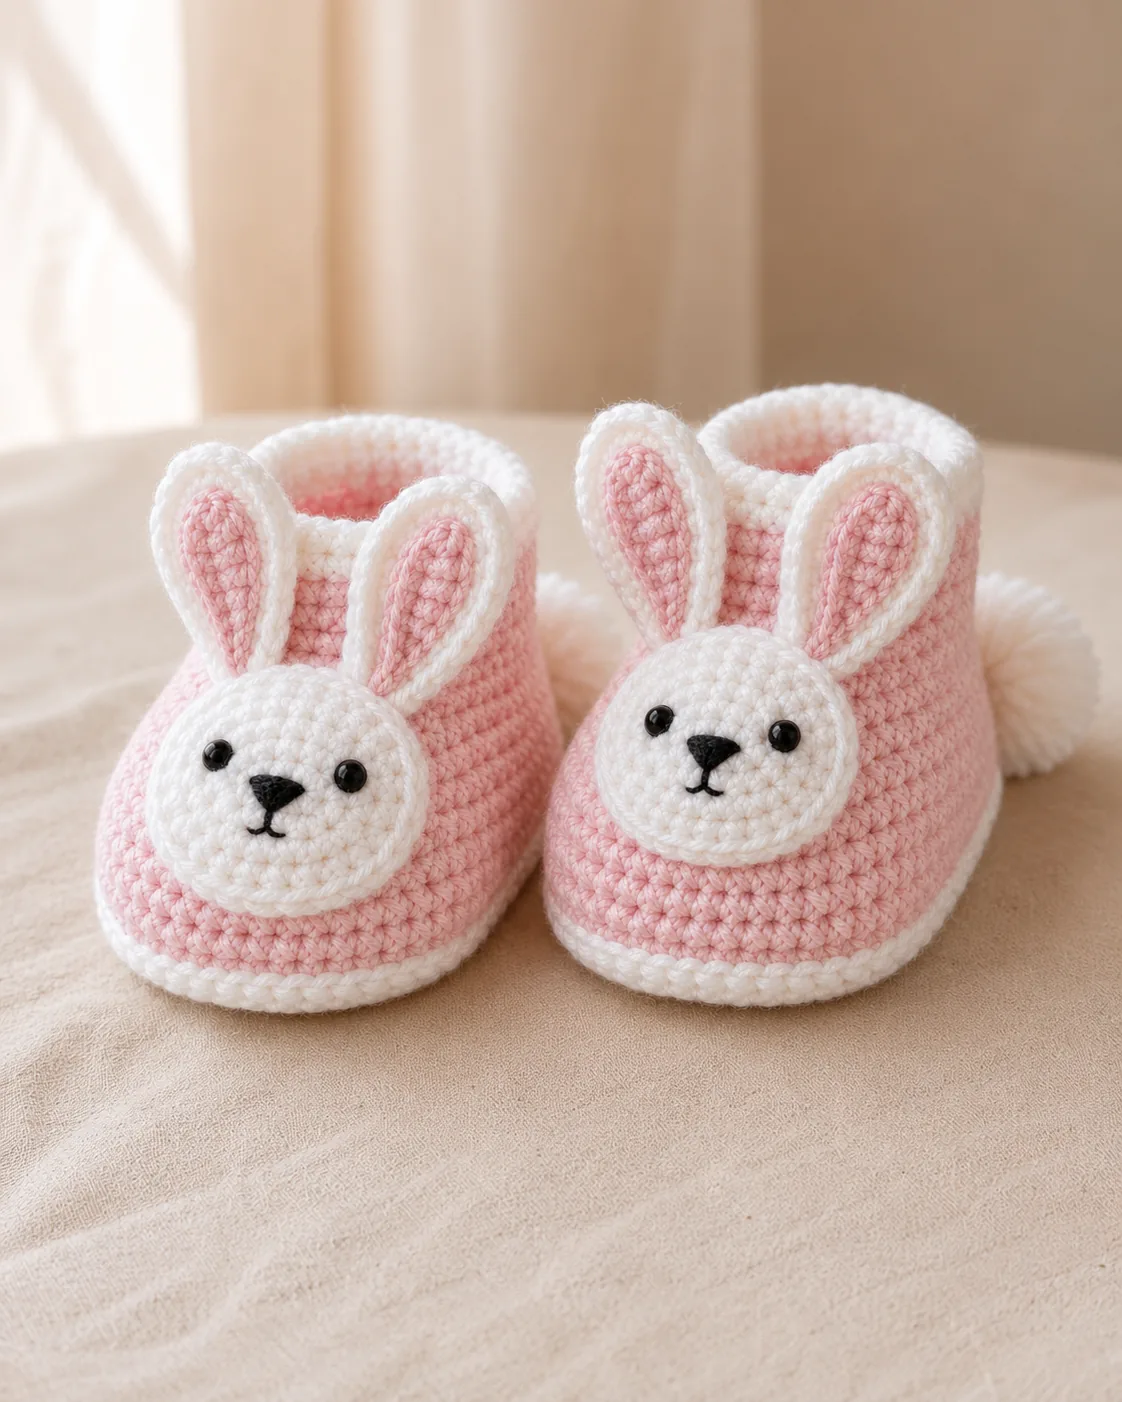
The supplied version 1.2 PDF contains eight illustrated construction stages. For easier scanning online, the same complete process is divided below into fourteen beginner-friendly steps without changing the written counts.
1. Read the project essentials
This confident-beginner project makes newborn-to-three-month keepsake booties using US terms, joined rounds, and sewn appliqués. The target sole is 9–9.5 cm (3.5–3.75 inches); finished height is about 5–5.5 cm (2–2.25 inches). Use DK/light #3 yarn held single with a 3.5 mm hook. Gauge is checked by measuring the sole rather than forcing a separate swatch. Make every piece twice unless a different quantity is stated.
2. Gather every material
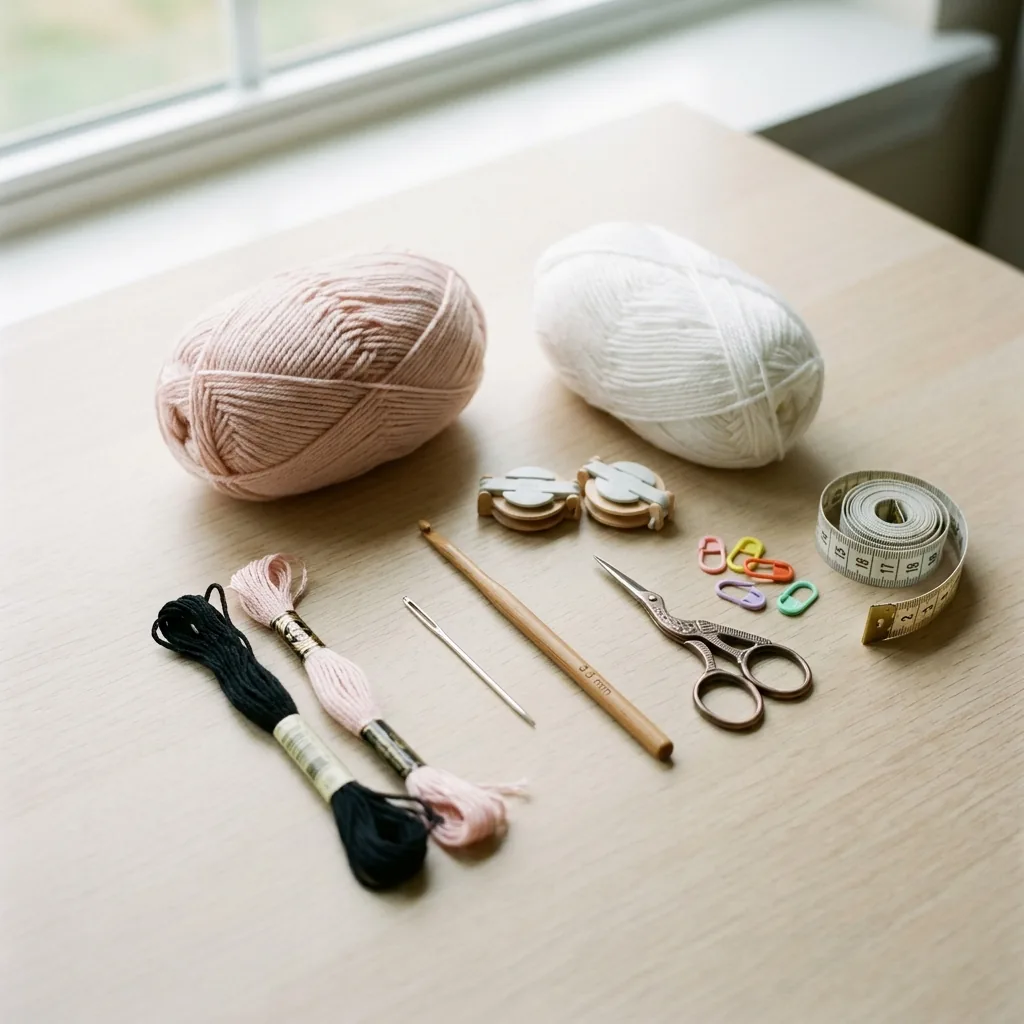
Prepare 90–145 g pink DK yarn, 25–30 g white DK yarn, small amounts of black and pale-pink embroidery floss, a 3.5 mm hook, yarn needle, scissors, a 2–2.5 cm pompom tool, stitch markers, measuring tape, and optional pins for placement. Do not use hard face parts. Working both booties through the same stage before moving on helps the tension and shape match.
3. Learn the abbreviations and round rules
BLO means back loop only; ch, chain; hdc, half double crochet; hdc2tog, half double crochet decrease; inc, two stitches in one stitch; MR, magic ring; rnd, round; sc, single crochet; sl st, slip stitch; st, stitch; RS/WS, right/wrong side; and × means repeat. In each joined round, chain 1 at the start; it does not count as a stitch. Join with a slip stitch to the first stitch and count every round.
4. Make sole round 1
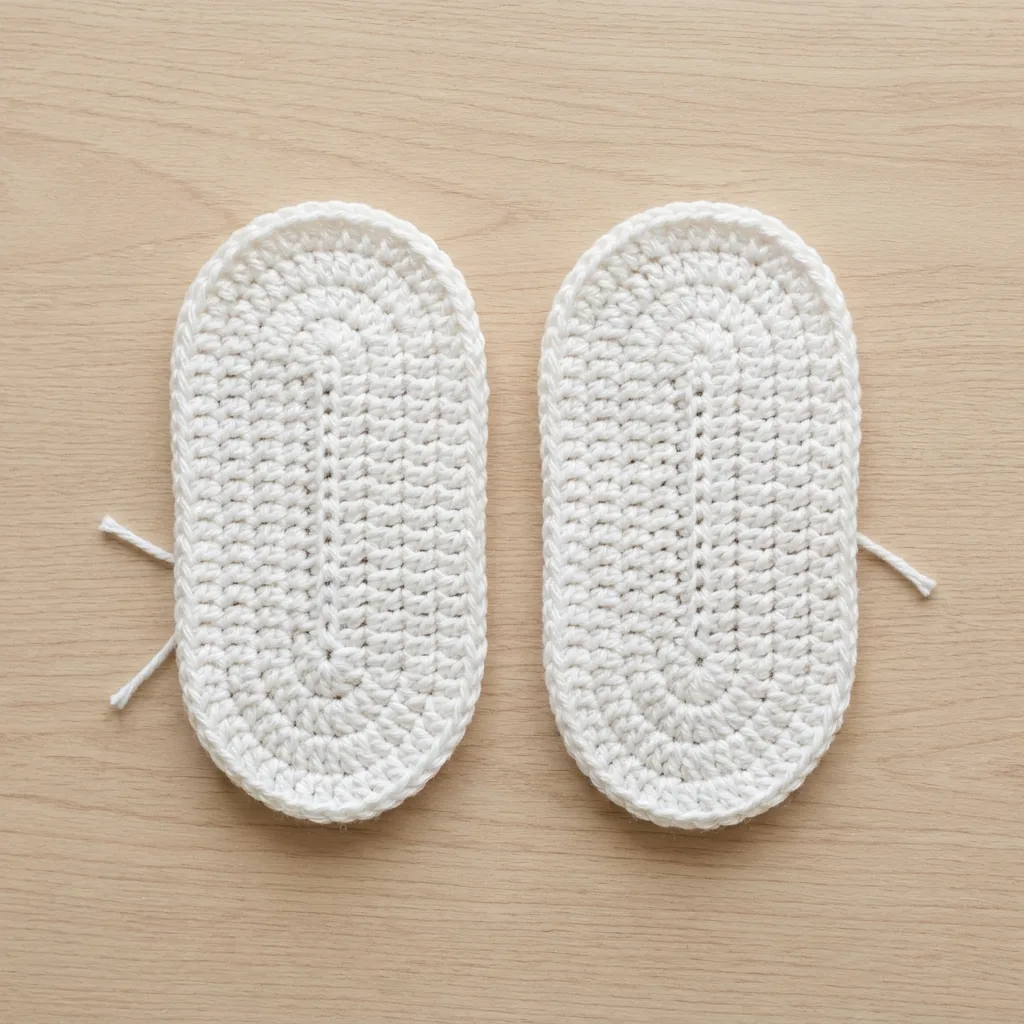
With white yarn, chain 9. Work 5 hdc in the second chain from the hook, hdc in the next 6 chains, and 5 hdc in the last chain. Rotate the foundation and work hdc in the next 6 unused loops on the opposite side. Join. You should have 22 stitches and a small flat oval that measures about 7.5–8 cm.
5. Expand the sole to 30 stitches
Chain 1. Across the first five-stitch curve, work 2 hdc in each of the next 2 stitches, hdc in the next stitch, and 2 hdc in each of the next 2 stitches. Work hdc in the next 6. Repeat the same shaping across the second five-stitch curve, then hdc in the final 6 and join. Count 30 stitches; the sole may measure about 8.5–9 cm.
6. Finish the sole at 36 stitches
Chain 1. Repeat “2 hdc in the next stitch, hdc in the next 2 stitches” three times across the first nine-stitch curve. Hdc in the next 6, repeat the shaping across the second nine-stitch curve, and hdc in the final 6. Join at 36. The sole must lie flat and measure roughly 9–9.5 cm. Change hook size if it is far from target.
7. Turn the sole upward
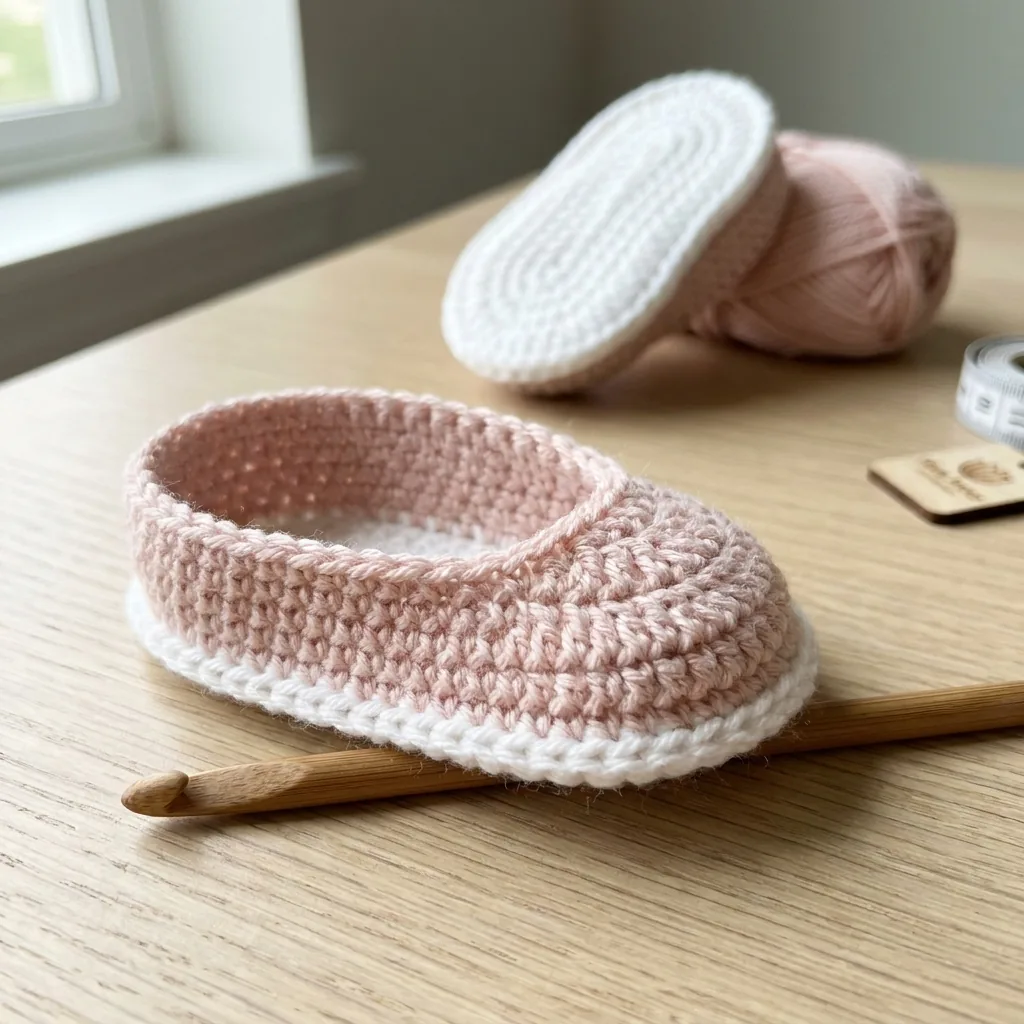
Switch to light pink. Chain 1 and, for side round 1 only, work hdc in the back loop of every stitch. Join at 36. The unused front loops create the crisp sole-to-wall edge. For side round 2, chain 1 and hdc in every stitch around; join at 36. Smooth the wall upward with your fingers.
8. Shape the first toe decrease
Keep a marker at the center of the toe. For side round 3, chain 1, hdc in the next 14 stitches, hdc2tog four times across the toe, and hdc in the final 14. Join with 32 stitches. Lay the bootie flat and check that the decrease section is centered rather than pulled to one side.
9. Complete the upper shaping
Work side round 4 even: chain 1, hdc in every stitch, and join at 32. For side round 5, chain 1, hdc in the next 12 stitches, hdc2tog four times across the toe, and hdc in the final 12. Join at 28. The complete upper sequence is 36 → 36 → 32 → 32 → 28.
10. Add the soft white cuff
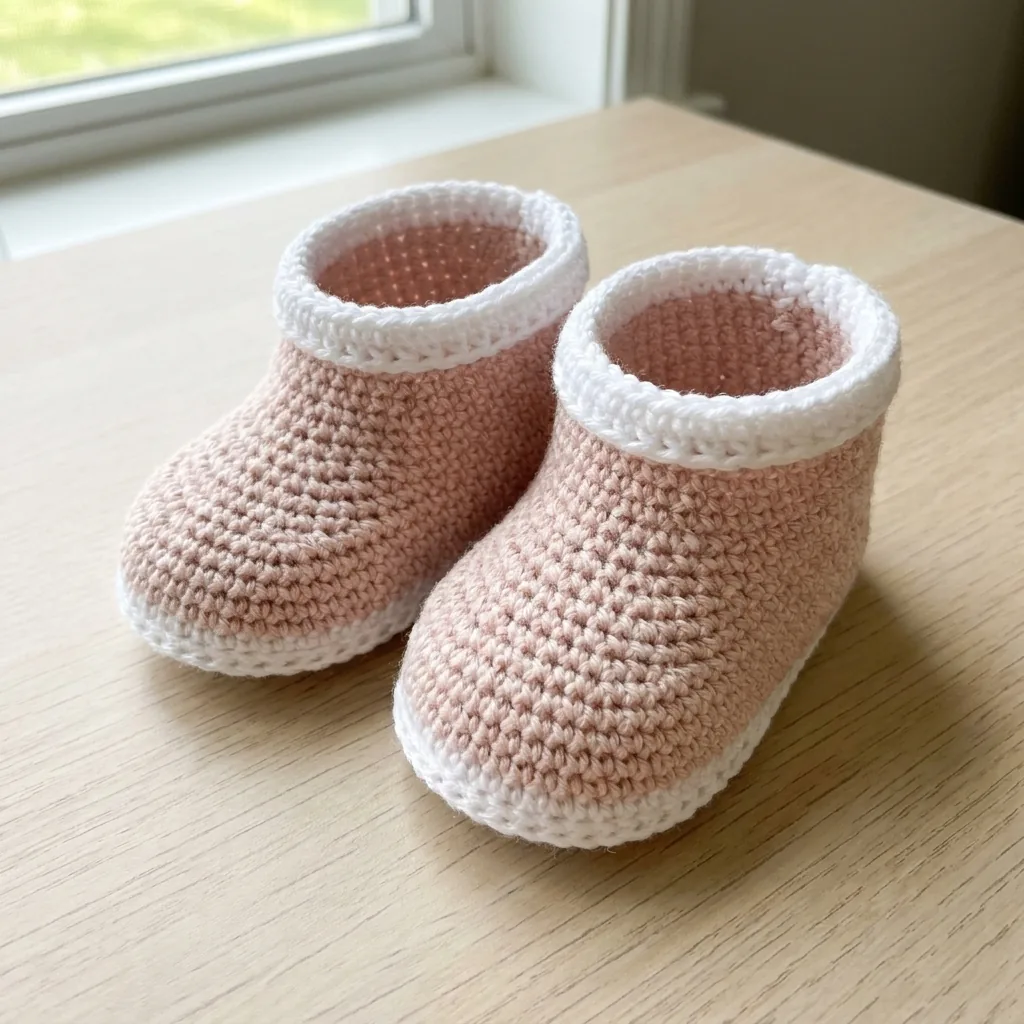
Change to white. For cuff round 6, chain 1, sc in every stitch around, and join to the first sc. Fasten off and weave the end securely on the wrong side. The opening should remain flexible and smooth, with no hard yarn ends or bulky knots inside. You may roll the cuff outward very slightly with your fingers for a softer look.
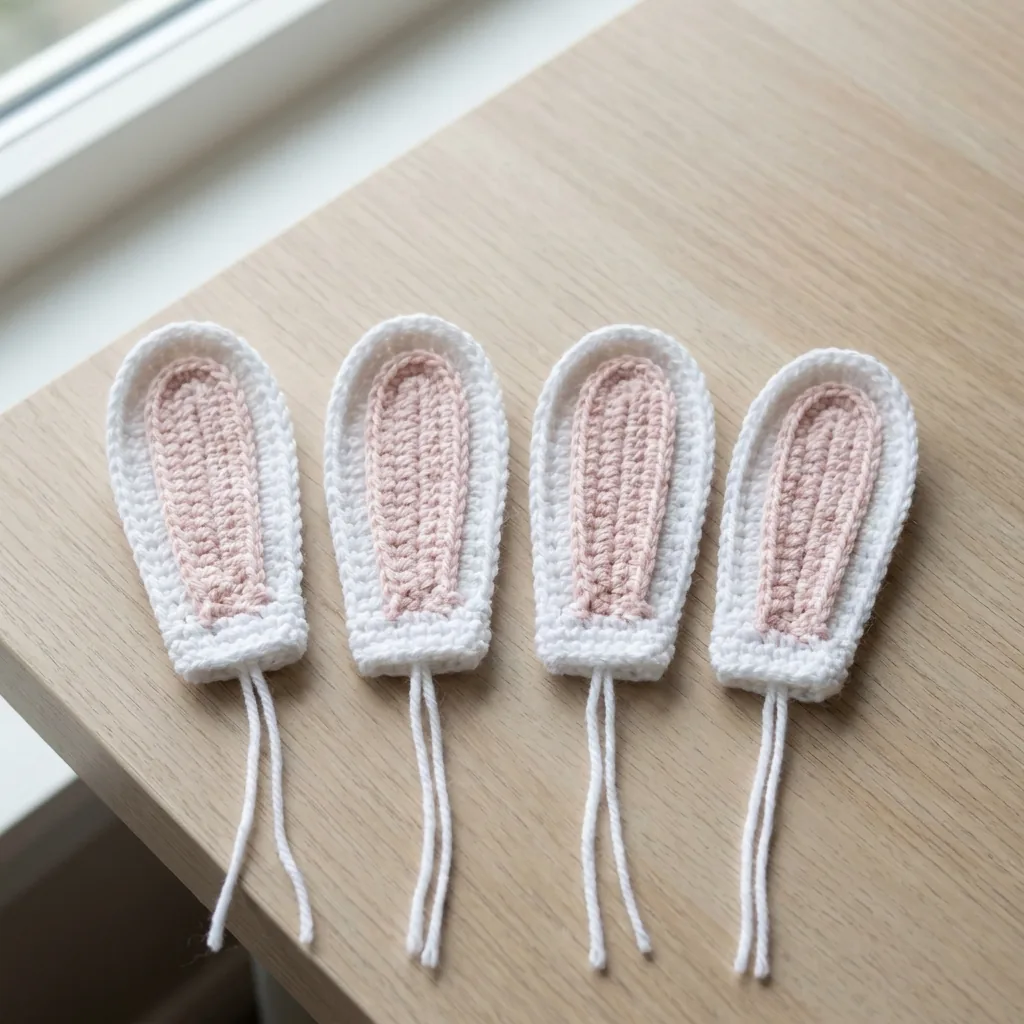
11. Crochet four layered ears
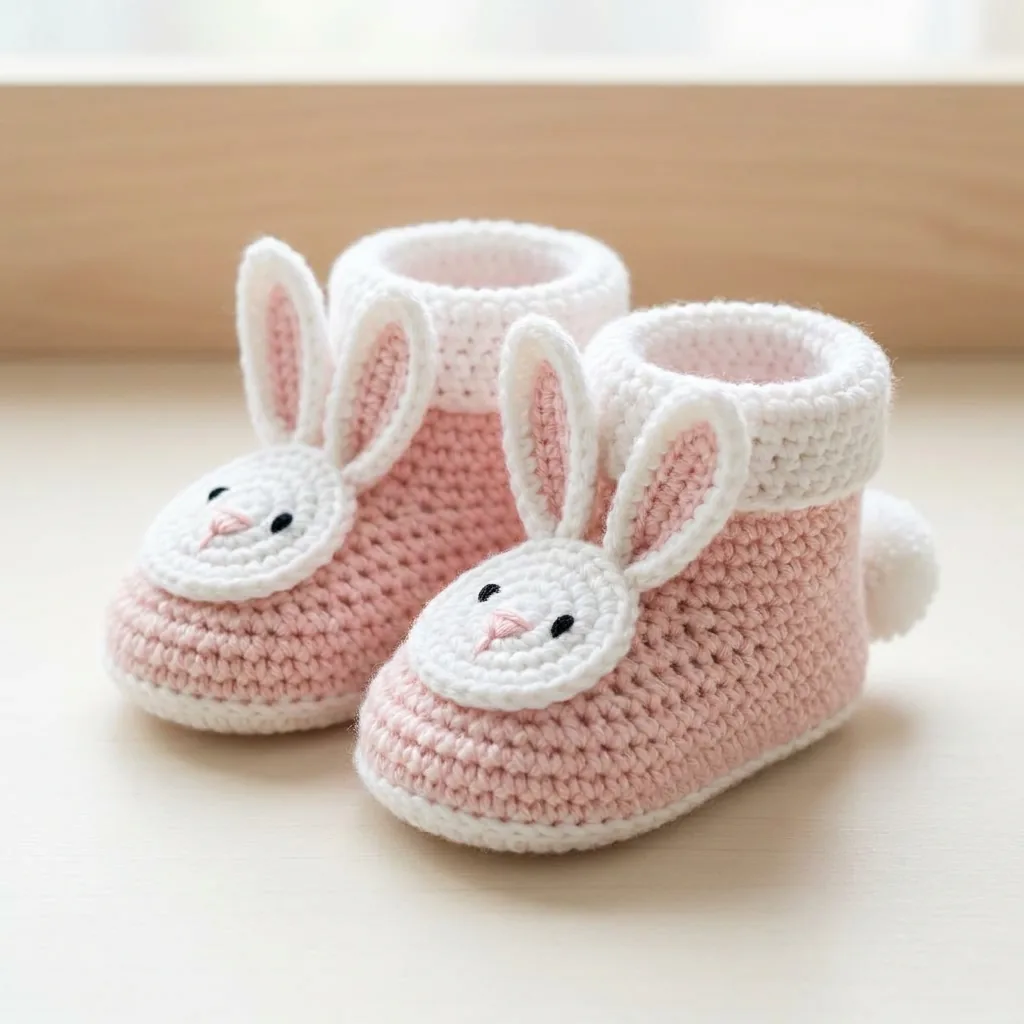
For each pink inner ear, chain 7, sc in the second chain and next 4 chains, work 3 sc in the last chain, then sc in the next 5 chains on the opposite side: 13 stitches. For each white outer ear, chain 8, sc in the second chain and next 5, work 3 sc in the last chain, then sc in the next 6 on the opposite side: 15. Center the pink layer over the white, align the bases, and sc through both layers, placing 2 sc in each of the three tip stitches. Leave a 10–12 cm white attachment tail and gently pinch the base.
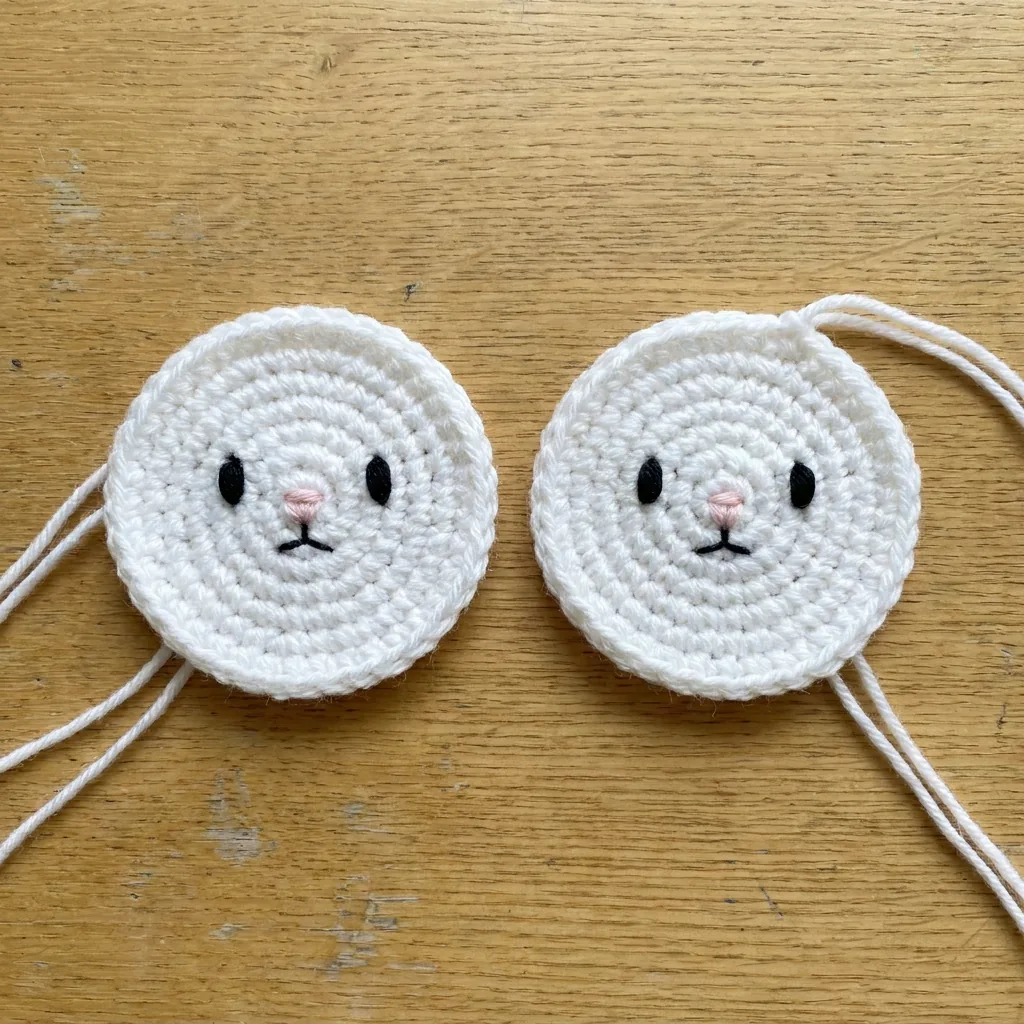
12. Make two embroidered bunny faces
With white yarn, make a magic ring and work 8 sc. Round 2: chain 1 and place 2 sc in every stitch for 16. Round 3: repeat “sc in the next stitch, 2 sc in the next” eight times for 24. Leave a 25–30 cm sewing tail. Embroider two tiny black filled oval eyes slightly below center and about two stitches apart. Add a small upside-down pale-pink triangle nose and an optional short mouth. Secure every end on the wrong side; never use beads, buttons, or plastic eyes.
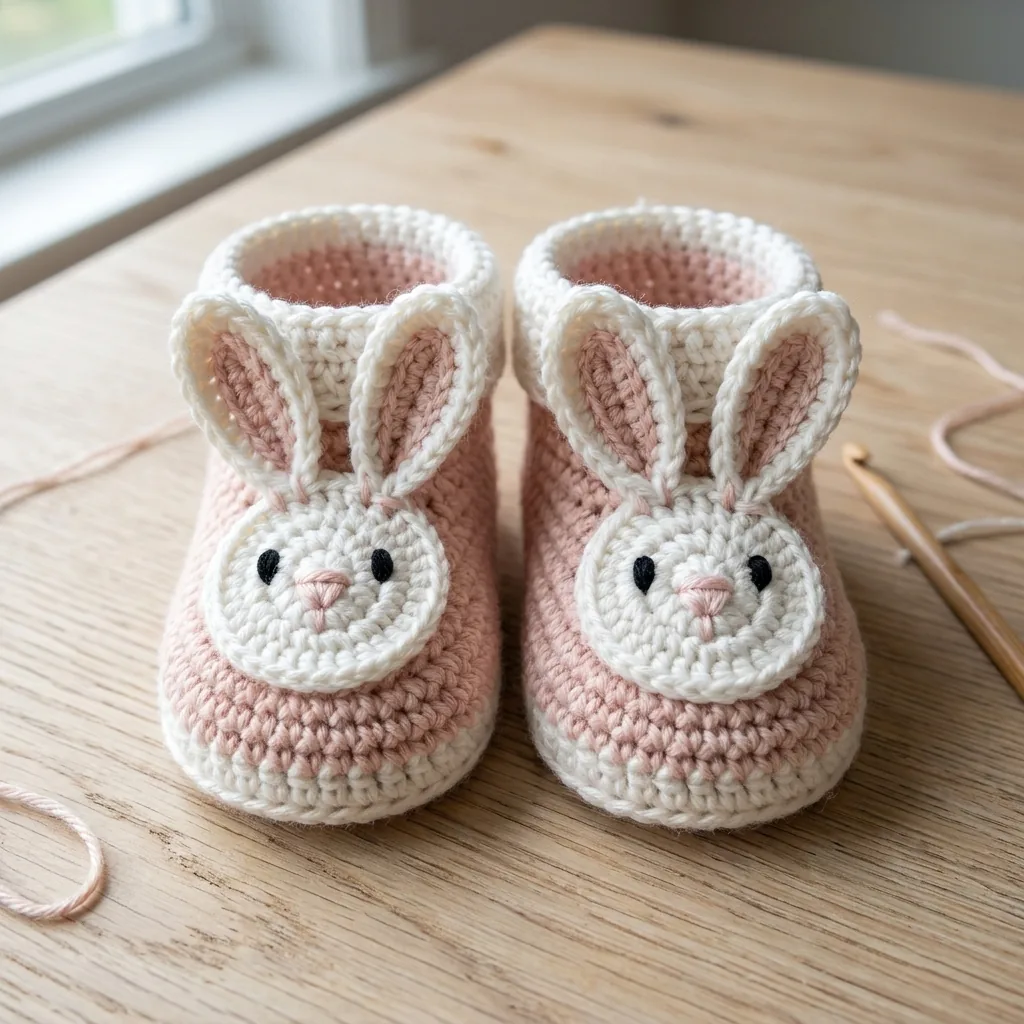
13. Attach faces and ears securely
Center one face over the toe decreases with its lower edge just above the white sole. Pin or mark it, then whip stitch with small even stitches while keeping the circle flat. Place two ears at the top, angle them slightly outward, and overlap their bases over the face by about one row. Sew through both ear layers and the bootie several times. Repeat on the second bootie, compare for symmetry, and tug-test every appliqué before hiding tails.
14. Add tails, shape, wash, and inspect
Make two dense white pompoms measuring 2–2.5 cm (0.75–1 inch), trim them evenly with no long strands, and sew one to the center back of each bootie just above the sole. Make several passes, knot inside, weave securely, and tug-test. Shape by hand; if desired, lightly steam only the outside through a cloth without flattening details. Hand wash in lukewarm water with mild detergent, press in a towel, reshape damp, and air dry flat. Use only with adult supervision: these are keepsake booties, not sleepwear or walking shoes.
Keep every count and image beside you
Get the compact five-page Pink Bunny Baby Booties PDF with all eight illustrated construction stages, safety guidance, care, and selling terms.
Digital product, copyright, selling, and support
The Etsy item is a PDF pattern only; no finished booties are included and no physical item is shipped. Pattern text and images © 2026 may not be copied, shared, uploaded, translated, resold, or redistributed. The purchaser may sell finished handmade pairs in small quantities, but remains responsible for workmanship, labeling, local rules, and all safety claims. For a possible pattern error, contact the seller through Etsy order messages. Version 1.2 uses US terms and A4 format.




