

My Crochet Universe · Bunny Booties Series
7 Best Crochet Bunny Booties Ideas for a Sweet Baby Look
Use these seven details to give a handmade pair a sweeter look while keeping the construction soft, clear, and baby-conscious.
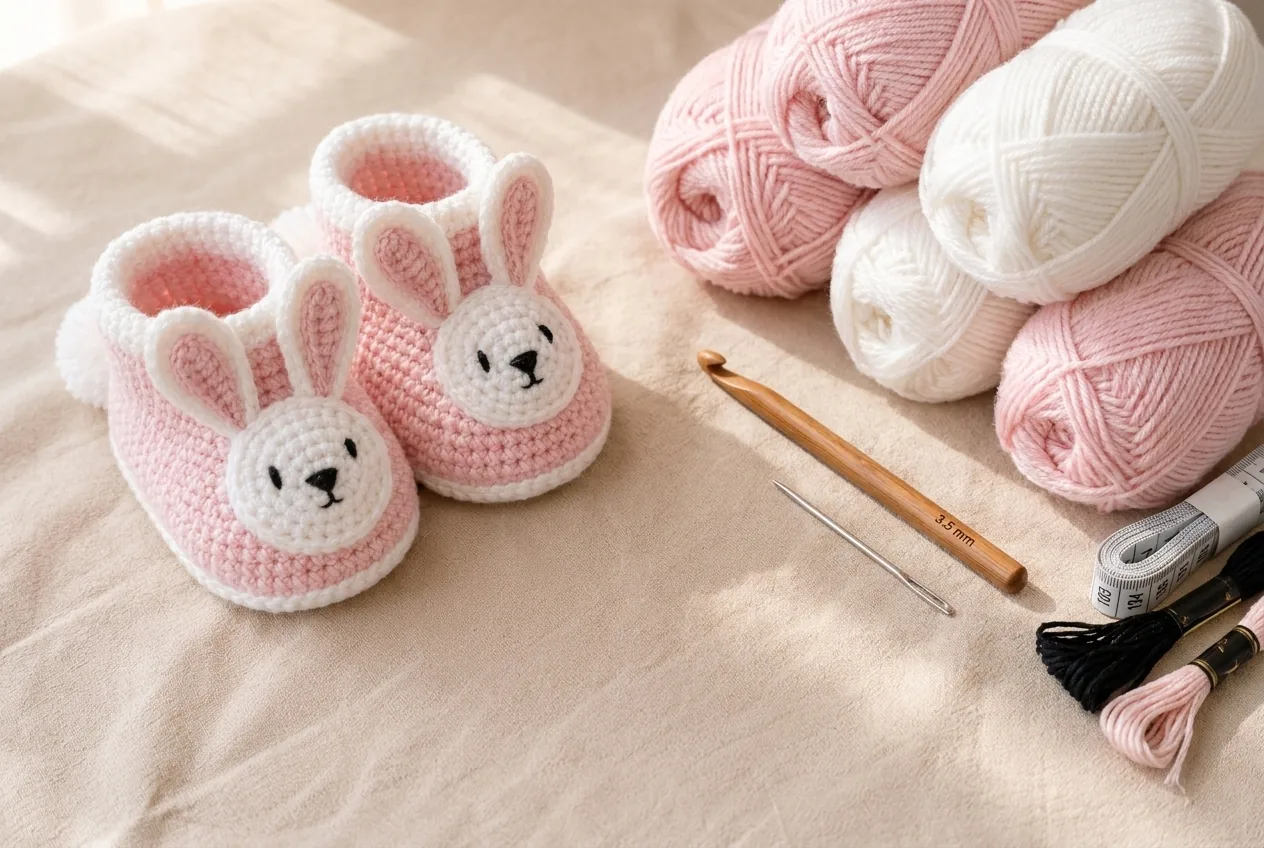
The sweetest pair usually comes from a few repeated design decisions: clear contrast, matched proportions, soft finishing, and a recognizable bunny expression.
1. Keep the bunny face simple and expressive
A round white face with two tiny embroidered oval eyes, a small stitched nose, and an optional short mouth reads clearly without extra decoration. Place both circles side by side before finishing the embroidery so the expressions match. Embroidery is also the baby-conscious choice in the supplied design: skip beads, buttons, and plastic eyes. Let neat stitch placement—not added hardware—create character.
2. Use layered ears for dimension
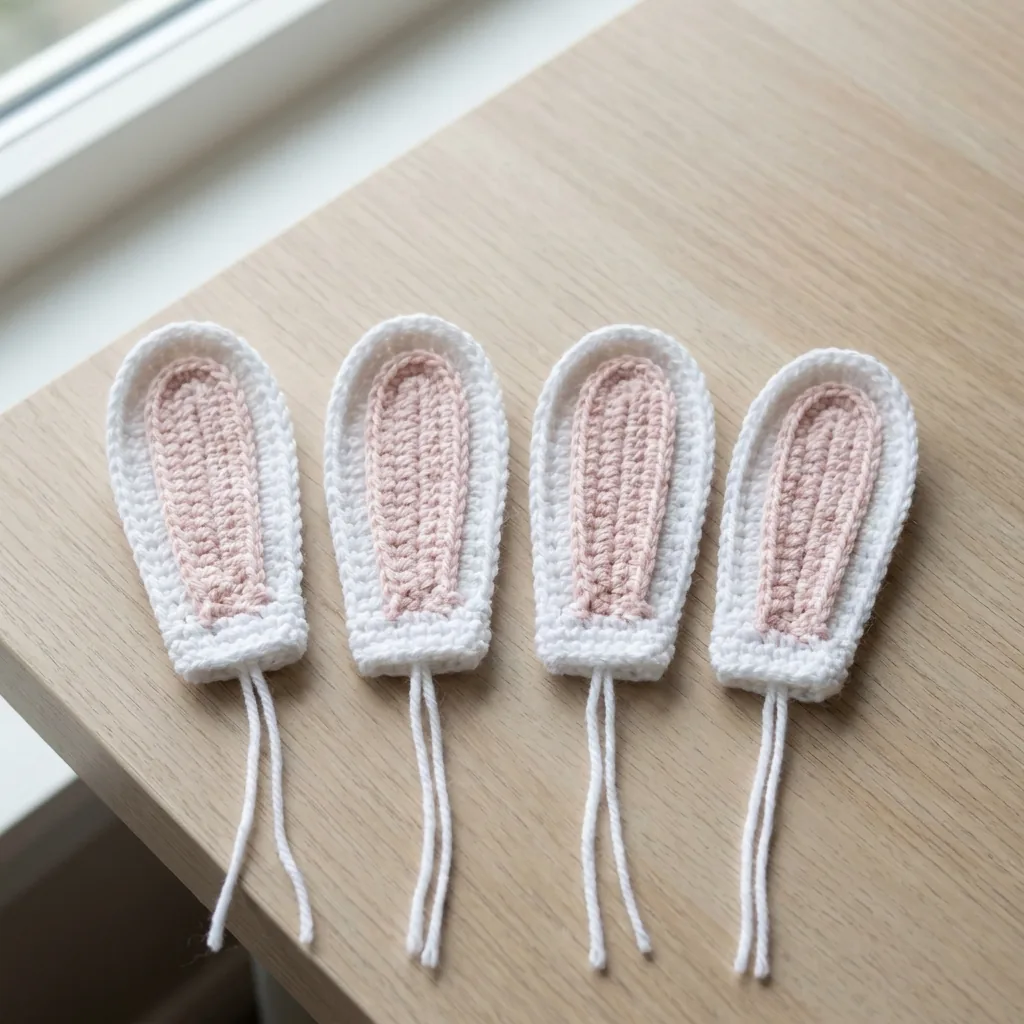
The pink inner ear over a slightly larger white outer ear creates a clean outline and makes the bunny motif visible from a distance. Crochet all four ears together as a batch, align the lower edges, and join through both layers. A gentle pinch at the base helps each ear stand without wire or stiff inserts. Angle the pair slightly outward when sewing for a lively, balanced silhouette.
3. Frame the upper with a contrast sole
The white oval sole and blush upper are separated by one round worked through the back loops only. Those unused front loops create a crisp line around the bootie and make the shape look professionally finished. Repeat the contrast at the cuff, outer ears, face, and tail so the palette feels intentional rather than scattered.
4. Add a soft rolled-cuff look
One final round of white single crochet creates a tidy opening. After weaving the end smoothly on the wrong side, roll the edge outward only a little with your fingers. This gives the opening a softer visual finish without adding elastic, ties, or bulky trim. Always check that the inside remains flexible and free from hard knots.
5. Finish with tiny pompom tails
A dense 2–2.5 cm white pompom gives the pair a playful back view. Trim every long strand and sew the tail above the sole with several passes. Knot and weave the attachment inside, then pull gently from several directions. The pompom should be a securely finished accent, not a loose decoration.
6. Make a coordinated sibling or photo set
The bunny motif can anchor a larger handmade set without forcing every item to match exactly. Repeat the blush-and-white palette in a simple hat, blanket edging, or removable gift wrap. Keep the booties as supervised keepsake wear and avoid adding cords or loose matching accessories directly to them. Photograph the set on a calm cream surface so the texture remains the focus.
7. Let careful symmetry be the final design feature
Work both booties through the same stage before moving on: soles, uppers, cuffs, ears, faces, and assembly. Compare toe shaping, face height, ear angle, and tail placement. A matched pair looks sweeter than a heavily decorated one. Count sequence, measured soles, and secure finishing create the polished result that styling alone cannot replace.
Keep every count and image beside you
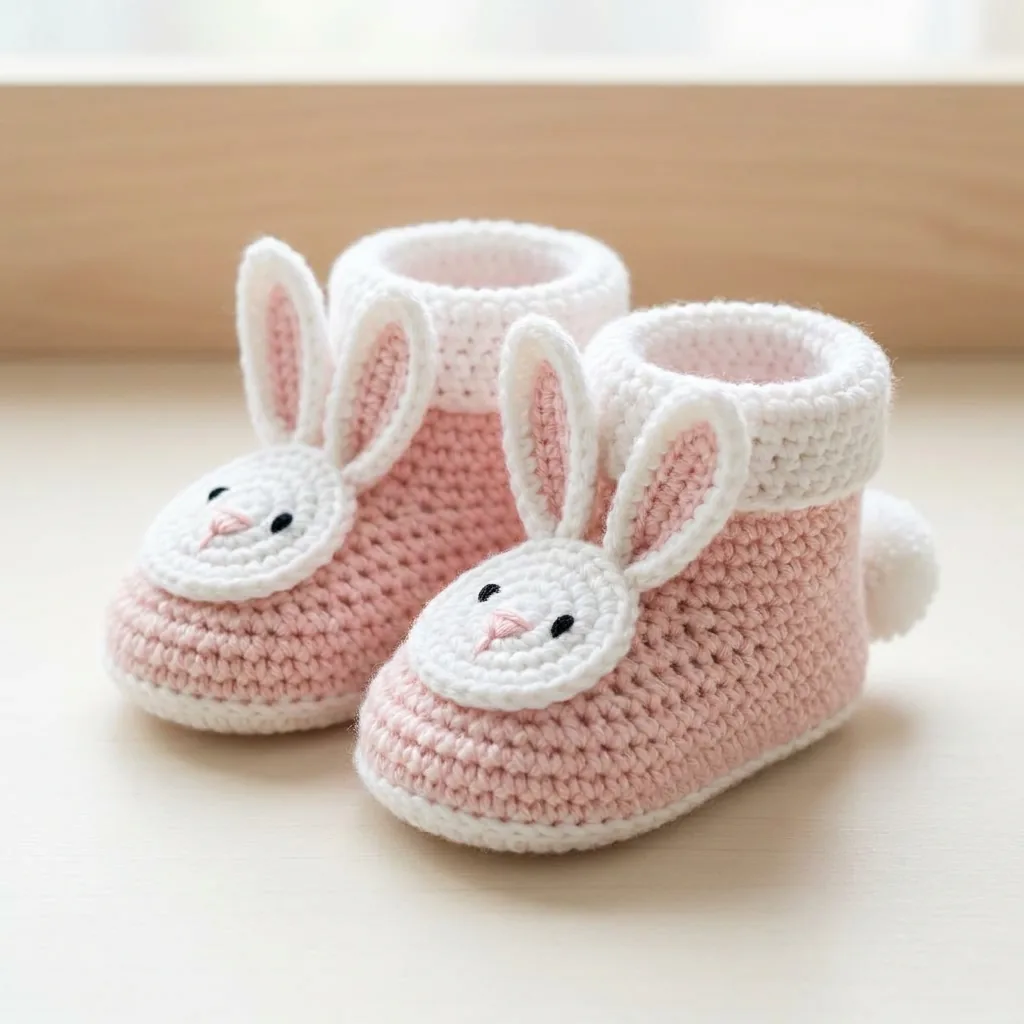
Get the compact five-page Pink Bunny Baby Booties PDF with all eight illustrated construction stages, safety guidance, care, and selling terms.
Frequently asked questions
Which detail creates the biggest visual difference?
Can I add beads or plastic eyes?
How do I make both booties match?
Can I change the colors?
Are these walking shoes?
Continue the series
A simple planning checklist before you crochet
Begin by confirming the recipient, intended occasion, preferred colors, and whether the pair will be kept mainly for photographs or as a memory-box piece. Then select DK/light #3 yarn that feels smooth against the wrist and produces a flat 9–9.5 cm sole with the recommended 3.5 mm hook. Wind enough yarn from matching dye lots and place the black and pale-pink embroidery floss beside it. This small preparation prevents a design idea from becoming a collection of unrelated choices.
As you work, use one visual feature as the hero and let the other details support it. If the layered ears are especially tall and crisp, keep the face expression simple. If the color contrast is bold, avoid adding more decorative elements. Repeat the same framing color through the sole, cuff, outer ears, face circle, and pompom so the pair looks coherent from front, side, and back. Take a quick photograph after each major stage; photos often reveal differences in ear angle or face height that are easy to miss while holding the pieces.
Before assembly, place both booties on a flat surface with the toes pointing forward. Compare the center decreases, cuff height, face-circle placement, ear spacing, and pompom position. Pin the pieces temporarily and step back before sewing. After attachment, inspect every stitch, hide tails smoothly, and perform a gentle multi-direction tug test. The final sweet look should come from proportion, symmetry, and careful finishing. It should never depend on glued pieces, hard decorations, or loose accessories.
Before you use or publish the finished idea
Return to the supplied pattern before making final claims about size, materials, or construction. The authoritative project uses DK/light #3 yarn, a 3.5 mm hook, a measured 9–9.5 cm sole, joined rounds, sewn appliqués, and embroidered facial details. Count both booties at every stage and compare them side by side. Styling suggestions, alternate palettes, and generated editorial images are inspiration only; they do not replace the written counts or guarantee an identical handmade result.
Complete a final inspection in bright light. Check the sole edge, centered toe shaping, flexible cuff, face stitching, ear bases, embroidery ends, and pompom attachments. Remove any long strand and repair any section that moves during a gentle tug test. These booties are designed for supervised keepsake wear, not sleep and not walking. If the finished pair is gifted or sold, provide accurate fiber, measurement, care, and supervision information, and follow all applicable local requirements. Responsible presentation protects both the recipient and the value of the handmade work.




