

Crochet Tote Bag Strap Placement: How to Get a Balanced Handle
A practical guide to marking, shaping, and joining the two strap sections so the tote hangs evenly.
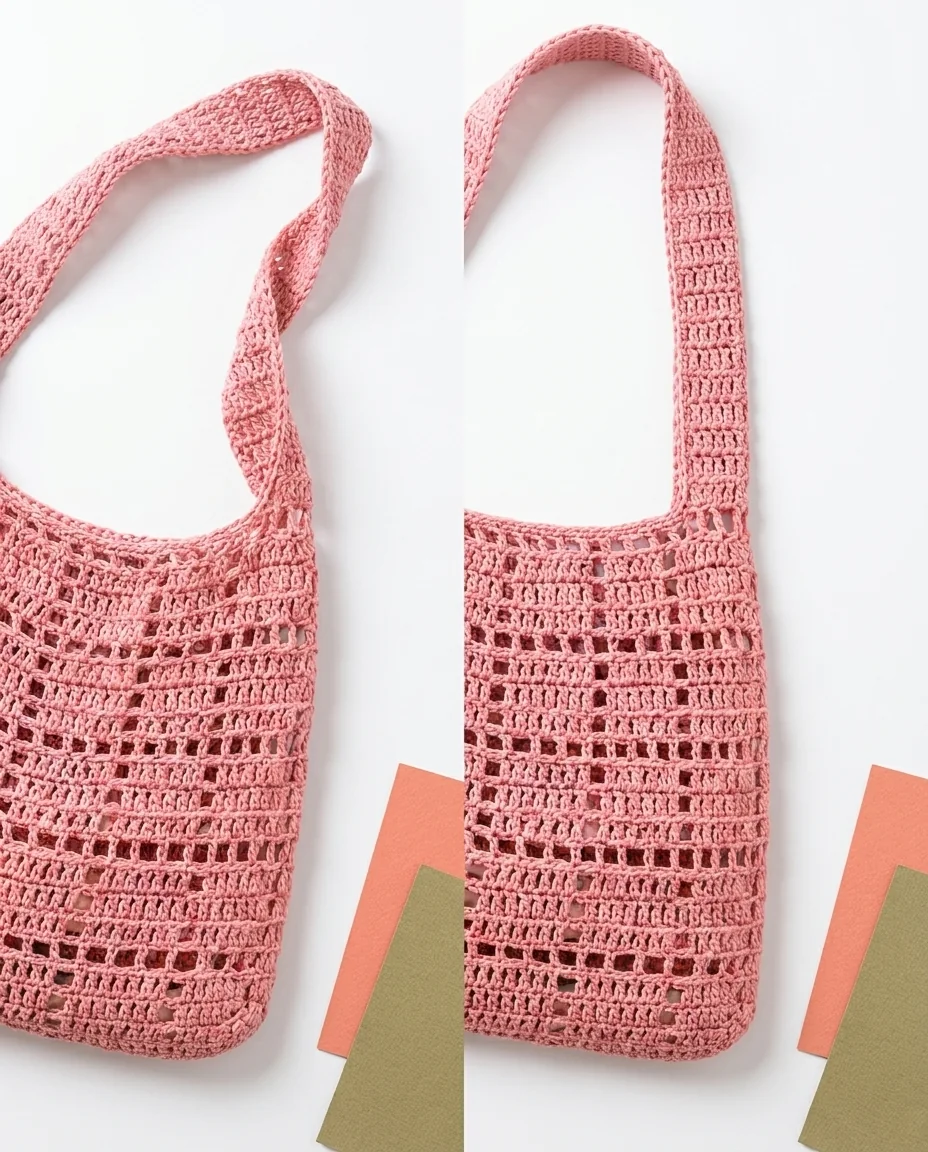
Crochet tote bag strap placement can make the difference between a tote that hangs naturally and one that twists toward one side. This pattern handles the problem with a clear marker system: four markers define the strap zones, with 23 stitches between each pair. From there, two tapered straps are shaped and joined at the center to create one continuous handle.
Why crochet tote bag strap placement matters
A strap is not just an extra strip of crochet. It controls how the bag sits against your shoulder, how the weight is distributed, and whether the opening stays comfortable to reach. When the attachment points are too close, too far apart, or uneven from front to back, the bag can tilt.
The openwork body makes alignment easy to notice. The eye follows the rows and the strap edges, so a small difference at one attachment point can make the whole tote look off-center. The good news is that careful marking solves much of the problem before you even begin the strap rows.
Do not rely on placing the first marker by eye and copying it casually. Use the pattern’s stitch count and repeat the same placement on the opposite side.
How to place the four markers
Lay the bag flat so six main pattern squares are facing you. On the first square on the right, count up to the seventh double crochet and attach a stitch marker. On the sixth square on the left, count up to the seventh double crochet and attach the second marker.
Turn the bag over and repeat the exact placement on the other side. The four markers should define two symmetrical strap zones: one pair on the front and one pair on the back.
The pattern asks you to count the stitches between the markers and confirm that there are exactly 23 stitches between each pair. That count is your safety check. If it is not correct, adjust the markers before beginning the first strap.
- Lay the bag flat
- Identify the first and sixth pattern squares
- Mark the seventh double crochet in each zone
- Repeat the same placement on the opposite side
- Confirm 23 stitches between each marker pair
Shaping the first strap
The first strap begins with a slip knot and 23 double crochets across the marked section. The instructions include the chain spaces in the count, so do not skip them simply because they look open. This creates the starting width of the strap.
Rows 2 through 10 are decrease rows. You make a decrease at the beginning and another at the end of each row, leaving five double crochets after nine decrease rows. This tapered section helps the strap transition from the wider bag body to the narrower handle.
Rows 11 through 18 are straight rows of five double crochets. Count these eight rows carefully because they determine the length of the upper strap section before it meets the second side.
Repeating and joining the second strap
The second strap repeats Rows 1 through 18 on the opposite side. Matching the first strap’s counts and tension is the most important part of this stage. If one strap is longer, the final handle will not sit evenly.
When the second strap is complete, align the two ends perfectly. Insert the hook through the back loop of the strap facing you and the front loop of the opposite strap, then work slip stitches across all five stitches.
After the join, chain one, cut the yarn, and secure the tails before weaving them in. The result should look like one continuous handle rather than two straps layered on top of each other.
- Compare the two tapered sections
- Match the eight straight rows
- Align all five center stitches
- Join with five slip stitches
- Weave in the ends securely
Optional edging for a firmer strap
The pattern includes optional single-crochet edging around the side edges of the straps. It can make the outline easier to see and add a touch of firmness. This is useful when your yarn produces a soft strap or when you want a more finished visual line.
Work the edging consistently on both sides and on both strap sections. Keep your tension comfortable. Pulling the edging too tightly can make the strap curve or narrow unevenly.
If you prefer the lightest possible handle, leave the edging off. The main strap construction is already complete once the two sections are joined and the ends are woven in.
Use the PDF for exact strap counts
The PDF pattern contains the exact marker setup, 23-double-crochet first row, nine decrease rows, eight straight rows of five double crochets, and five-stitch central join. Keep the guide open during the strap stage because this is where a small counting error can become visible in the final silhouette.
A balanced handle is worth the extra pause. Mark carefully, count deliberately, and lay the bag flat before you make the final join. The finished tote should feel comfortable when worn, but the clean alignment also helps the open mesh body keep its intended shape.
If the handle looks slightly off before you weave in the ends, correct it while the join is still accessible. Try the bag on with only a light item inside before adding the optional edging. This lets you see whether the strap sits naturally and whether the opening stays level. A small adjustment at this stage is far easier than repairing a fully finished handle later. Keep the final test gentle so the openwork is not stretched unnecessarily.
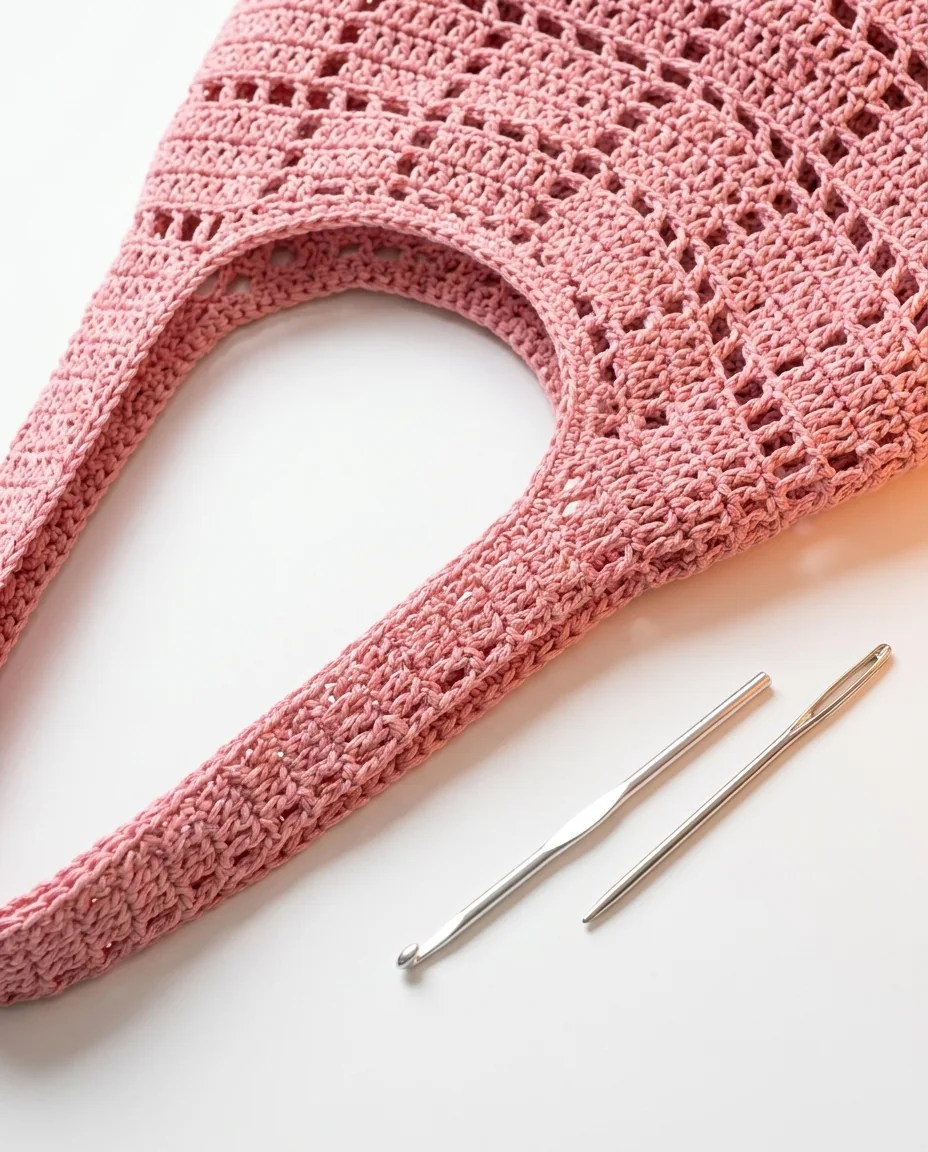
Helpful visual references
Frequently Asked Questions
How many stitches should be between the strap markers?
The pattern calls for exactly 23 stitches between each pair of strap markers.
How many decrease rows are used?
Rows 2–10 create nine decrease rows, leaving five double crochets.
How many straight rows finish each strap?
Rows 11–18 create eight straight rows of five double crochets.
How are the straps joined?
The two strap ends are aligned and joined across five stitches with slip stitches.
Final thoughts
The best way to approach this project is one checkpoint at a time. Keep the yarn, hook, stitch counts, and finishing notes together, then use the complete PDF pattern when you are ready to make the tote. This guide to crochet tote bag strap placement is designed to keep the next step clear.




