

Crochet Tote Bag Finishing Tips for a Clean, Secure Result
Finish the edges, strap join, and loose ends so your openwork tote looks neat and feels ready to use.
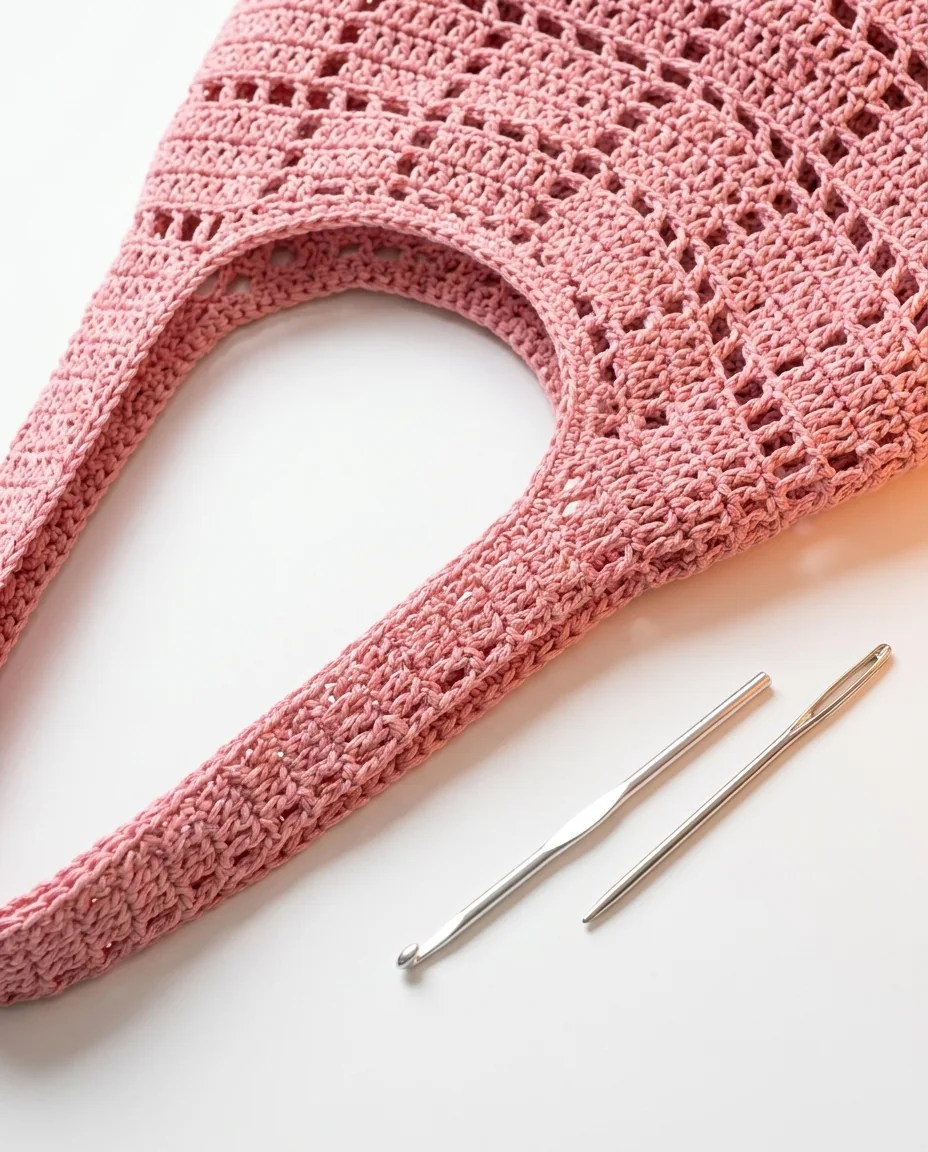
Crochet tote bag finishing is where a handmade project starts to look truly complete. The body can have beautiful mesh stitches, but a loose top edge, uneven strap join, or visible yarn tails can distract from all that work. This tote pattern includes a secure central handle join and an optional single-crochet edging around the strap sides, giving you a few practical ways to refine the final result.
Why crochet tote bag finishing matters
Finishing is not just decoration. It affects how the bag holds its shape, how the strap feels, and how well the project handles regular use. A tidy finish also makes it easier to photograph the tote and show the stitch pattern clearly.
The PDF pattern ends with a final checklist that asks you to confirm the base, body, strap markers, strap rows, handle join, optional edging, and woven-in ends. That is a useful habit for any crochet accessory: check the structure before you call the project done.
Take a few minutes to look at the bag from a distance. A close-up can make every stitch feel important, while a normal view reveals whether the top edge sits evenly and whether the straps meet in the center.
Check the top edge before finishing
The mesh body should have a regular, softly structured shape after the 20-round repeat is complete. Lay the bag flat and inspect both upper sides. The openings do not need to be mathematically identical, but the edge should not suddenly flare, dip, or twist.
If the edge looks uneven, first check whether the issue comes from the written sequence or from tension. A missed chain space can shift the mesh. A tight or loose final round can also change the appearance. It is easier to correct a small section now than to disguise it with edging later.
Make sure the strap zones are still easy to identify. The next step depends on four markers placed symmetrically, with 23 stitches between each pair, so a clean layout matters.
- Lay the bag flat
- Compare the left and right sides
- Check the mesh repeat
- Confirm the strap zones are symmetrical
How the strap join is finished
The pattern creates two tapered straps that meet centrally. Once the second strap is complete, the ends are aligned and joined across five stitches using slip stitches. That join is small, but it carries a lot of visual and practical responsibility.
Align the strap ends carefully before inserting the hook. The instructions move through the back loop of the strap facing you and the front loop of the opposite strap, then complete the attachment with slip stitches. Work slowly enough to catch the intended loops.
After the five stitches are joined, chain one, pull the yarn through, cut it, and tie a knot with the tails before weaving them in. The goal is a central handle that looks continuous rather than two pieces that merely overlap.
When to add optional single-crochet edging
The guide includes an optional edging around the side edges of the straps. Single crochet adds a cleaner outline and a little extra firmness, so it can be helpful when you want the straps to look more defined.
You do not have to add it if you prefer the softer openwork look. The decision depends on the yarn, your tension, and the finish you want. A smooth weight 4 cotton may already give the straps enough body, while a softer yarn may benefit from the added edge.
Work the edging consistently on both strap sides. Uneven edging can make one side appear thicker or can pull the strap in one direction. Use the same tension you used for the body instead of tightening every stitch.
- Add edging for a more defined strap outline
- Keep the optional edging consistent on both sides
- Do not use edging to hide a major stitch-count problem
- Test a small section if you are unsure about the look
How to weave in crochet ends neatly
A darning or tapestry needle is listed in the materials, and it is used to secure the yarn tails. Weave each end through several nearby stitches, change direction once or twice, and avoid cutting the tail right beside the stitch where it began.
Because this tote has open mesh spaces, choose the path carefully. A tail that crosses an opening may become visible from the front. Work into the denser parts of the fabric when possible, and keep the tail flat rather than creating a bulky knot.
After weaving, gently stretch the area the way the bag will naturally sit. If the tail disappears and the fabric remains smooth, trim the excess. Do not pull so hard that the mesh closes.
A simple final finishing checklist
Before using or photographing the tote, check the entire project as one object. The base should feel stable, the mesh body should be regular, the strap zones should be symmetrical, and the joined handle should sit naturally when lifted.
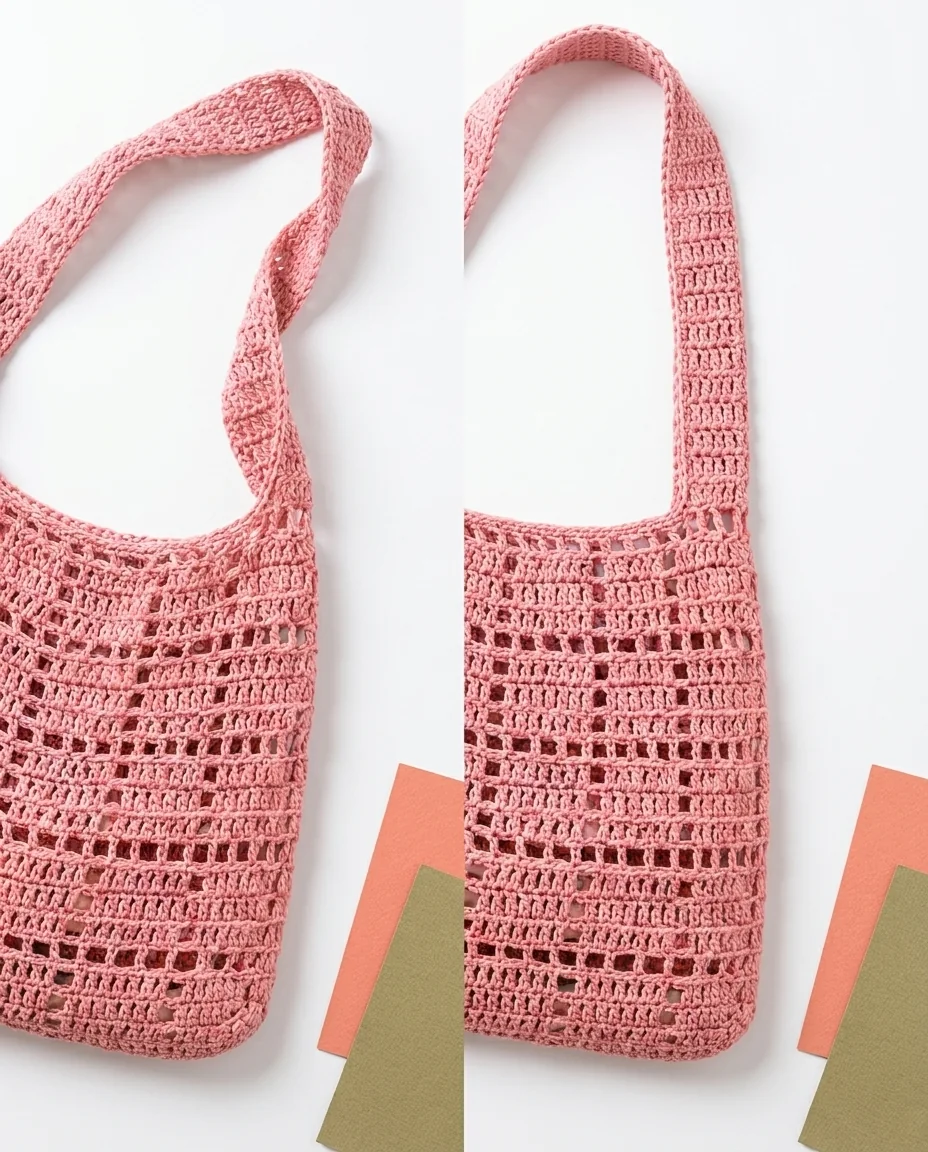
The finished project should also reflect your intended colorway. The PDF lists red as the main color, while the sample used in this article is pale pink. The construction remains the same; only the visual mood changes.
If the bag will carry everyday essentials, test it with a light load first. This is not a substitute for careful construction, but it can reveal whether the strap join or edging needs another pass.
Where the complete finishing instructions live
The PDF pattern brings the finishing sequence together: joining the two tapered straps, securing the five central stitches, weaving in the ends, and adding the optional single-crochet edging. Keep it beside you so you can follow the exact order instead of relying on memory.
A polished finish is not about making every stitch look machine-made. It is about securing the structure, keeping the lines balanced, and making choices that suit the yarn.
Helpful visual references
Frequently Asked Questions
Is the strap edging required?
No. The pattern lists single-crochet edging as optional. It can define the strap edges and add a little firmness, but the tote can be finished without it.
How are the two straps joined?
The two strap ends are aligned and joined across five stitches with slip stitches.
What tool do I need for the final yarn ends?
The materials list includes a darning or tapestry needle for weaving in the ends.
How can I make the finish look neat?
Check the top edge, align the straps carefully, weave tails through nearby stitches, and avoid pulling the mesh too tightly.
Final thoughts
The best way to approach this project is one checkpoint at a time. Keep the yarn, hook, stitch counts, and finishing notes together, then use the complete PDF pattern when you are ready to make the tote. This guide to crochet tote bag finishing is designed to keep the next step clear.




