

Crochet Tote Bag Constructions: Base, Mesh Body, and Straps
A clear look at how the rectangular base becomes an openwork tote with a joined handle.
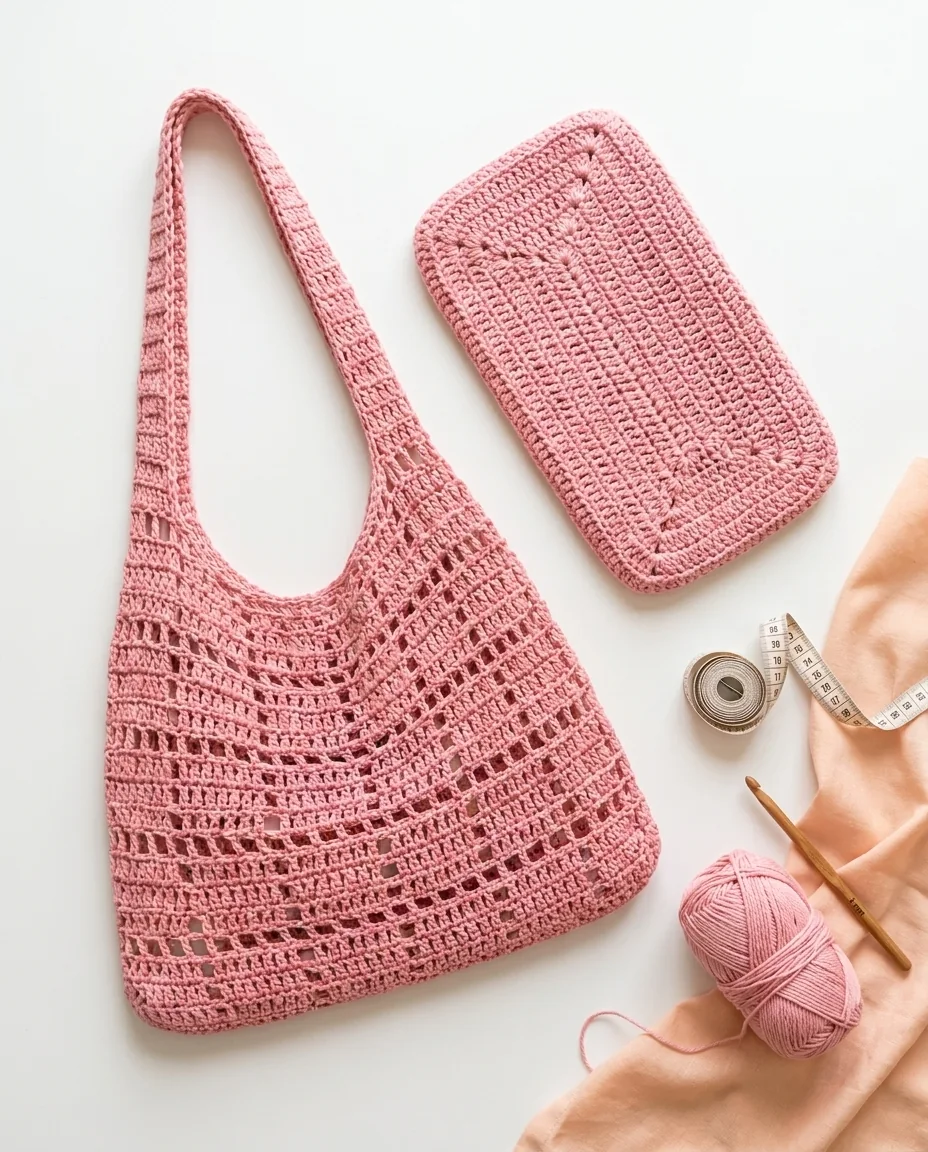
Crochet tote bag construction is easier to understand when you break the project into a few clear sections. This design starts with a flat rectangular base, builds upward into a repeating mesh-style body, then shapes two tapered straps that meet in the center. The result is a lightweight tote with enough structure to feel useful without losing its open handmade character.
The crochet tote bag construction at a glance
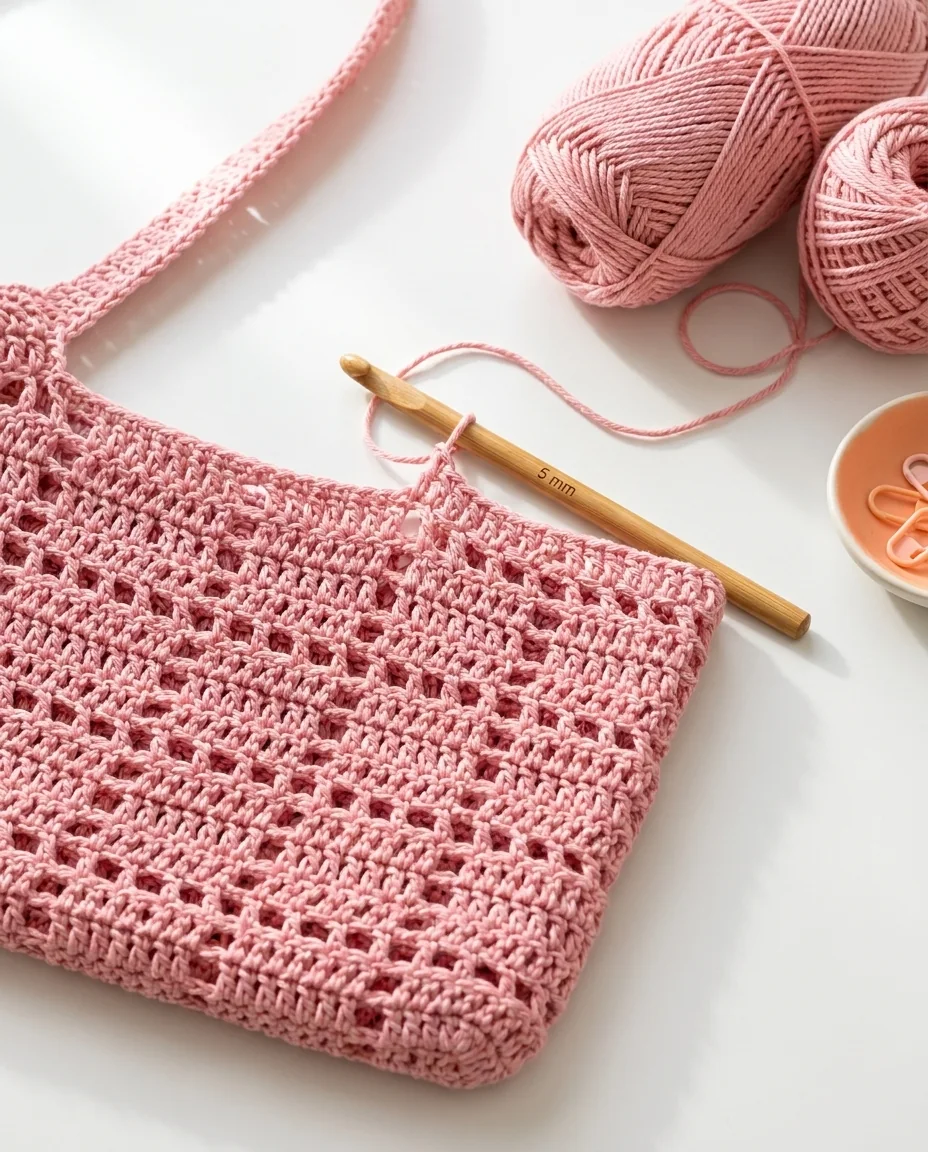
The pattern is rated medium difficulty and estimates five to six hours of work. It uses 100% cotton, weight 4 yarn, approximately 180 g, and a 5 mm crochet hook. The instructions use US crochet terms, including ch, sc, dc, and sl st.
There are six main stages: preparation, the rectangular base, the mesh body, strap placement, the two straps with assembly, and optional edging. Seeing that map before you begin helps you understand why the stitch counts change from section to section.
The color shown in the pattern guide is listed as red, while the reference version used here is pale pink. The construction is color-flexible, so the pink version can be presented as a soft alternate colorway.
Building the rectangular base
The base begins with a foundation chain of 48. On the first row, you work 47 single crochets into the back bars of the chain. The next rows continue in single crochet until you have eight rows total, each with 47 single crochets.
This flat rectangle is more important than it may look. It establishes the footprint of the bag and gives the mesh body a defined place to grow. If the foundation is twisted or the edge is uneven, the body can inherit that problem.
Work the base slowly, especially if you are not used to crocheting into the back bars. Once the first row is stable, the remaining rows are more familiar: chain one, turn, and work across the stitch count.
- Make 48 chains
- Work 47 single crochets for Row 1
- Continue until you have 8 total rows
- Keep the base flat before starting the body
Building the repeating mesh body
The body begins around the base and uses double crochet, chain spaces, and slip stitches to create the open mesh effect. The first three rounds establish the structure; Round 4 introduces the mesh sequence more clearly.
From there, the body uses a four-round repeat. The instructions say to repeat Rounds 1 through 4 four more times, for a total of 20 rounds. That repetition gives the bag its height and creates the bands of openwork visible in the finished sample.
Turn the work at the start of each new round as directed. Move the stitch marker carefully because the marker may sit on a double crochet in one round and a chain space in another.
Marking the strap placement
After the 20-round body, the pattern uses four stitch markers to define the strap zones. Lay the bag flat so six main pattern squares face you, then place markers on the first square on the right and the sixth square on the left. Repeat the same placement on the other side.
The key check is the spacing: there should be 23 stitches between the markers on each side. Symmetry here controls how the two straps rise from the body. If the marks do not match, the finished tote can sit crooked even if the crochet itself is neat.
This is a good moment to take a break. A fresh look makes it easier to compare the front and back and catch a misplaced marker before the strap shaping begins.
Shaping the two tapered straps
The first strap begins with 23 double crochets across the marked section. Rows 2 through 10 use decreases at the beginning and end of each row, reducing the strap until five double crochets remain. This creates the tapered lower section.
Rows 11 through 18 are straight rows of five double crochets. The second strap repeats the same instructions on the opposite side. Matching these two sections matters more than rushing through them, so count the decrease rows instead of judging only by length.
When both straps are complete, align their ends and join five stitches with slip stitches. The two sections then form one continuous handle.
- First strap Row 1: 23 dc
- Rows 2–10: 9 decrease rows
- Rows 11–18: 8 straight rows of 5 dc
- Repeat for the second strap
- Join the center across 5 stitches with sl st
Adding the optional edging
The final optional step is a round or pass of single crochet around the side edges of the straps. This can give the handle a more defined outline and add a little firmness without changing the main mesh body.
It is a style choice as much as a structural one. If your cotton yarn already produces a firm strap, you may prefer the lighter unedged look. If the edges feel soft or visually disappear, the edging can create a cleaner line.
Whichever option you choose, finish by knotting and weaving in the yarn ends neatly. The final checklist in the pattern is a useful way to confirm that the base, body, markers, straps, join, and finishing are all complete.
Follow the full construction guide
The complete crochet tote bag PDF pattern gives the exact sequence for every stage, including the 48-chain base, 20-round mesh body, 23-double-crochet strap setup, decrease rows, straight rows, central join, and optional edging.
Having the full guide beside you is especially helpful when moving from the body to the straps. That transition is where many makers benefit from a clear marker plan and a written checklist.
Helpful visual references
Frequently Asked Questions
How many chains begin the tote base?
The base begins with 48 chains, followed by 47 single crochets in the first row.
How many body rounds does the pattern use?
The body uses a four-round repeat worked until there are 20 total rounds.
How many stitches are joined at the handle center?
The two straps are joined across five stitches with slip stitches.
Is the strap edging included as a required step?
No. The pattern lists single-crochet edging around the strap sides as optional.
Final thoughts
The best way to approach this project is one checkpoint at a time. Keep the yarn, hook, stitch counts, and finishing notes together, then use the complete PDF pattern when you are ready to make the tote. This guide to crochet tote bag construction is designed to keep the next step clear.




