

Crochet Bag Photography Ideas: Show the Handmade Details Clearly
Simple, bright photography ideas for showing an openwork tote’s texture, scale, construction, and everyday use.
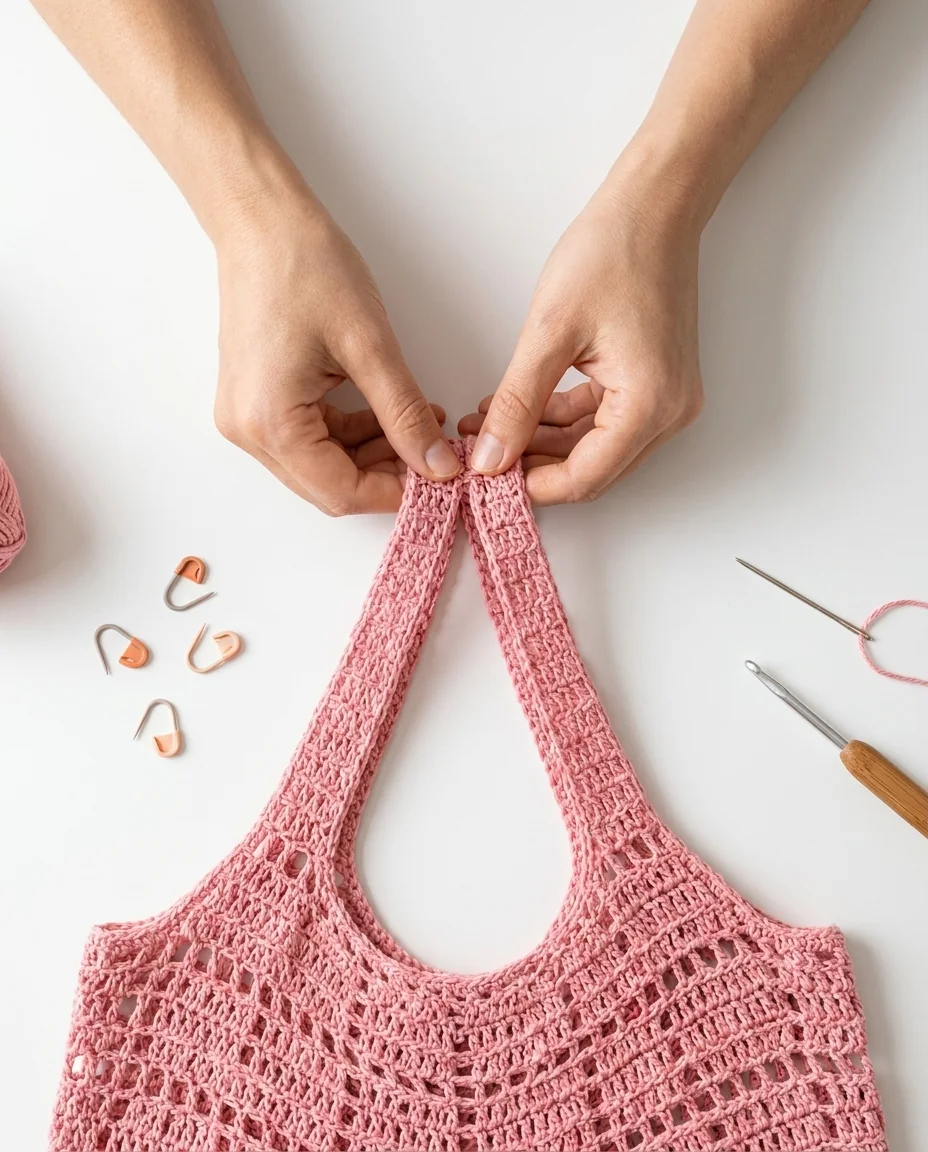
Crochet bag photography ideas are useful whether you are sharing a new project on a blog, promoting a PDF pattern, or simply documenting a finished make. An openwork tote has details that deserve to be seen: the mesh spaces, the strap join, the shape of the base, and the way the bag sits when worn. A clean photograph can answer questions that a paragraph cannot.
Start with one clear hero photograph
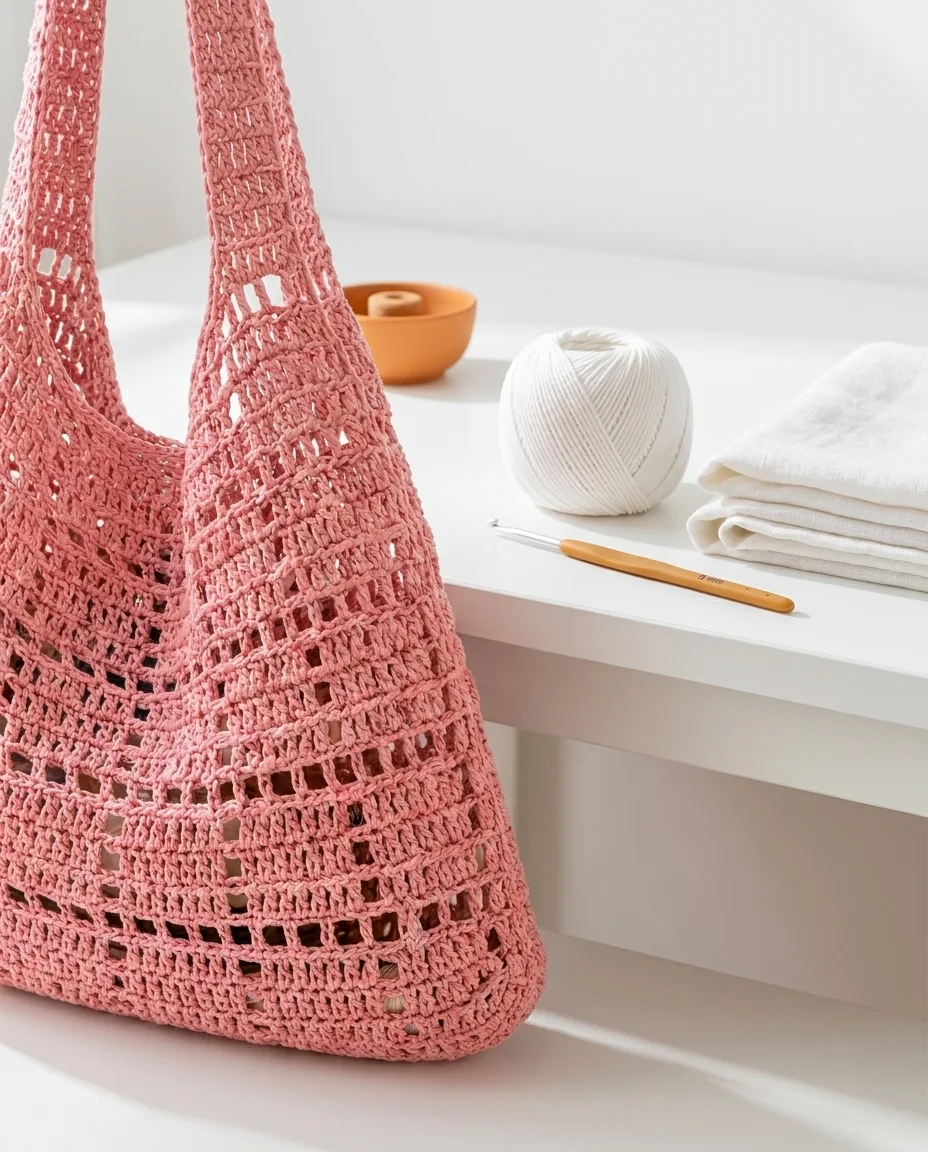
Your first photo should make the project understandable within a second or two. Show the whole bag with its long single strap, pale pink openwork body, and soft triangular shape. A bright white or very light background keeps the stitch pattern visible and fits the modern visual style of My Crochet Universe.
Avoid cropping the handle or hiding the opening. The viewer should be able to tell that this is a wearable tote, not a flat crochet panel. A simple cream outfit or a clean white table can add context without taking over the frame.
For a pattern post, the hero image should support the promise in the title. If the article is about yarn, place the yarn and hook nearby. If it is about strap placement, show the bag worn or show the join close enough to inspect.
Show the openwork texture close up
A close-up is one of the most valuable crochet bag photography ideas for this project. The body uses a repeating mesh-style construction, so readers will want to see the chain spaces and double-crochet sections clearly. Move the camera close enough to show the yarn without turning the image into an unrecognizable blur.
Use soft daylight from one side. Gentle shadows inside the mesh can help the pattern read, while harsh overhead light can flatten the stitches or create distracting highlights. Keep the background simple so the eye stays on the fabric.
A close-up can also help readers compare an even section with a problem area. If you are writing a troubleshooting article, photograph the stitch issue honestly and label the image in the HTML rather than covering the product with too much graphic text.
- Use soft side light
- Keep the yarn texture sharp
- Avoid busy backgrounds
- Show a section large enough to inspect
- Do not over-edit the color
Show the bag’s size in real life
A finished bag can be difficult to judge from a flat table photograph. Include one image of the tote worn over the shoulder or held beside familiar objects. A paperback book, phone, sunglasses, or small water bottle can help readers understand the practical scale without inventing exact measurements.
The PDF guide provides stitch counts and construction details but does not list a finished width and height. Photography can show use and proportion, but it should not replace measured information. If you add dimensions later, use measurements from your own finished sample.
Keep the styling simple. A cream top, clean wall, or bright café background can make the pale pink bag feel wearable while allowing the openwork to remain the focus.
Photograph the strap and finishing
The strap is an important feature of this tote because it is shaped in two sections and joined at the center. Take one close-up of the central join and another of the strap where it meets the body. Keep the bag still so the stitches are not pulled out of shape.
If you add the optional single-crochet edging, photograph it clearly. A short caption can explain that the edging creates a cleaner outline and a little extra firmness. Readers often want to know whether a detail is part of the required pattern or an optional finish, so label it accurately.
A top-edge image is also useful. It can show how the opening sits and how the bag looks when it is carried. These practical details support an article much better than a decorative image alone.
Include a useful materials photograph
For a pattern promotion image, arrange the 100% cotton weight 4 yarn, 5 mm hook, stitch markers, tapestry needle, and scissors beside the bag. Keep the arrangement airy rather than filling every corner. The image should feel like an invitation to start, not a cluttered inventory list.
Use the same colorway as the sample when possible. The PDF lists red as the main color, while the current product reference is pale pink, so describe the image honestly as a pale pink version or colorway. Do not present one color as the only option unless the pattern is color-specific.
A materials image works especially well near the section where the article discusses yarn. It gives the reader a visual reason to continue to the PDF pattern page.
- 100% cotton, weight 4 yarn
- Approximately 180 g
- 5 mm crochet hook
- A couple of stitch markers
- Darning or tapestry needle
- Scissors
Keep the final images clean and consistent
Choose one editing style for the whole article. A bright white background, natural skin tones, pale pink yarn, and a small warm orange accent create a clean contemporary look. Keep the bag’s color consistent across the hero, detail, and lifestyle photos.
Avoid heavy filters that turn the cotton pink into peach or red. Over-sharpening can also make yarn look plastic. A small brightness and contrast adjustment is usually enough when the original image is well lit.
Name the image files descriptively and use keyword-aware ALT text that explains what is visible. The filename and ALT text should help accessibility first; they should not be stuffed with repeated search phrases.
Use photography to support the pattern click
A good image should answer one question and invite the next step. Once the reader has seen the bag in use, the materials, and the close-up details, link naturally to the complete PDF pattern for the stitch counts and construction sequence.
The strongest pattern promotion usually combines one hero image, one detail image, and one real-life image. That is enough to build trust without overwhelming the page or slowing it down with decorative files.
Helpful visual references
Frequently Asked Questions
What is the best background for crochet bag photos?
A bright white, light grey, cream, or simple natural surface usually keeps openwork stitches easy to see.
How should I photograph a mesh crochet bag?
Use soft natural light, show the whole shape, and add a close-up that makes the mesh stitches easy to inspect.
Should I show the bag on a person?
Yes. A lifestyle image helps communicate scale, strap length, and how the tote sits when carried.
How many images should a crochet pattern post include?
A practical post can work well with one hero image, one texture close-up, one materials image, and one real-life use image.
Final thoughts
The best way to approach this project is one checkpoint at a time. Keep the yarn, hook, stitch counts, and finishing notes together, then use the complete PDF pattern when you are ready to make the tote. This guide to crochet bag photography ideas is designed to keep the next step clear.




