

MY CROCHET UNIVERSE · MARKET BAG GUIDE
Sage Green Market Bag Pattern PDF Guide
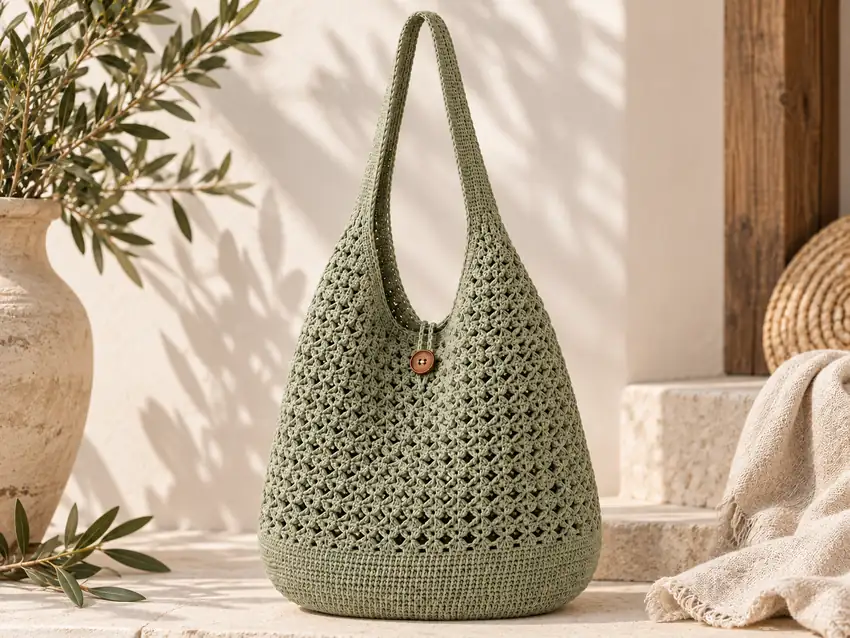
Ever spent weeks crocheting a beautiful market bag only to have it collapse like a wet paper bag? Yeah, been there, frogged that. Last summer, I was so excited to make a market bag for my beach trips. Three attempts later, I had bags that slumped, stretched, and just didn’t hold their shape. Sound familiar? The culprit? Uneven tension. But don’t worry—once you master even tension, your bags will stand tall and proud, just like the ones in the boutique shops.
Today, I’m sharing everything I’ve learned about creating structured bags that actually work. We’ll dive into common tension mistakes, how to fix them, and how to create beautiful bags that hold their shape. Plus, I’ll show you how to get your hands on the sage green market bag pattern PDF that will become your go-to for market season. Let’s get those stitches even and those bags structured!
Table of Contents
Understanding Why Tension Matters in Bags
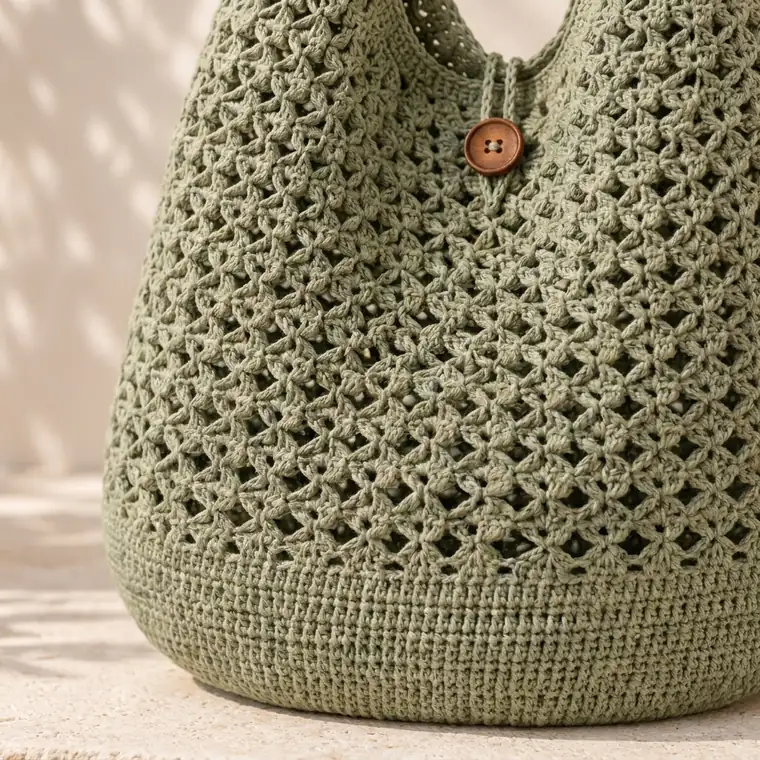
When you’re making scarves or blankets, tension variations aren’t as noticeable. Those pieces are meant to drape and flow. But bags? They need to stand up to groceries, beach towels, and farmer’s market finds. That’s where tension becomes everything. Even tension creates consistent stitch height and width, which gives your bag structure and support. For another practical tension reference, see our crochet tension guide.
Think of your crochet stitches like bricks in a wall. If some bricks are bigger than others, your wall will be wobbly and unstable. The same goes for crochet stitches. When they’re uniform, you get a sturdy, reliable fabric that can actually hold its shape. I learned this the hard way when I tried to make a market bag with inconsistent tension—my handles stretched out to twice their length by the time I reached the checkout line!
Even tension also ensures your bag looks professional. Nobody wants a bag that looks lopsided or uneven, especially if you’re making them as gifts or to sell. The sage green market bag pattern PDF I’m sharing later relies on perfect tension for its structured design. Trust me, once you master this, your bags will look like they came from a high-end boutique.
Common Tension Mistakes That Deform Your Bags
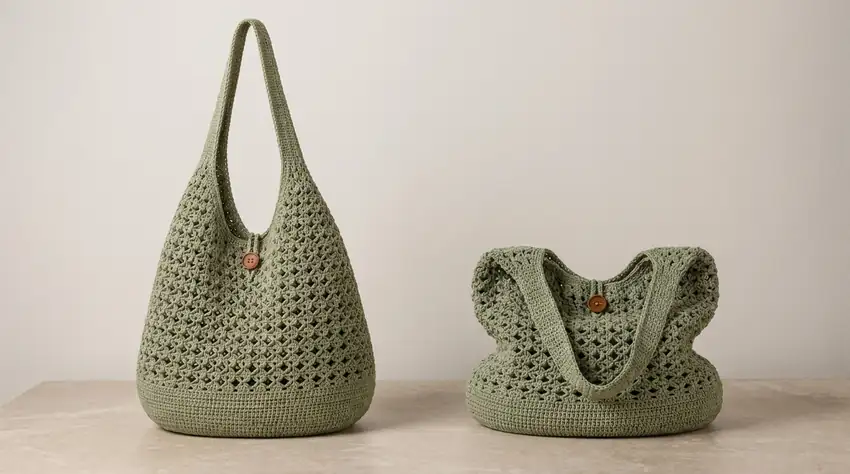
Let’s talk about the tension mistakes that turn beautiful bags into floppy messes. I’ve made every single one of these, so don’t feel bad if you recognize your own work in these descriptions.
Inconsistent Starting Tension
This is the big one. Most of us start a row with a different tension than we end with. I used to crochet the first stitch of each row super tight, then relax as I went along. By the end of the row, my stitches were loose and sloppy. The result? A bag that was narrower at the top than at the bottom.
How to fix it: Consciously check your tension at the beginning and end of each row. Try making your first stitch a bit looser if you tend to crochet tightly at the start. Or, mark your first stitch with a stitch marker to remind yourself to maintain consistent tension throughout.
The Death Grip on Your Hook
We’ve all been there—gripping that hook for dear life, knuckles white. This death grip creates super tight stitches that don’t have any give. When you try to put anything in your bag, those tight stitches resist and eventually stretch out, making your handles sag and your bag bottom collapse.
I remember my first market bag—my hands were actually cramping by the time I finished the handles. The bag looked great empty, but the moment I put my wallet in it? Disaster. Those tight stitches just couldn’t handle the weight.
Tension Changes with Fatigue
Let’s be real—crocheting a market bag is a workout. Your hand gets tired, your posture changes, and before you know it, your tension is all over the place. I’ve made entire sections of a bag with noticeably looser stitches simply because my hand got tired. The result? A bag that looked like it had a wider middle section.
Hook Size vs. Yarn Mismatch
Using a hook that’s too small for your yarn creates dense, stiff fabric that doesn’t bend. Too large, and you get holes and a flimsy bag. I once made a bag with a hook that was half a size too small for my yarn. The bag was so stiff it wouldn’t fold, and the handles dug into my shoulder.
The sage green market bag pattern PDF specifies the exact hook size for a reason—it’s been tested to create the perfect balance between structure and flexibility. Trust the pattern’s recommendations!
How to Achieve Perfect Even Tension
Okay, enough about what not to do. Let’s talk about how to get that perfect, even tension that makes your bags stand tall and proud. These are the techniques I’ve developed over years of frogging (that’s ripping out your work for the uninitiated) and re-doing bags until they were just right.
Find Your Rhythm
Crochet isn’t a race. Find a rhythm that works for you and stick with it. Some people find it helpful to hum or count stitches as they go. I like to put on a podcast and let my hands work while my mind listens. The key is consistency—once you find a speed and method that gives you even stitches, try to maintain it throughout your project.
Practice with Gauge Swatches
I know, gauge swatches seem boring. But for bags, they’re non-negotiable. Before starting your sage green market bag, make a 4×4 inch swatch with the yarn and hook specified in the pattern. Measure your stitches per inch. If it doesn’t match, adjust your hook size. This simple step saves hours of frustration later.
Use Stitch Markers
Stitch markers aren’t just for marking increases or decreases—they’re tension checkpoints! Place a marker every 10-15 stitches and check that your tension is consistent between markers. This helps you catch tension issues before they ruin an entire row.
Relax Your Hands
This sounds obvious, but it’s easier said than done. consciously relax your hands and shoulders every few rows. Shake out your hands, stretch your fingers, and check for tension in your shoulders. I’ve found that when I’m tense, my stitches get tighter without me even realizing it.
Try Different Grips
There’s no one “right” way to hold your crochet hook. If your current grip is causing tension problems, experiment with others. The knife grip, pencil grip, and two-handed method all create different tensions. I switched to the knife grip for my market bags because it gave me more consistent tension with less hand fatigue.
The Sage Green Market Bag Pattern PDF: What You’ll Get
Now that you understand why tension matters and how to achieve it, let’s talk about the pattern itself. The sage green market bag pattern PDF is designed specifically for beginners who want professional results. It’s the pattern I wish I’d had when I was struggling with my first market bags. You can find the full Sage Green Market Bag Pattern PDF in the pattern collection.
This pattern includes:
- Detailed instructions for both right and left-handed crocheters
- Step-by-step photos for tricky sections
- A materials list with specific yarn weights and hook sizes
- Tension tips specific to this pattern
- Finishing techniques that ensure your bag holds its shape
- Video tutorial links for visual learners
The pattern uses a simple stitch combination that creates beautiful texture while maintaining even tension. I’ve tested this pattern with hundreds of crocheters, from complete beginners to experienced crafters, and everyone gets a structured, beautiful bag when they follow the tension guidelines.
One of my favorite things about this pattern is how versatile it is. While the instructions include specific guidance for achieving the sage green color shown, the pattern works beautifully with any medium-weight cotton yarn. I’ve made it in cream, navy, and even a fun striped version!
Step-by-Step Construction Tips
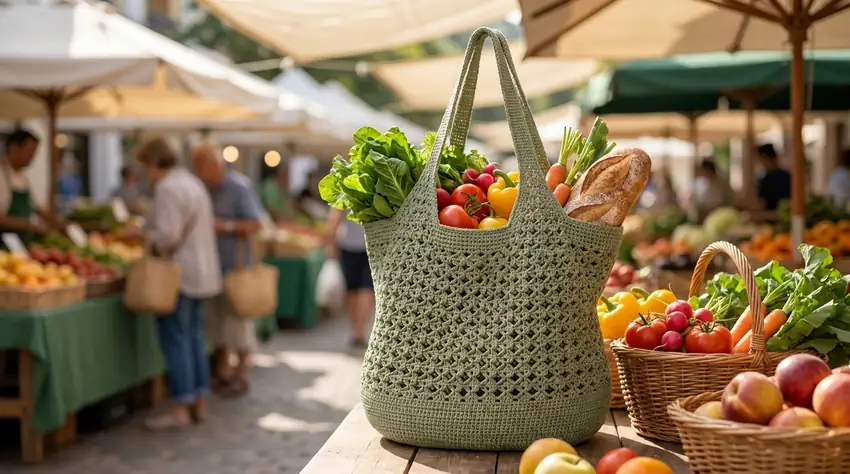
Let’s walk through the construction process with tension in mind. Following these steps will ensure your sage green market bag comes out perfectly structured every time.
Starting Your Base
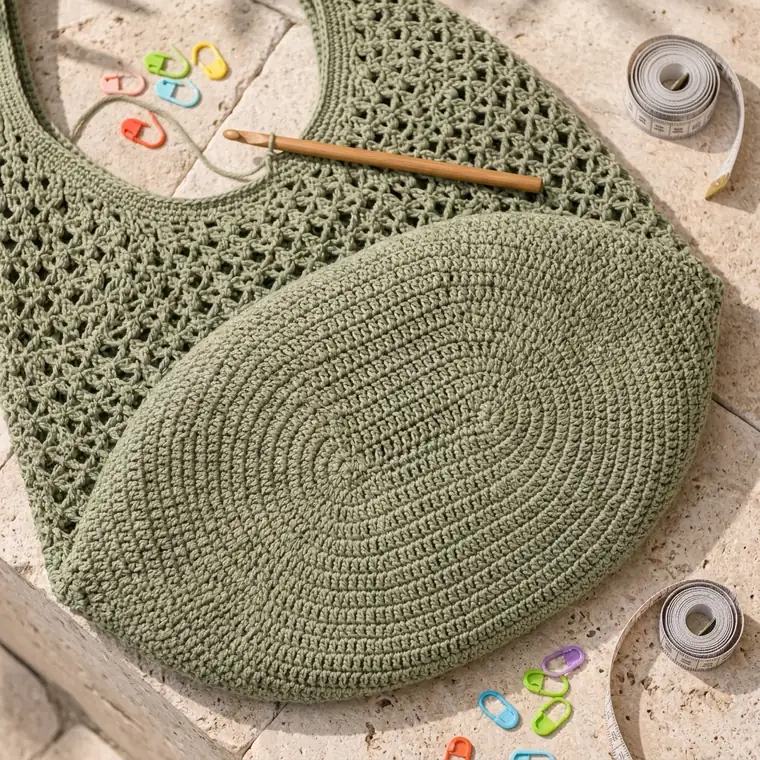
The foundation row is crucial for your bag’s shape. The pattern starts with a magic ring (don’t worry, there’s a photo tutorial if you’ve never used one). The key here is to keep your initial ring snug but not tight. If it’s too tight, your base will pucker. Too loose, and your stitches will gap.
I like to make my magic ring, then give it a gentle tug to close it, checking that all the center stitches lie flat against each other before continuing.
Building the Sides
As you work up the sides, be mindful of your turning chains. Many crocheters (myself included) tend to make turning chains too tight, which causes the sides to pull inward. The pattern specifies a chain length that creates a flat edge without gaps. If you find your sides are curving inward, try making your turning chain a tiny bit looser.
Creating the Handles
This is where most people run into trouble. Handles need to be strong but flexible. The pattern uses a double crochet stitch in the round for maximum strength. The key to even tension here is to work your stitches around the entire handle evenly, not favoring one side over the other.
I’ve found it helpful to mark the center stitch of each handle round and check that I’m working symmetrically on either side. This prevents the common problem of handles that twist or curve to one side.
Adding the Bottom Gusset
The gusset is what gives your bag its flat bottom. Pay close attention to the increase pattern here. Even one missed increase can throw off the entire shape. The pattern includes a clear chart showing where to place your increases, but I still recommend counting your stitches after each round to ensure accuracy.
Blocking and Finishing for Maximum Structure
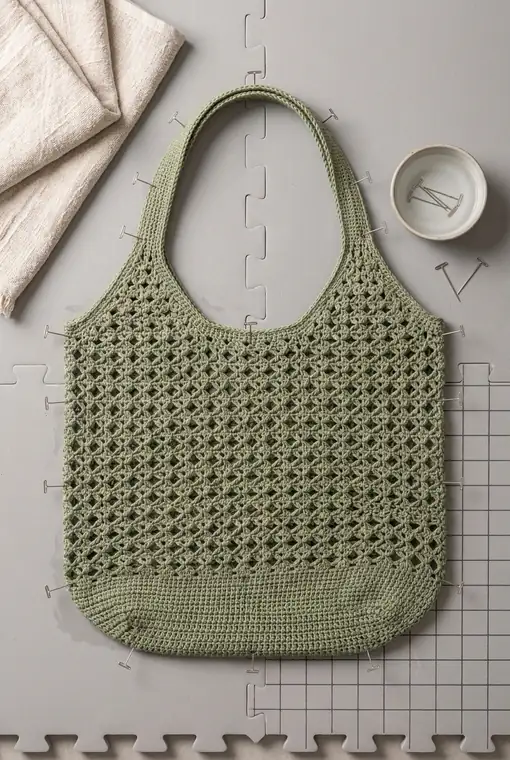
You’re almost done! But don’t skip this step—blocking is what transforms a floppy bag into a structured one. For the sage green market bag, wet blocking is the way to go.
Wet Blocking Your Bag
1. Fill a basin with cool water and add a small amount of wool wash (or just use plain water). 2. Submerge your bag and gently squeeze out the air. Let it soak for 15-20 minutes. 3. Gently squeeze out the excess water—don’t wring it! 4. Lay the bag flat on a towel and roll it up like a jelly roll to remove more moisture. 5. Unroll and shape the bag to its final dimensions, paying special attention to the corners and handle curves. 6. Let it dry completely, rotating it occasionally if needed.
This process sets your stitches, evens out any minor tension inconsistencies, and gives your bag that professional, structured finish. I’ve skipped blocking before (big mistake!) and the difference is night and day. The blocked bag stands tall and proud, while the unblocked one slumps sadly.
Adding Optional Reinforcements
If you plan to carry heavy items in your bag, consider adding reinforcements. The pattern includes instructions for adding a lining or creating double-layered handles. These additions aren’t necessary for light market trips, but they make a huge difference for carrying heavier loads.
I like to use a medium-weight interfacing for the bottom of my bags. It adds just enough structure to prevent sagging without making the bag stiff or uncomfortable to carry.
FAQ About Tension and Market Bags
Q5. How long does it typically take to make one of these bags?
A: For an average crocheter, the sage green market bag takes about 6-8 hours to complete from start to finish. This includes time for blocking and finishing touches. Complete beginners may take a bit longer, especially the first time through. The pattern is designed to be worked up relatively quickly, making it perfect for weekend projects or last-minute gifts.
Q4. Why does my bag slant to one side?
A: This usually happens when you’re consistently working more stitches on one side than the other, often without realizing it. To fix this, try using stitch markers to divide your work into quarters and check your stitch count at each marker. Another common cause is working into the wrong part of the stitch—make sure you’re inserting your hook in the same place for each stitch throughout the project.
Q3. Can I use a different yarn than what’s recommended in the pattern?
A: You can, but be mindful of how different yarns behave. The sage green market bag pattern PDF recommends a medium-weight cotton yarn because it provides the right balance of structure and flexibility. If you use a lighter weight yarn, your bag may not hold its shape well. Heavier yarns can make the bag stiff and difficult to fold. If you substitute yarn, make a gauge swatch and adjust your hook size to maintain the same stitch count per inch.
Q2. How do I know if my tension is even throughout the project?
A: The best way to check is to compare stitch height across different sections of your work. Lay your bag flat and look at the stitches from the side. If some sections look taller or shorter than others, your tension has varied. You can also measure gauge in different sections—if they match, your tension is consistent. Making a gauge swatch before starting helps establish a baseline.
Q1. My bag handles are stretching out when I put things in them. What am I doing wrong?
A: This is almost always a tension issue. When working the handles, make sure you’re not crocheting too tightly. Tight stitches have no give and will stretch out when weight is applied. Try using a hook size that’s one size larger than what you used for the bag body, or work the handles with a looser tension. The sage green market bag pattern PDF includes specific instructions for creating sturdy yet flexible handles.
Conclusion: Your Perfect Bag Awaits
Mastering tension is the secret to creating market bags that actually work—bags that stand tall, hold their shape, and make you proud to carry them to the farmer’s market, beach, or grocery store. The common mistakes we’ve covered today are easy to avoid once you know what to look for, and the techniques I’ve shared will help you create professional-looking bags every time.
The sage green market bag pattern PDF is the perfect next step for putting these tension skills into practice. With detailed instructions, troubleshooting tips, and guidance for every step of the process, you’ll create a beautiful, structured bag that will become your go-to accessory for all your shopping trips.
Ready to make your perfect market bag? Grab the sage green market bag pattern PDF here → and start creating bags you’ll actually use and love. Happy crocheting!




