

My Crochet Universe · Holiday Amigurumi
Free Crochet Reindeer Pattern: Step-by-Step Amigurumi
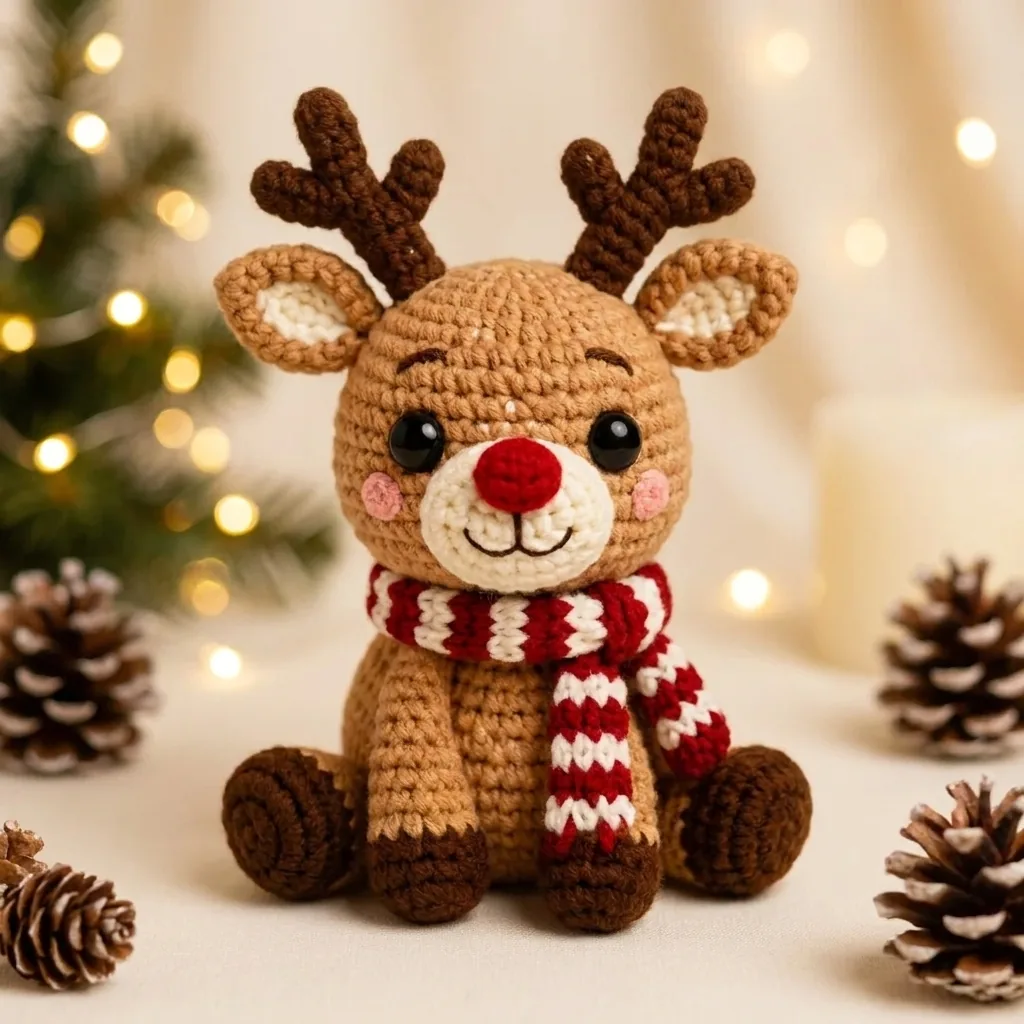
Create a cuddly holiday friend with this complete crochet reindeer pattern. The finished amigurumi has a round light-brown head, a shaped body, cream muzzle and inner ears, dark-brown antlers and hooves, a bright red nose, and a striped scarf.
Every stitch count, component, assembly direction, gauge note, tip, color idea, and care instruction below comes from the supplied reference. The newly created images show each major part and assembly stage without copying the original infographic into the article.
Materials, Colors, Size, and Gauge
Before starting the crochet reindeer pattern, prepare every yarn color and place the stuffing, eyes, marker, needle, scissors, and black thread within reach.
Materials listed in the source
- Worsted-weight yarn: light brown for body; dark brown for antlers and hooves; cream for muzzle and inner ears; red for nose and scarf; white for scarf; pink for cheeks
- 2.5–3.0 mm crochet hook
- 10–12 mm safety eyes
- Fiberfill stuffing
- Yarn needle, stitch marker, scissors, and black embroidery thread
- Optional blush
The finished seated reindeer is approximately 22 cm (8.5 in) tall using the listed materials and hook size.
Using a 2.5 mm hook, the stated gauge is 18 sc × 18 rows = 10 × 10 cm (4 × 4 in). Gauge is not critical, but it affects the final size.
Abbreviations — US terms
mr magic ring · ch chain · sc single crochet · inc increase (2 sc in next stitch) · dec decrease (invisible sc) · hdc half double crochet · dc double crochet · tr treble crochet · sl st slip stitch · BLO back loop only · FO fasten off · ( ) total stitches · *…* repeat instructions · × n repeat n times.
Crochet the Head, Body, Muzzle, and Nose
The crochet reindeer pattern shapes the head and body with evenly spaced increases, straight rounds, and matching decrease sequences.
For this crochet reindeer pattern, keep the long muzzle and nose tails available for assembly.
The main shapes in this crochet reindeer pattern begin with six single crochets in a magic ring, expand evenly, then decrease to close.
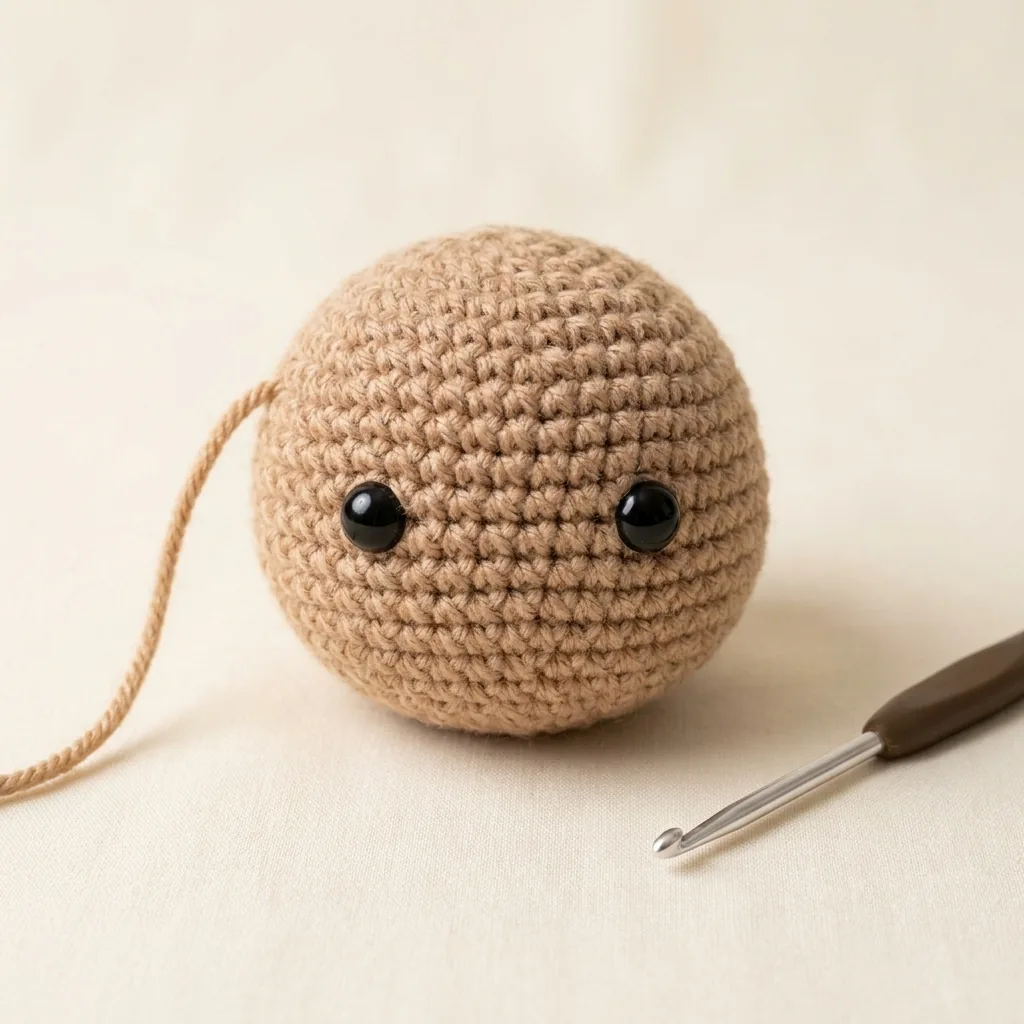
Head — light brown
- R1: 6 sc in mr (6)
- R2: inc ×6 (12)
- R3: (sc, inc) ×6 (18)
- R4: (2 sc, inc) ×6 (24)
- R5–R10: sc around (24)
- R11: (2 sc, dec) ×6 (18)
- R12: (sc, dec) ×6 (12)
- R13: dec ×6 (6)
- FO and close the hole.
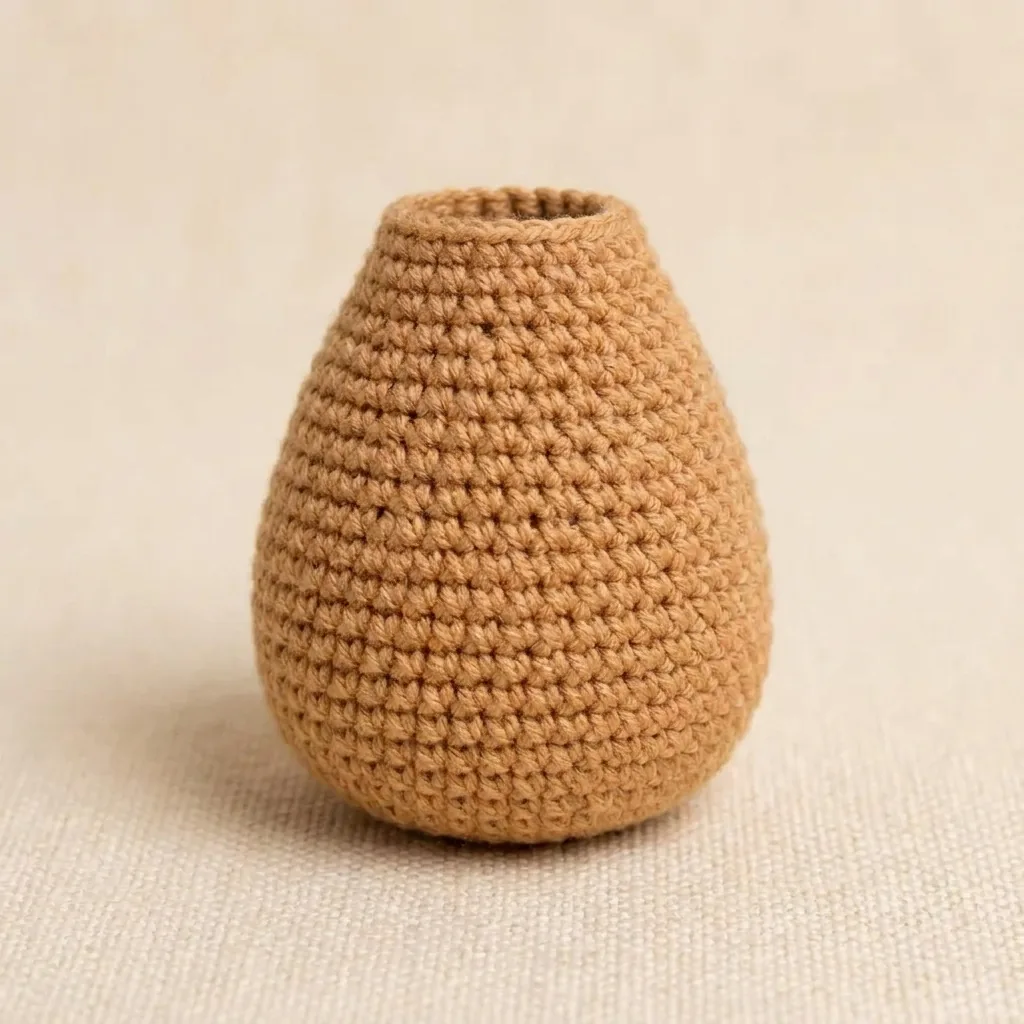
Body — light brown
- R1: 6 sc in mr (6)
- R2: inc ×6 (12)
- R3: (sc, inc) ×6 (18)
- R4: (2 sc, inc) ×6 (24)
- R5: (3 sc, inc) ×6 (30)
- R6–R11: sc around (30)
- R12: (3 sc, dec) ×6 (24)
- R13: (2 sc, dec) ×6 (18)
- R14: (sc, dec) ×6 (12)
- R15: dec ×6 (6)
- FO and close the hole.
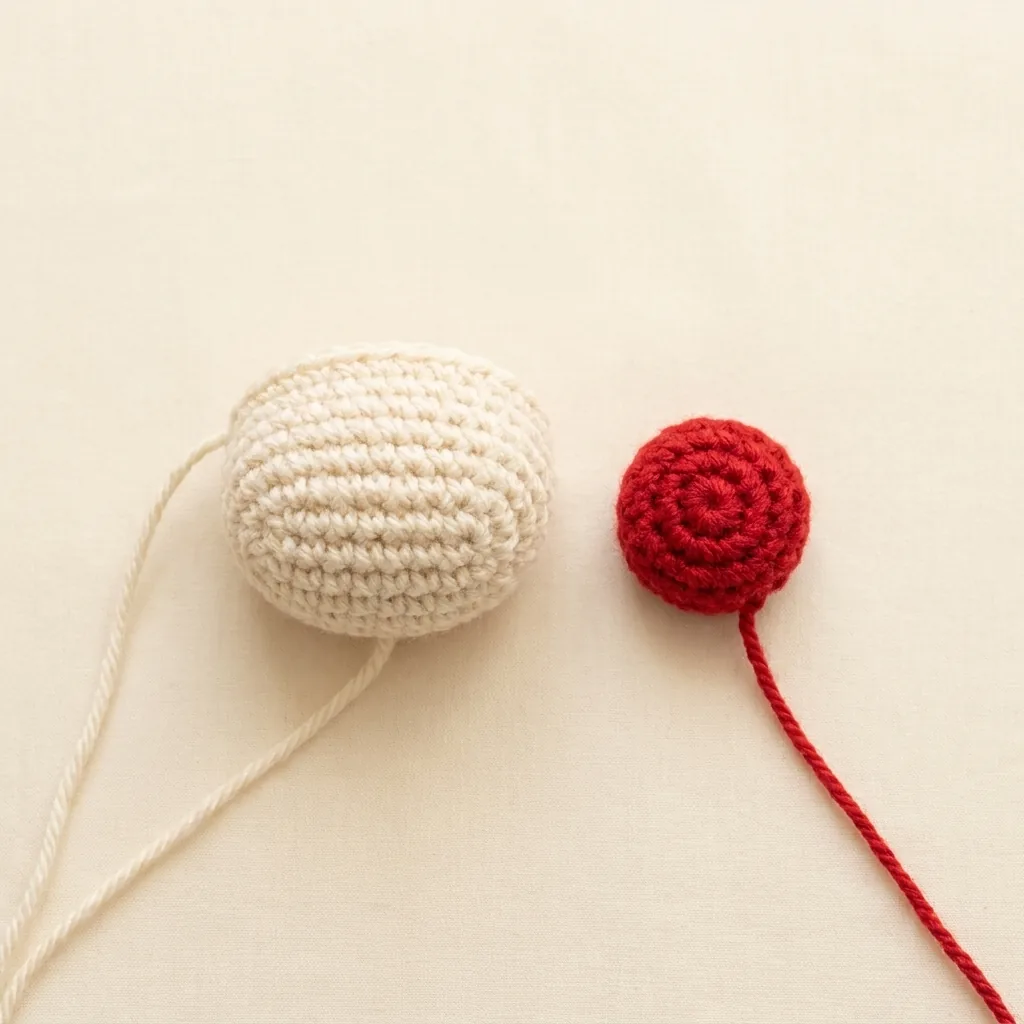
Muzzle and nose
- Muzzle R1: 6 sc in mr (6)
- Muzzle R2: inc ×6 (12)
- Muzzle R3: sc around (12)
- Muzzle R4: (sc, inc) ×6 (18)
- FO, leave a long tail for sewing.
- Nose R1: 6 sc in mr (6)
- Nose R2: inc ×6 (12)
- Nose R3–R4: sc around (12)
- FO, leave a long tail.
Make the Antlers, Ears, Arms, and Legs
The crochet reindeer pattern uses paired antlers, paired ears, two arms, and two longer legs to create the seated silhouette.
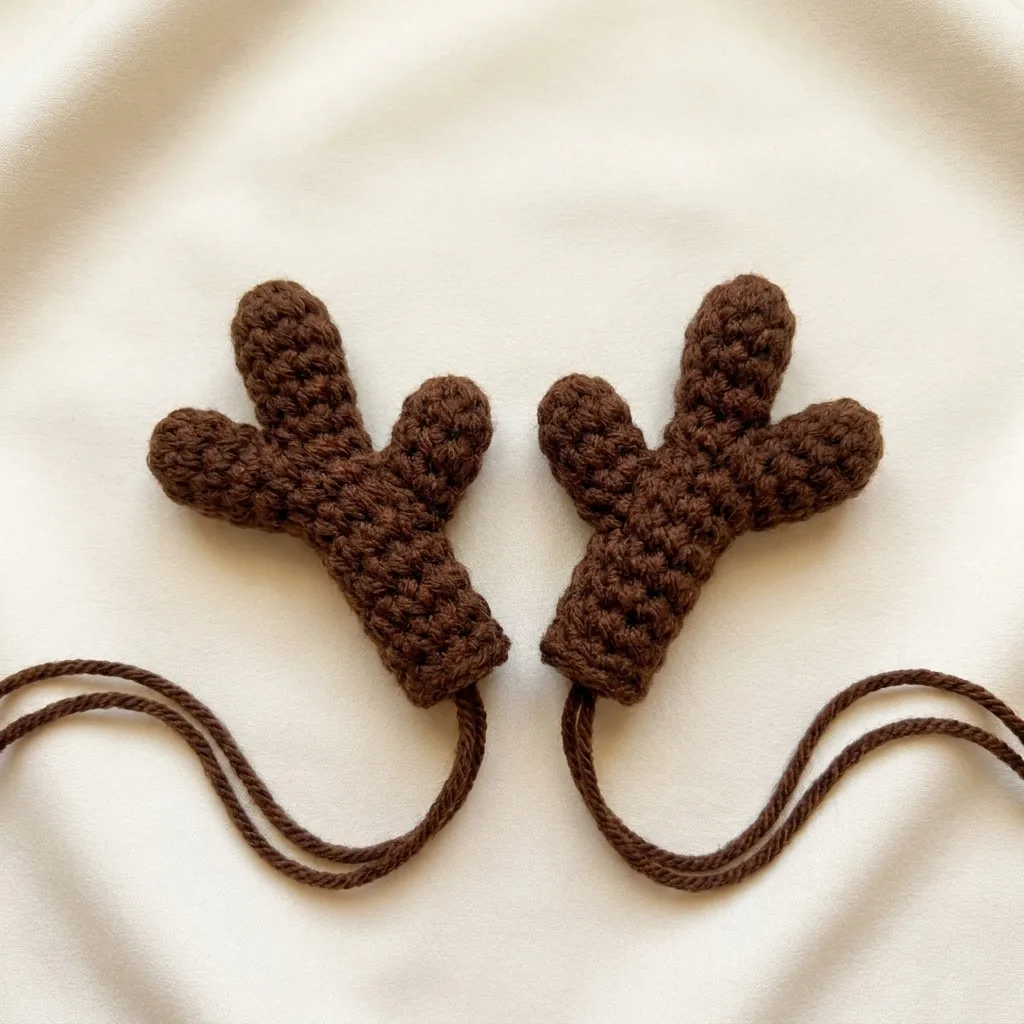
Antlers — make 2 in dark brown
- R1: 6 sc in mr (6)
- R2: sc around (6)
- R3: 3 sc, inc, 2 sc (7)
- R4: sc around (7)
- R5: 2 sc, inc, 4 sc (8)
- R6–R7: sc around (8)
- FO, leave a long tail.
- Make a second branch. The source notes that you may add a few more branches if desired.
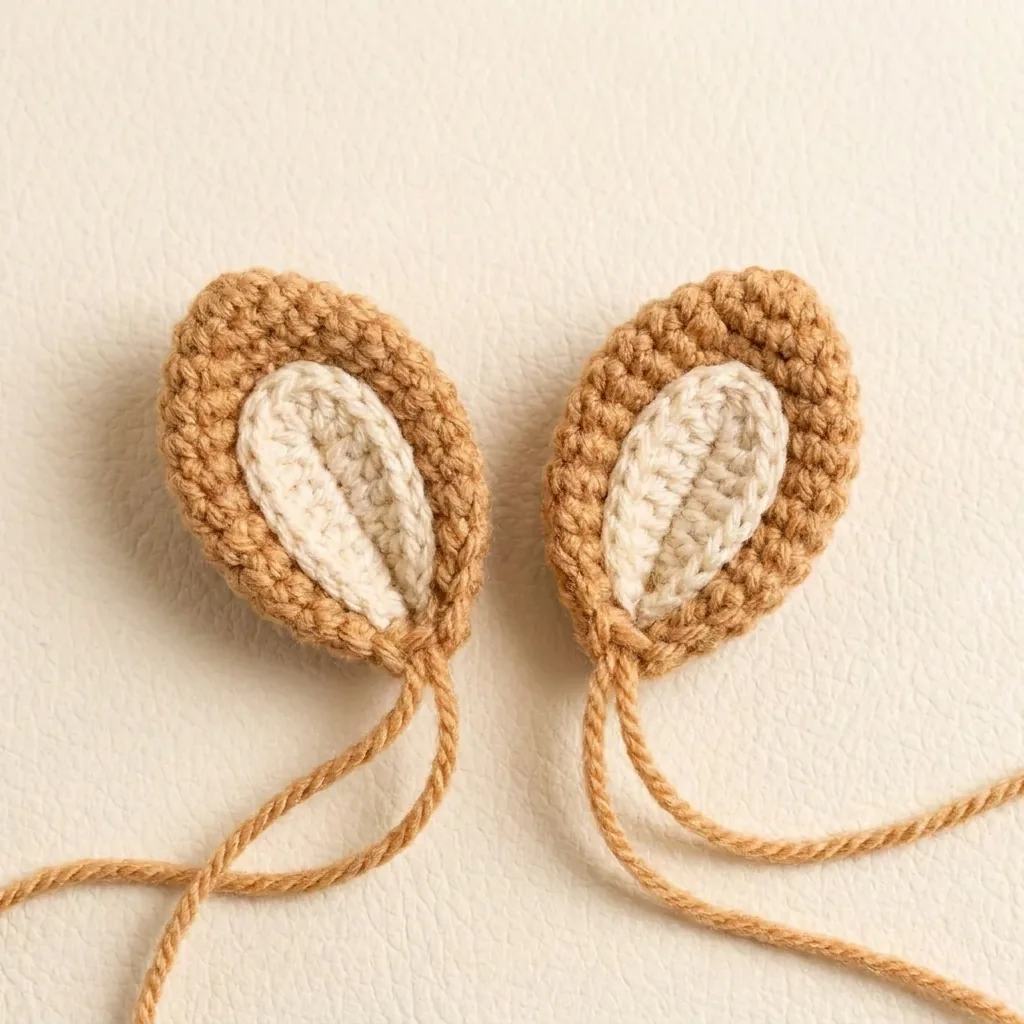
Ears — make 2
- R1: 6 sc in mr (6)
- R2: inc ×6 (12)
- R3: (sc, inc) ×6 (18)
- R4: sc around (18)
- R5: fold flat and sc 8 across
- FO, leave a long tail.
- Sew a cream inner part inside.
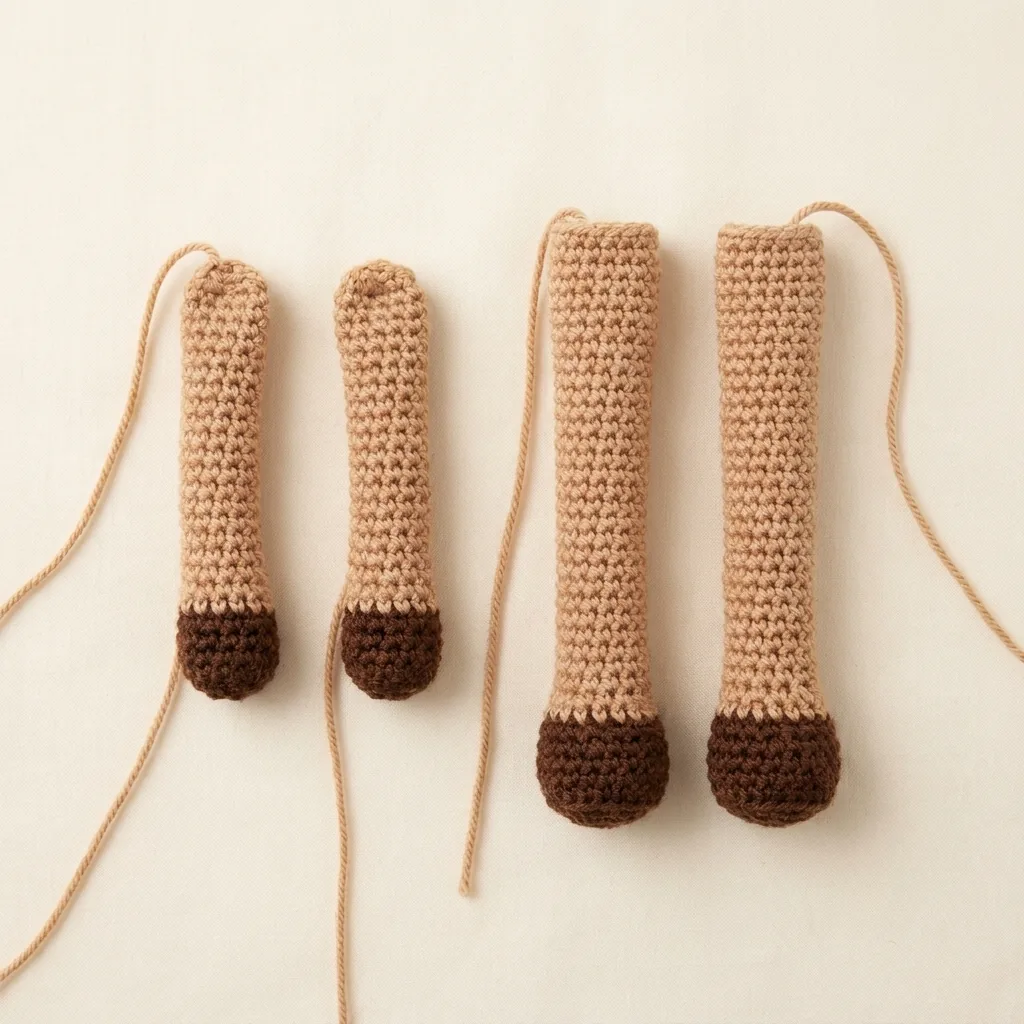
Arms and legs — make 2 of each
- Arms R1: 6 sc in mr (6)
- Arms R2–R3: sc around (6)
- Change to light brown.
- Arms R4–R10: sc around (6)
- FO, leave a long tail.
- Legs R1: 6 sc in mr (6)
- Legs R2–R3: sc around (6)
- Change to light brown.
- Legs R4–R12: sc around (6)
- FO, leave a long tail.
Assemble the Crochet Reindeer Step by Step
Follow the crochet reindeer pattern assembly sequence carefully so the facial pieces remain centered and the paired pieces stay symmetrical.
At this stage, the crochet reindeer pattern brings all completed components together without adding any unlisted crochet rounds.
The source infographic repeats number 5 and skips number 8. The sequence below keeps the same assembly order while numbering the actions clearly from 1 to 10.
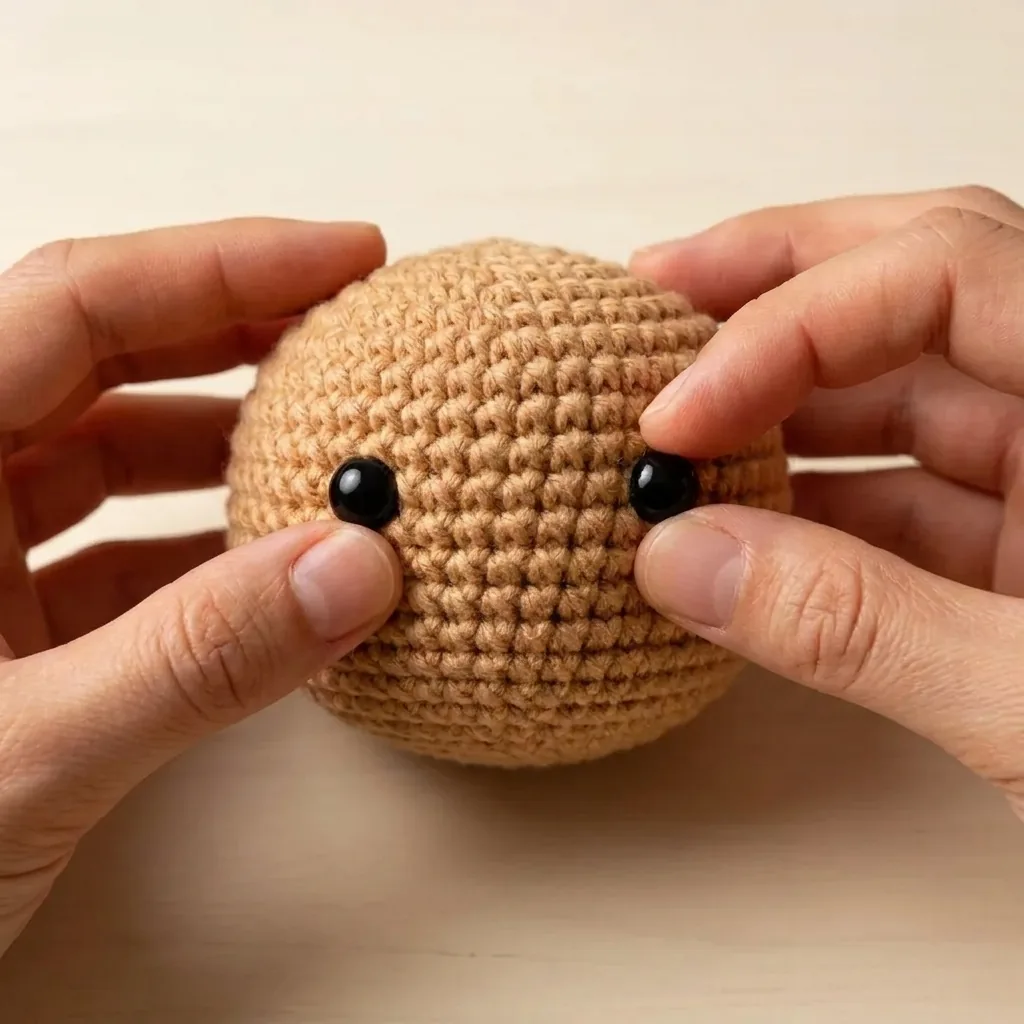
Step 1: Attach the safety eyes
Attach the safety eyes between rounds 7 and 8 of the head.
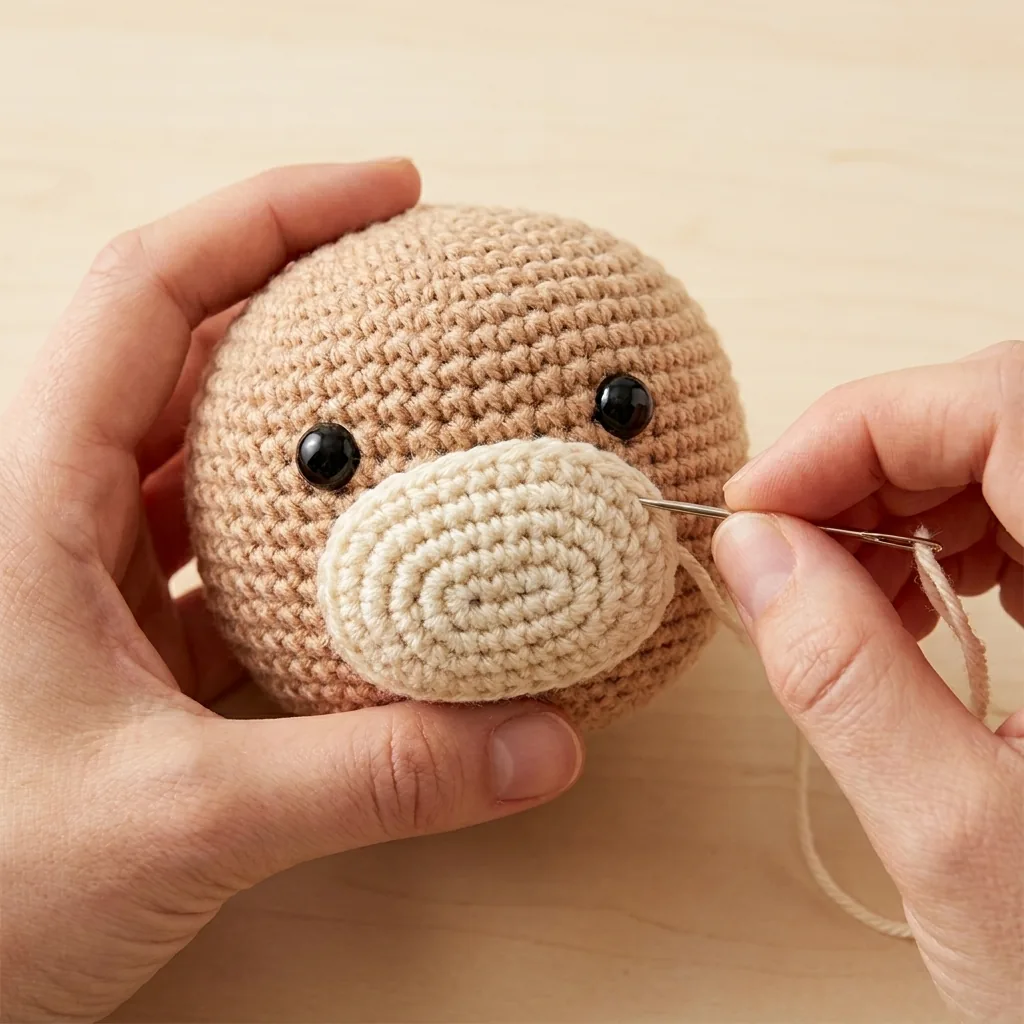
Step 2: Sew on the muzzle
Sew the cream muzzle under the eyes.
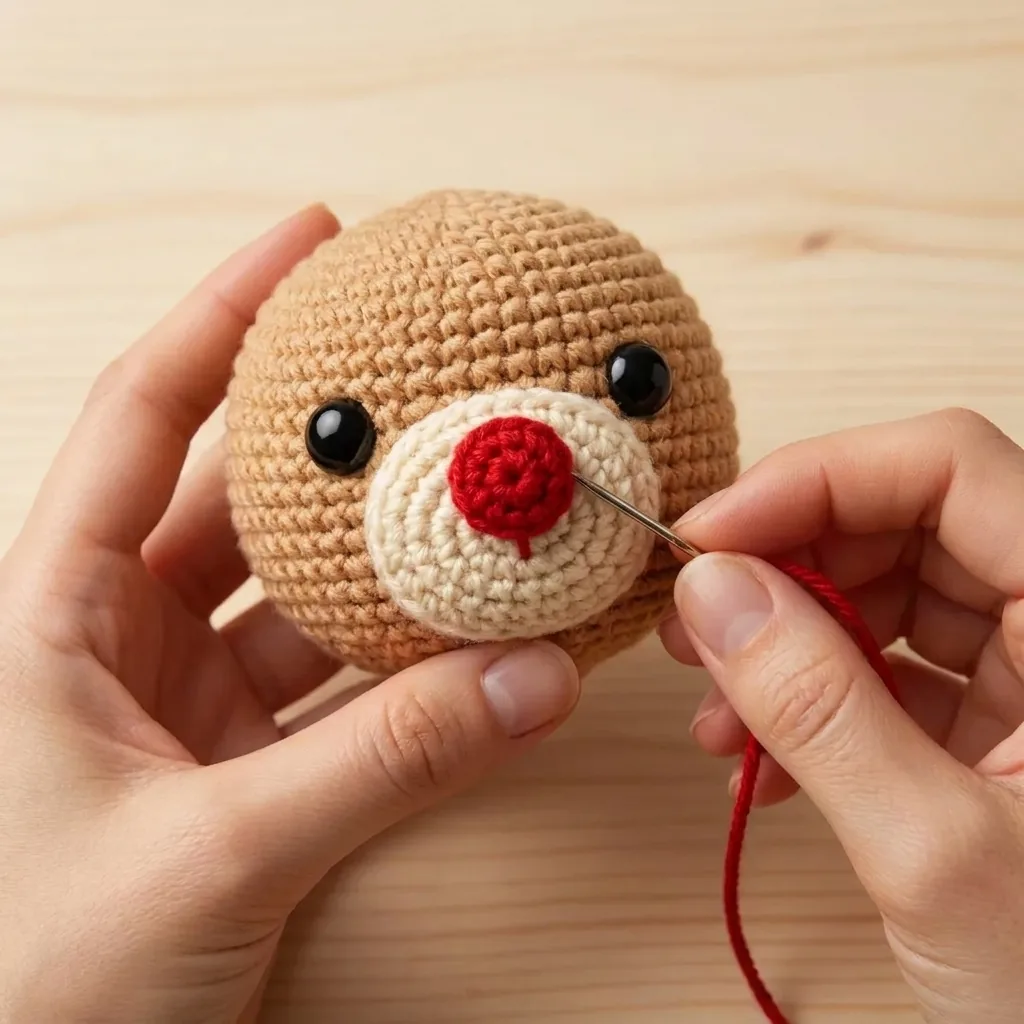
Step 3: Add the red nose
Sew the red nose in the center of the muzzle.
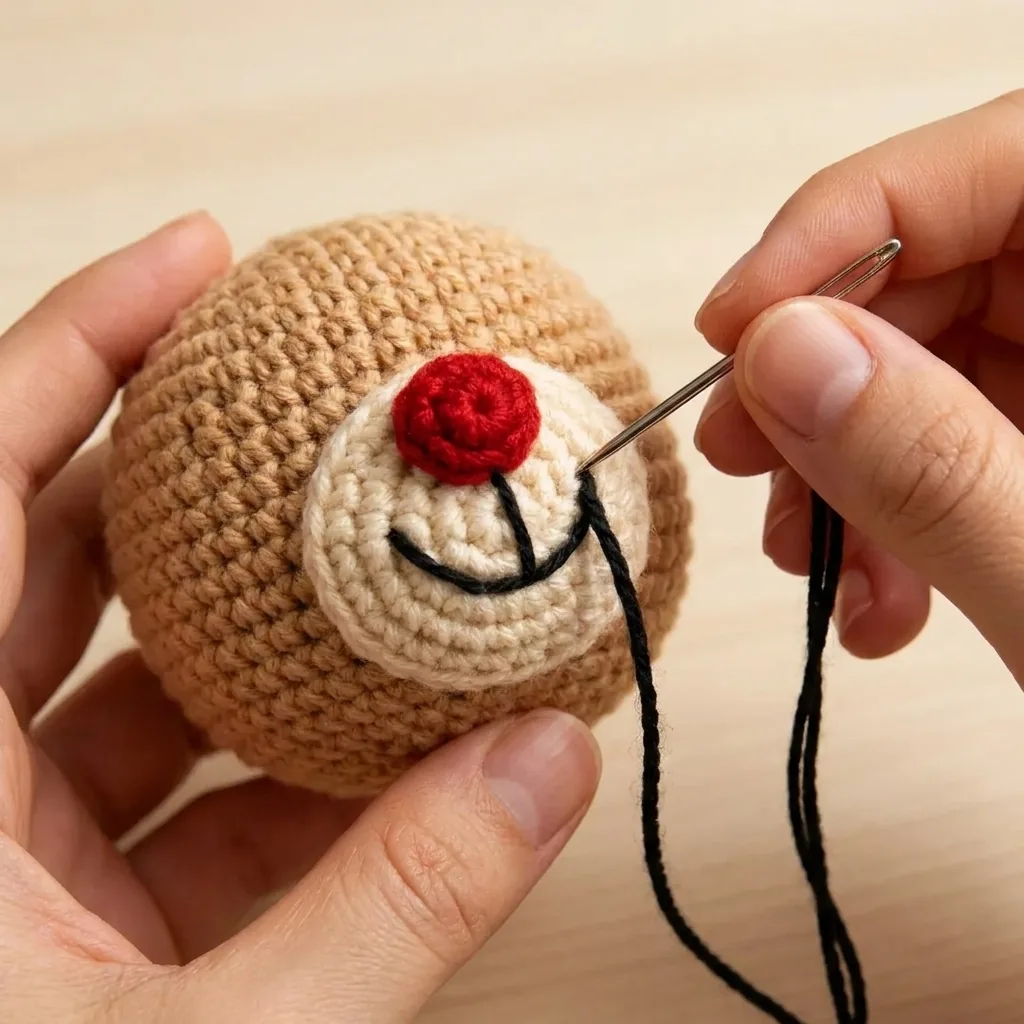
Step 4: Embroider the mouth
Use black embroidery thread to stitch the mouth below the nose.
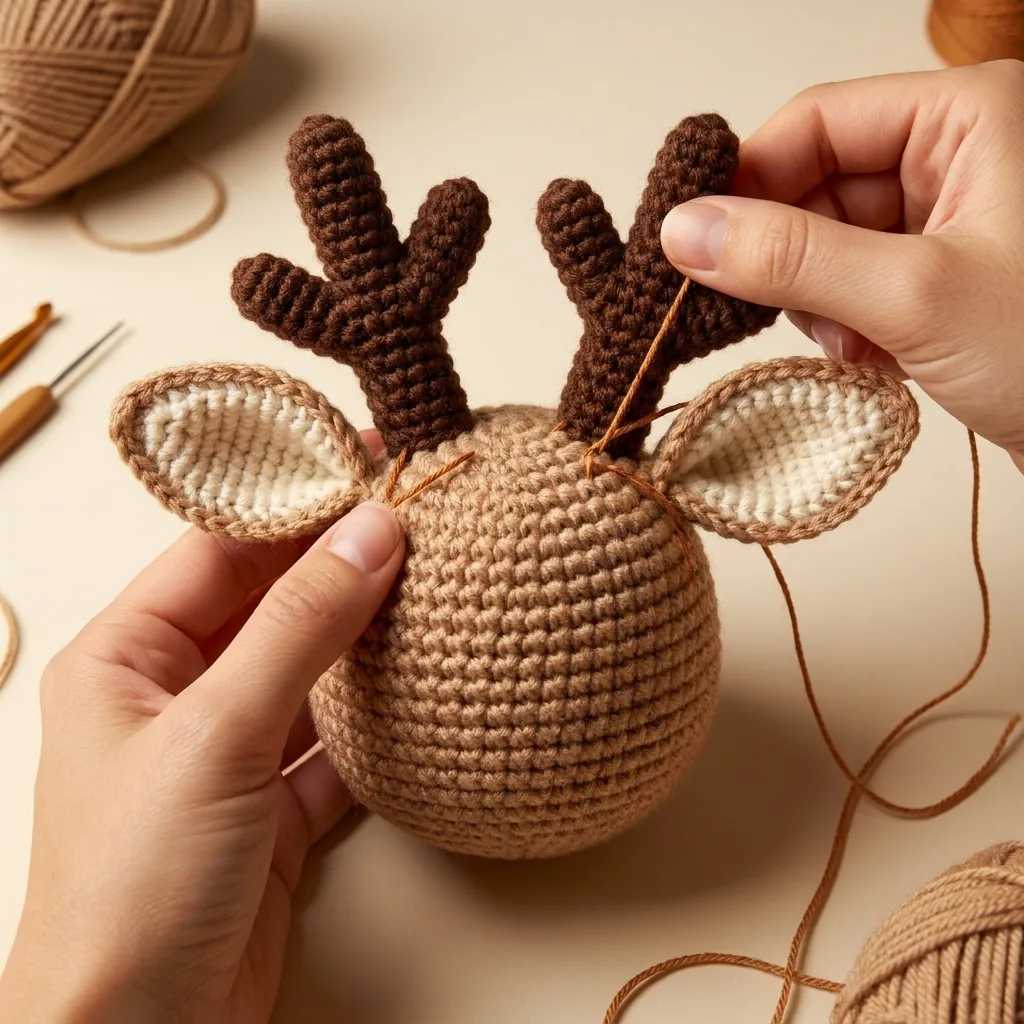
Steps 5–6: Sew on the antlers and ears
Sew the antlers on top of the head. Sew the ears below the antlers.
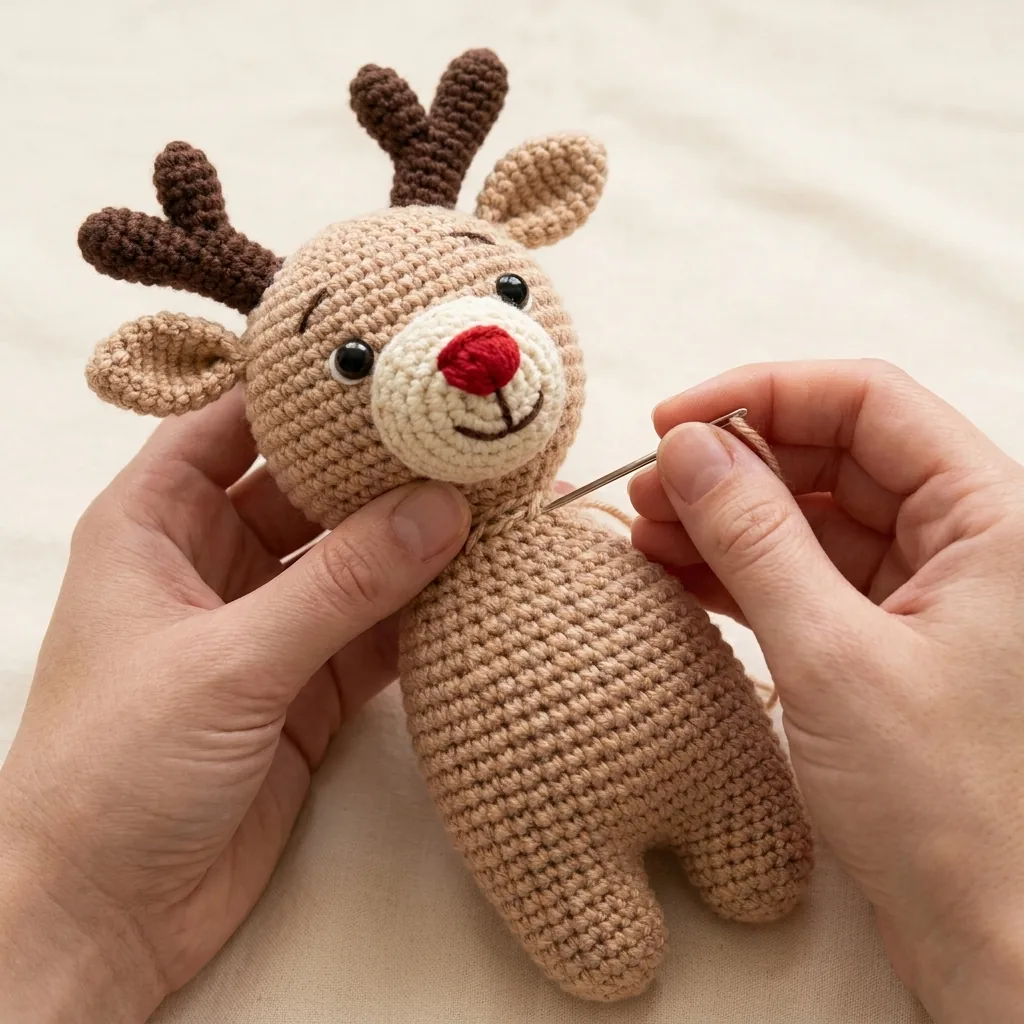
Step 7: Attach the head to the body
Sew the completed head securely to the body.
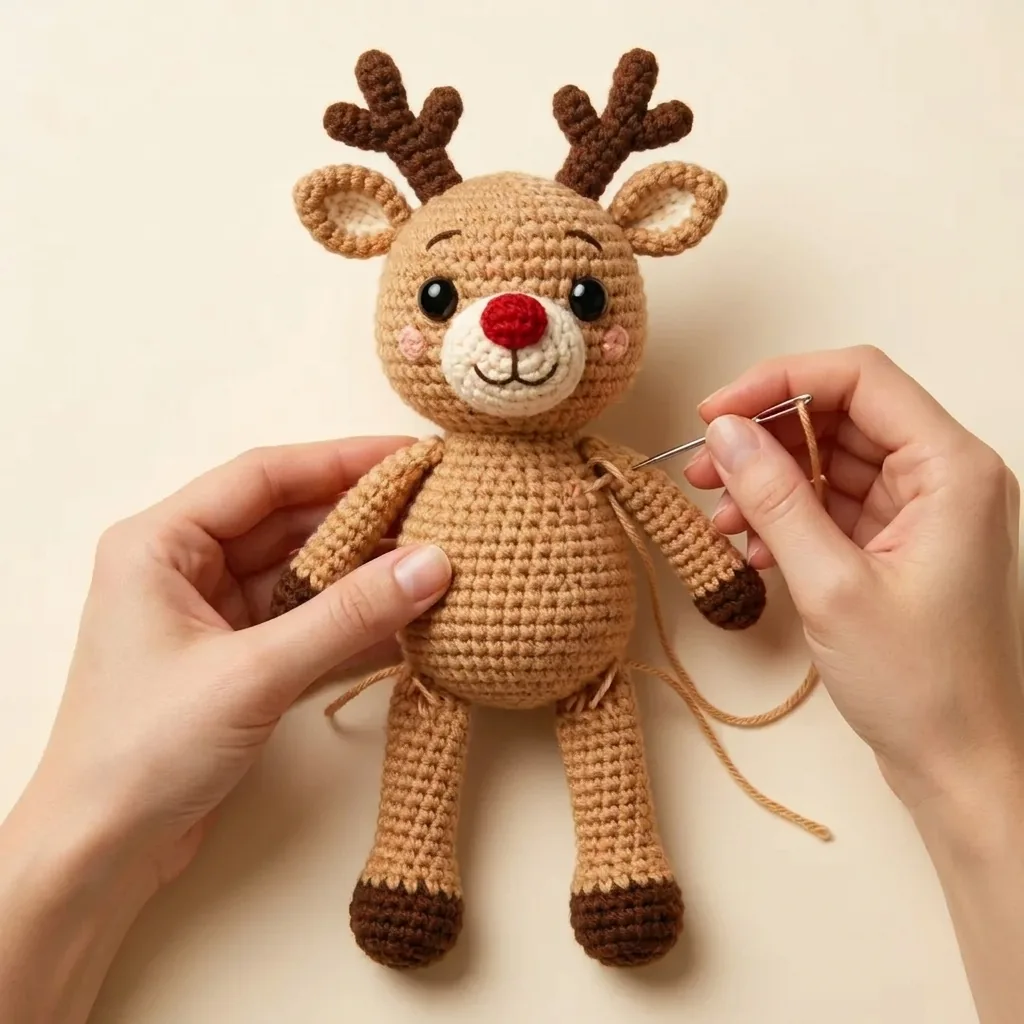
Steps 8–9: Attach the arms and legs
Sew the arms to the sides. Sew the legs at the bottom.
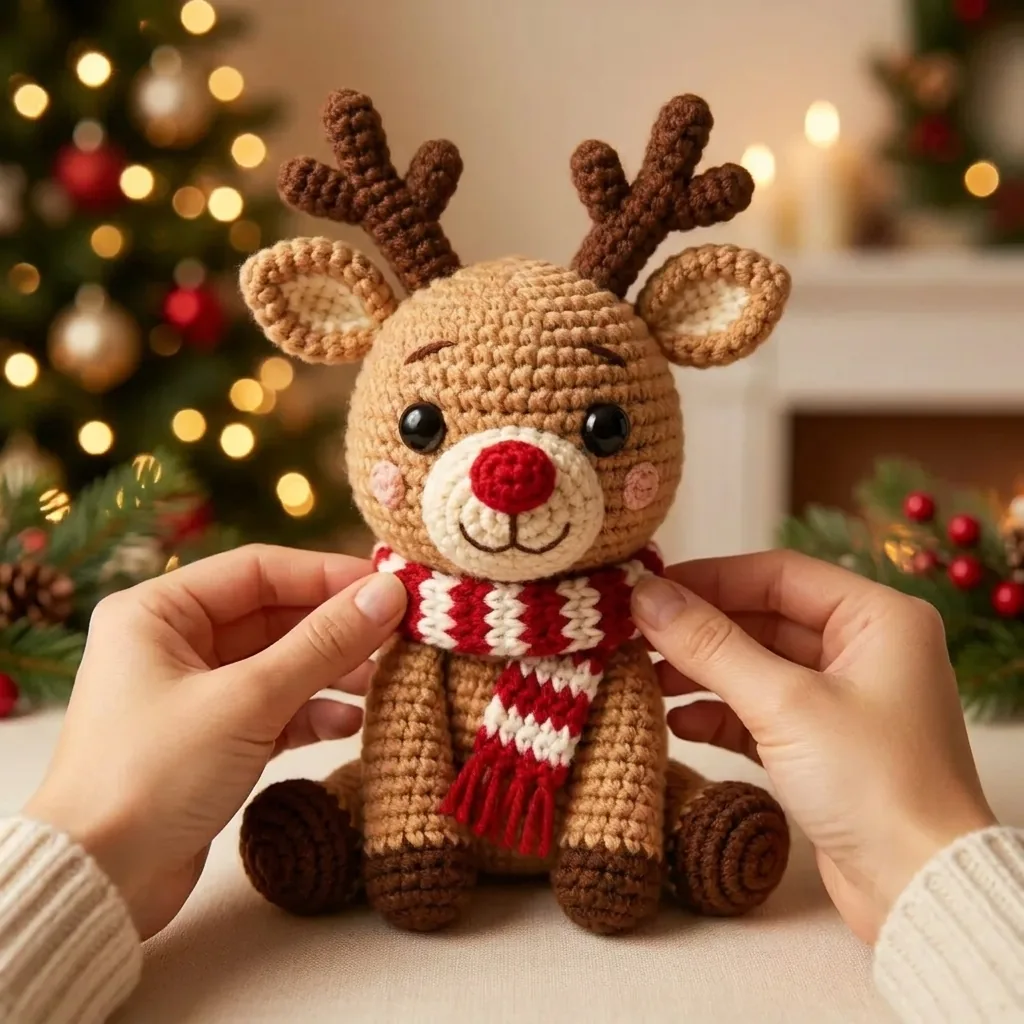
Step 10: Add the scarf
Wrap and position the scarf around the neck. The source lists red and white scarf yarn but does not provide scarf stitch instructions, so this article does not invent them.
Finishing Tips and Color Ideas
The crochet reindeer pattern is ready for its final color treatment once every sewn piece is secure.
For an even, rounded result, the source recommends using stitch markers, stuffing firmly, hiding every yarn tail inside the stitches, and adding blush to the cheeks for extra cuteness.
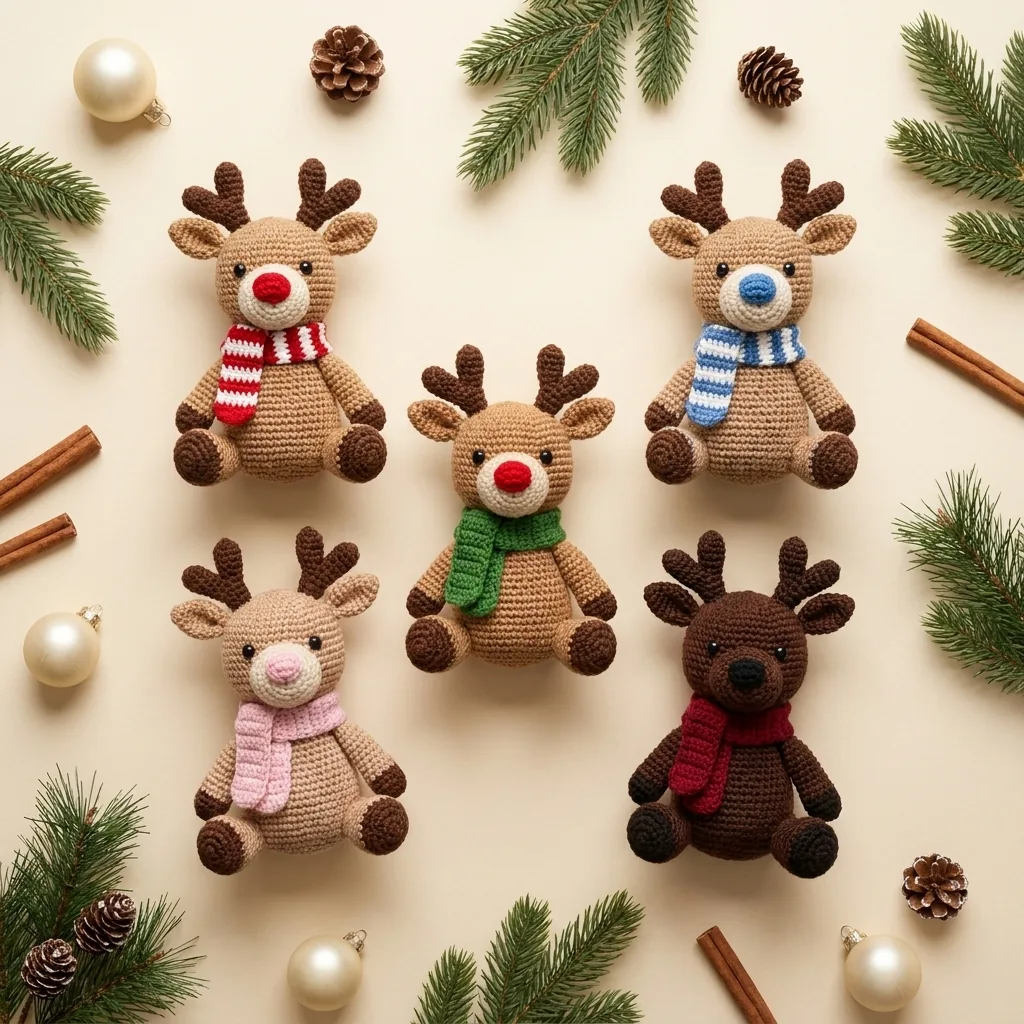
The crochet reindeer pattern can be styled as Classic with red and white, Winter Blue, green scarf with red nose, Pastel pink, or Chocolate brown with a deep red scarf.
Care Instructions
Gentle care helps the crochet reindeer pattern sample keep its shape, surface texture, and attached details.
- Hand wash in cold water.
- Do not bleach.
- Dry flat.
- Do not tumble dry.
This completes the supplied crochet reindeer pattern: every crocheted component, assembly action, finishing tip, color idea, and care direction visible in the reference has been included.
Your Holiday Reindeer Is Ready
Once the scarf is in place, shape the ears and antlers, check that every sewing tail is hidden, and enjoy the finished seated reindeer.
For more crochet projects, visit the complete My Crochet Universe store.




