

Crochet Baby Hat Step by Step: From Crown to Flower
A pattern roadmap showing the exact stages of the white openwork hat and its yellow flower.
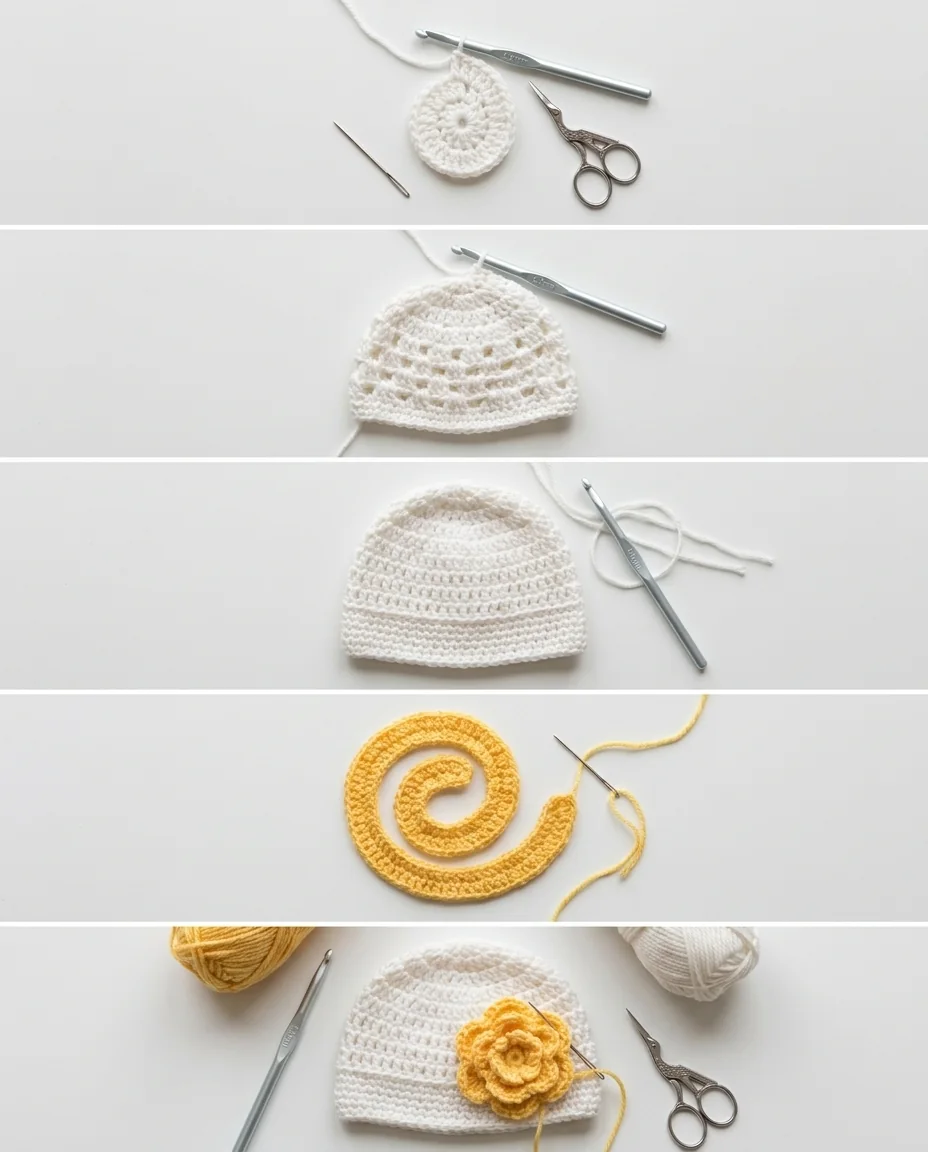
A crochet baby hat step by step is much easier to follow when you can see the project as a sequence instead of one long block of instructions. This pattern has a friendly rhythm: make the crown, build the openwork body, work the band, crochet the yellow flower, and sew the flower in place. The instructions use US terms and include three sizes, so the key is keeping the selected size visible while you work.
Before you begin the crochet baby hat step by step
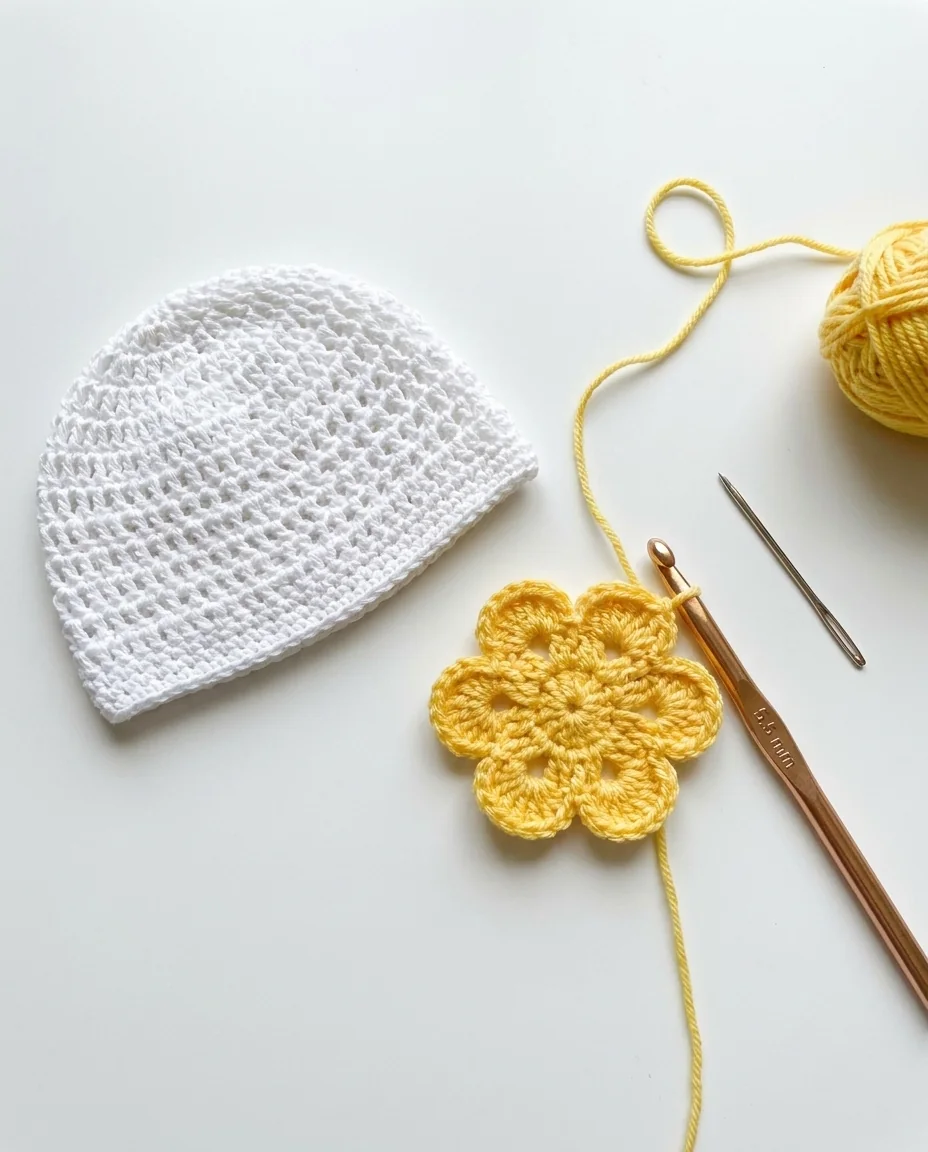
Before starting the crochet baby hat step by step, gather the exact tools listed in the pattern: medium weight #4 yarn, a size I or 5.5 mm hook, a yarn needle, and scissors. The color plan is simple: one white skein for the hat and one yellow skein for the flower.
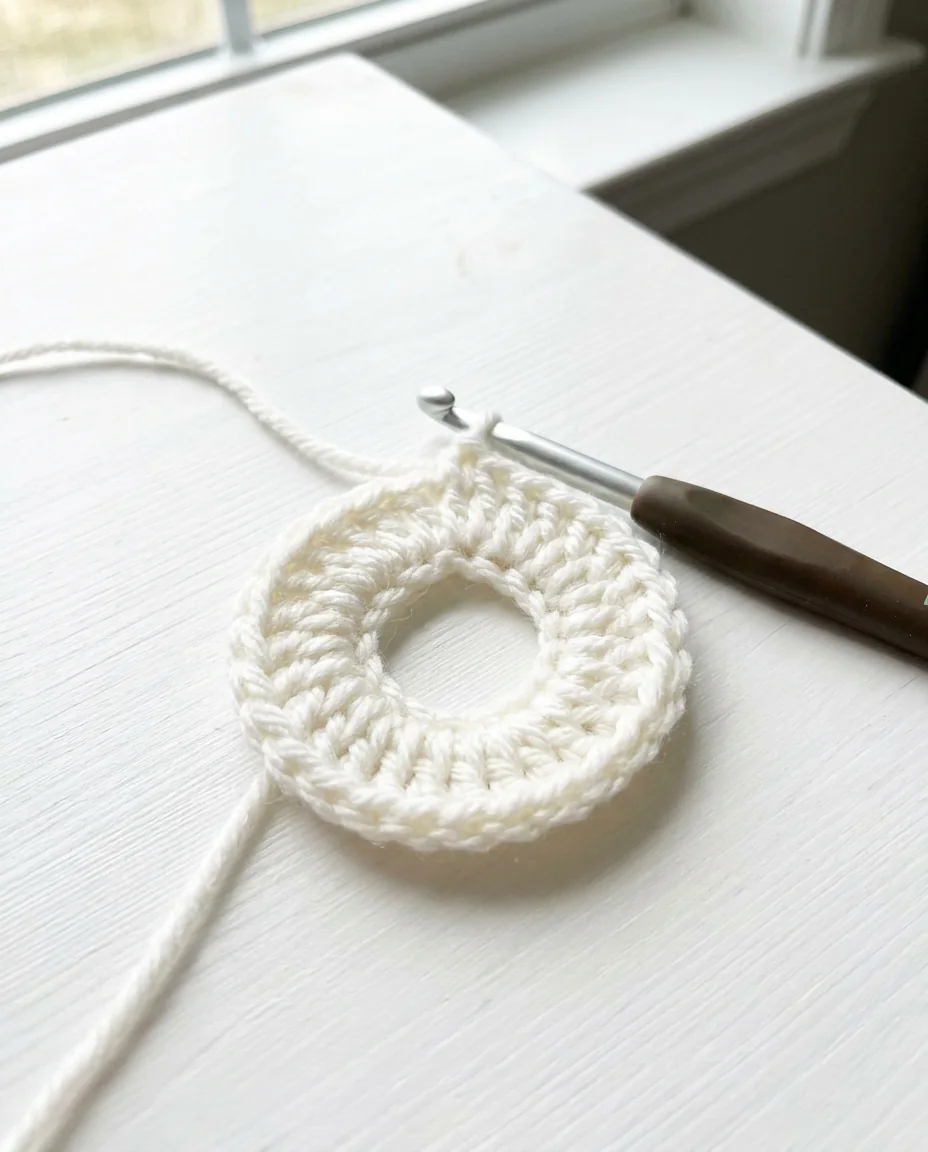
Make the gauge swatch before choosing your size. The pattern gives 10 single crochets and 12 rows as 3 inches, or 7.5 cm. The swatch itself is a small 2 3/4-inch circle made from a chain-four ring and two rounds of double crochet.
Write down the size you are making. The pattern uses color-coded size instructions, and that small note can prevent you from accidentally switching to another number during the body rounds.
Step 1: Make the crown
The first stage of the crochet baby hat step by step begins with white yarn and a chain-four ring joined with a slip stitch. Round 1 places double crochets into the ring, with the size-specific count shown in the pattern. Round 2 increases again so the crown begins to spread into a circle.
At this stage, the work may look more like a small crochet circle than a hat. That is normal. The crown is building the foundation for the later openwork rounds, and keeping the center flat helps the hat grow evenly.
Mark the right side as the pattern recommends. This small marker helps you identify the round orientation when the instructions begin using different openwork sections.
- Use white yarn
- Make the chain-four ring
- Work the first two double-crochet rounds
- Mark the right side
- Check that the crown lies flat
Step 2: Build the openwork body
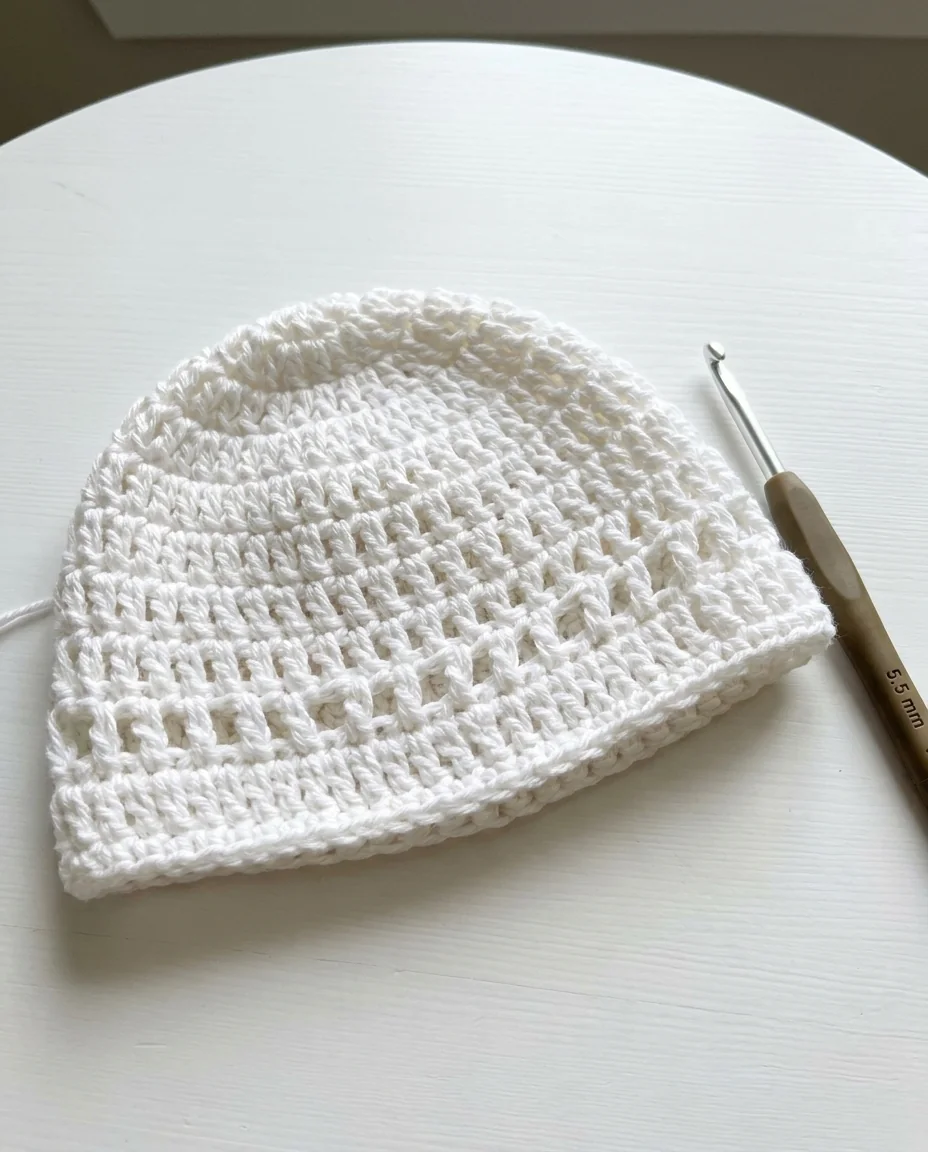
The next stage of the crochet baby hat step by step introduces the openwork texture. The pattern alternates single crochet, chain spaces, double crochet, and larger chain-space rounds. These spaces create the airy look visible in the baby photo.
Follow the size colors carefully. The small size begins with lower stitch totals, while the medium and large versions use the numbers shown in braces. The visual repeat remains similar, but the stitch totals grow with the circumference.
Do not pull the chain spaces tight. They are part of the design and need enough room to open without making the fabric floppy. A relaxed hand will help the rows look more consistent.
Step 3: Work the band
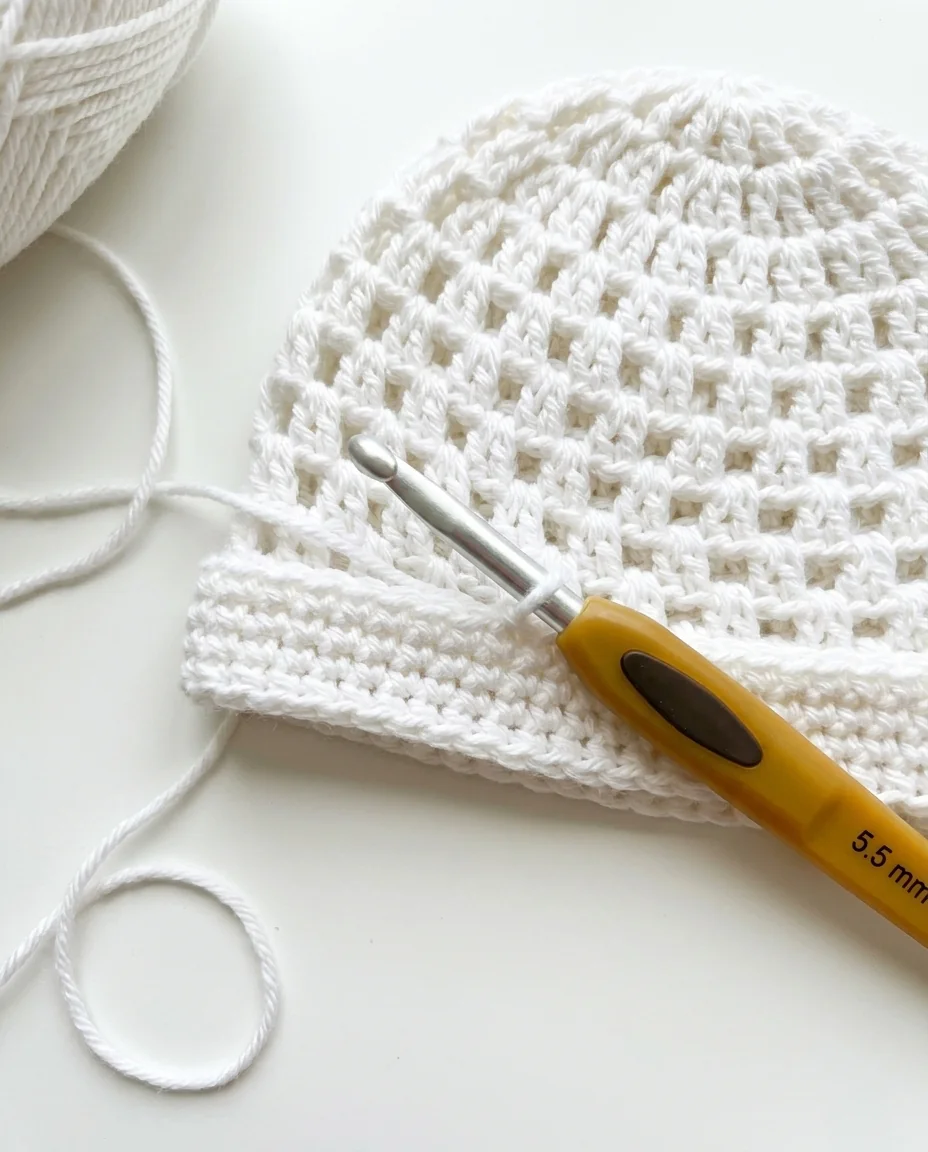
After the openwork body, the crochet baby hat step by step moves into the band. The first band round uses single crochet around the hat, followed by three more rounds of single crochet. This creates a denser lower edge that feels more finished than leaving the mesh open at the bottom.
Keep the band tension even. If you crochet it much tighter than the body, the lower edge can pull inward. If you work it too loosely, it may not sit close enough to the head.
Finish the hat body before starting the flower. That keeps the white hat complete and makes it easier to decide exactly where the flower should sit.
- Work the first band round in sc
- Continue with three sc rounds
- Keep the edge flat
- Finish off neatly
- Check the fit before attaching the flower
Step 4: Crochet the flower
The yellow flower is made separately with a long end left for sewing. Its first row uses double crochet and chain spaces, creating the spaces where the petals will be shaped.
The next row works the petal group into each chain-one space: single crochet, half double crochet, two double crochets, half double crochet, and single crochet. Repeating this group around the row creates the flower’s rounded petals.
Because the flower is small, stitch placement matters. Keep the petal groups relaxed enough to curve, but avoid leaving large gaps between them.
Step 5: Attach and finish
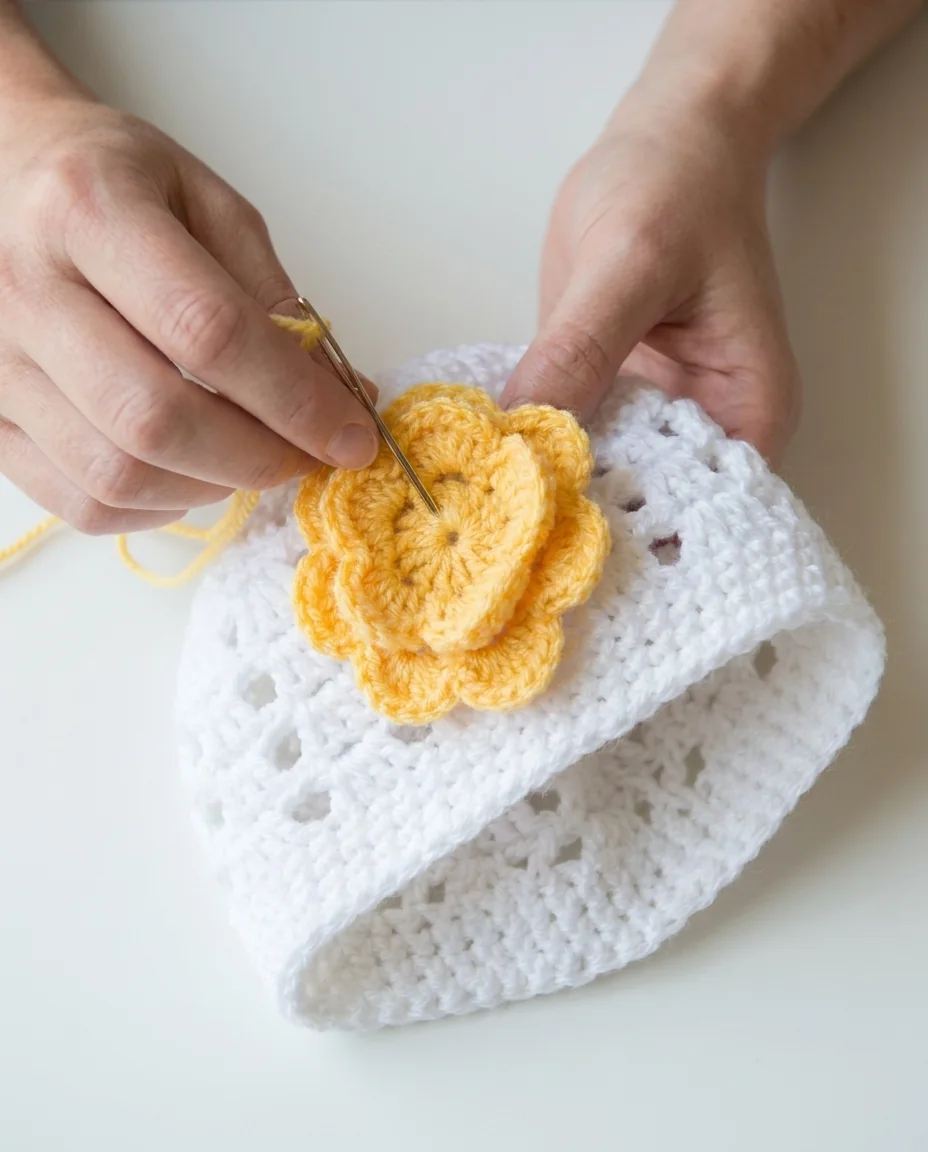
The final stage of the crochet baby hat step by step is attaching the yellow flower to the white hat. Position it toward the front, use the long sewing end, and tack the center and a few points around the flower so it stays secure.
Weave in the remaining ends with a yarn needle. Inspect the inside of the hat so no long tails are left loose. Then gently shape the hat by hand and compare the band circumference with the size listed for your chosen age range.
The finished hat should look light and soft, with the flower sitting as a cheerful focal point rather than pulling the openwork out of shape.
- Position the flower
- Sew through the center
- Secure a few petal points
- Weave in the ends
- Check the finished fit
Follow the complete written guide
This crochet baby hat step by step overview is a roadmap, not a replacement for the written pattern. The complete PDF pattern contains the size-specific round counts, gauge information, band instructions, and flower sequence.
Use this article to understand the order of the project, then keep the PDF beside your hook for the exact stitches. That combination gives you the visual confidence of a roadmap and the accuracy of a written pattern.
A practical checklist for crochet baby hat step by step
Use this crochet baby hat step by step guide to plan the project before choosing yarn or starting the first round.
When reviewing the crochet baby hat step by step, keep the supplied gauge, size notes, and finishing instructions together.
The most useful part of this crochet baby hat step by step resource is the connection between the finished photo and the written PDF.
If you are preparing the crochet baby hat step by step as a gift, save the size and materials information with the project.
A careful maker can use the crochet baby hat step by step notes to check the work before adding the final decorative detail.
This crochet baby hat step by step article is designed to answer practical questions without replacing the full written pattern.
Keep the crochet baby hat step by step instructions beside your hook so the next step is easy to confirm.
Once the crochet baby hat step by step is finished, compare the result with the reference image and inspect the inside for loose ends.
Photograph the finished crochet baby hat step by step in soft light so the texture, shape, and decorative detail remain visible.
Keep the crochet baby hat step by step project notes with the yarn label, selected size, and hook information for future repeats.
This crochet baby hat step by step checklist is a final reminder to slow down, check the details, and enjoy the handmade result.
Keep a final photo of the finished crochet baby hat step by step beside the written notes so you can repeat the project with confidence.
Helpful visual references
Frequently Asked Questions
How many sizes does the step-by-step pattern include?
It includes Small for 3–12 months, Medium for 12–18 months, and Large for 18–24 months.
What is the gauge?
The listed gauge is 10 single crochets and 12 rows measuring 3 inches, or 7.5 cm.
When should I make the flower?
Make the flower after the hat body and band are finished so you can position it on the completed shape.
What hook is used?
The pattern lists a size I, 5.5 mm crochet hook, or the size needed to meet gauge.
Final thoughts
The crochet baby hat step by step becomes manageable when you treat each stage as its own checkpoint. Make the crown flat, keep the openwork relaxed, work the band evenly, then add the yellow flower after the hat is complete. Follow the exact size-specific counts in the PDF, and you will always know what the next step should be.
Ready to make it?
Use the detailed PDF pattern for the full stitch sequence, size options, flower instructions, and finishing notes.




