

RAFFIA TEXTURE • CROWN TO BRIM • ROUND-BY-ROUND GUIDE
Crochet Bucket Hat Pattern: A Raffia Hat, Step by Step
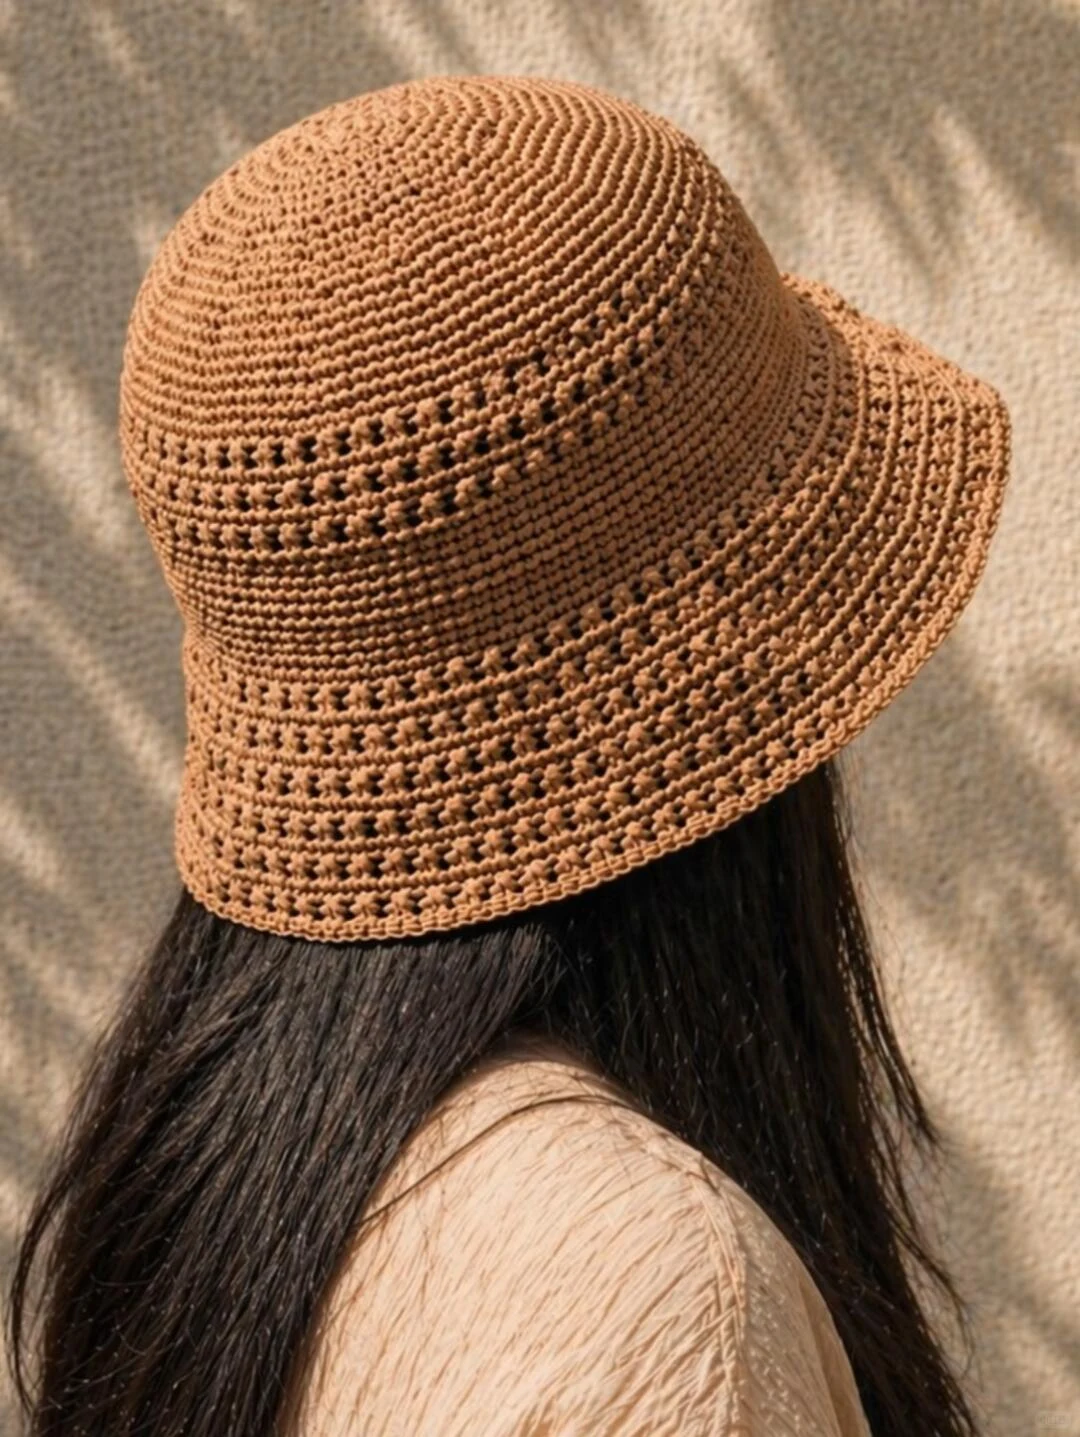
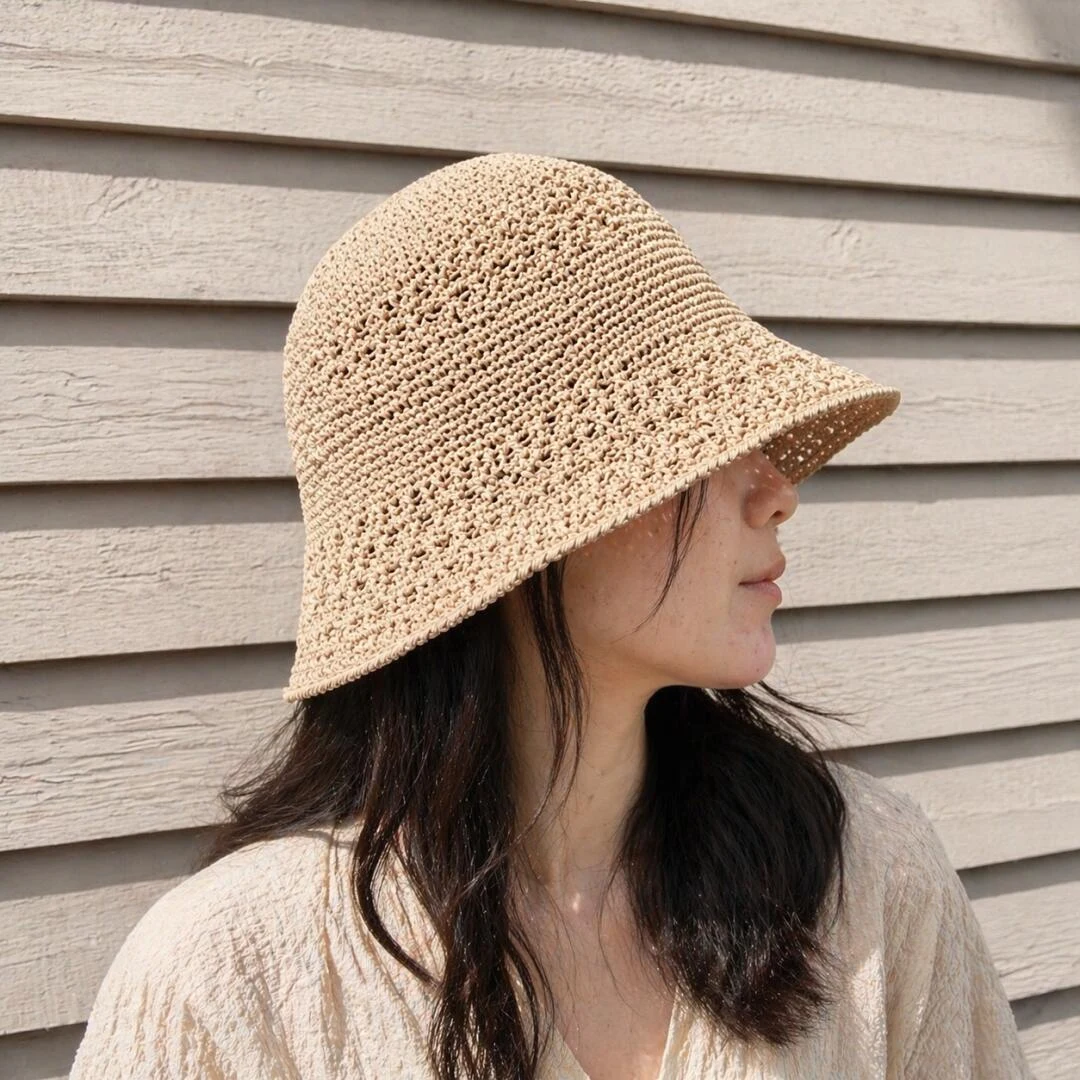
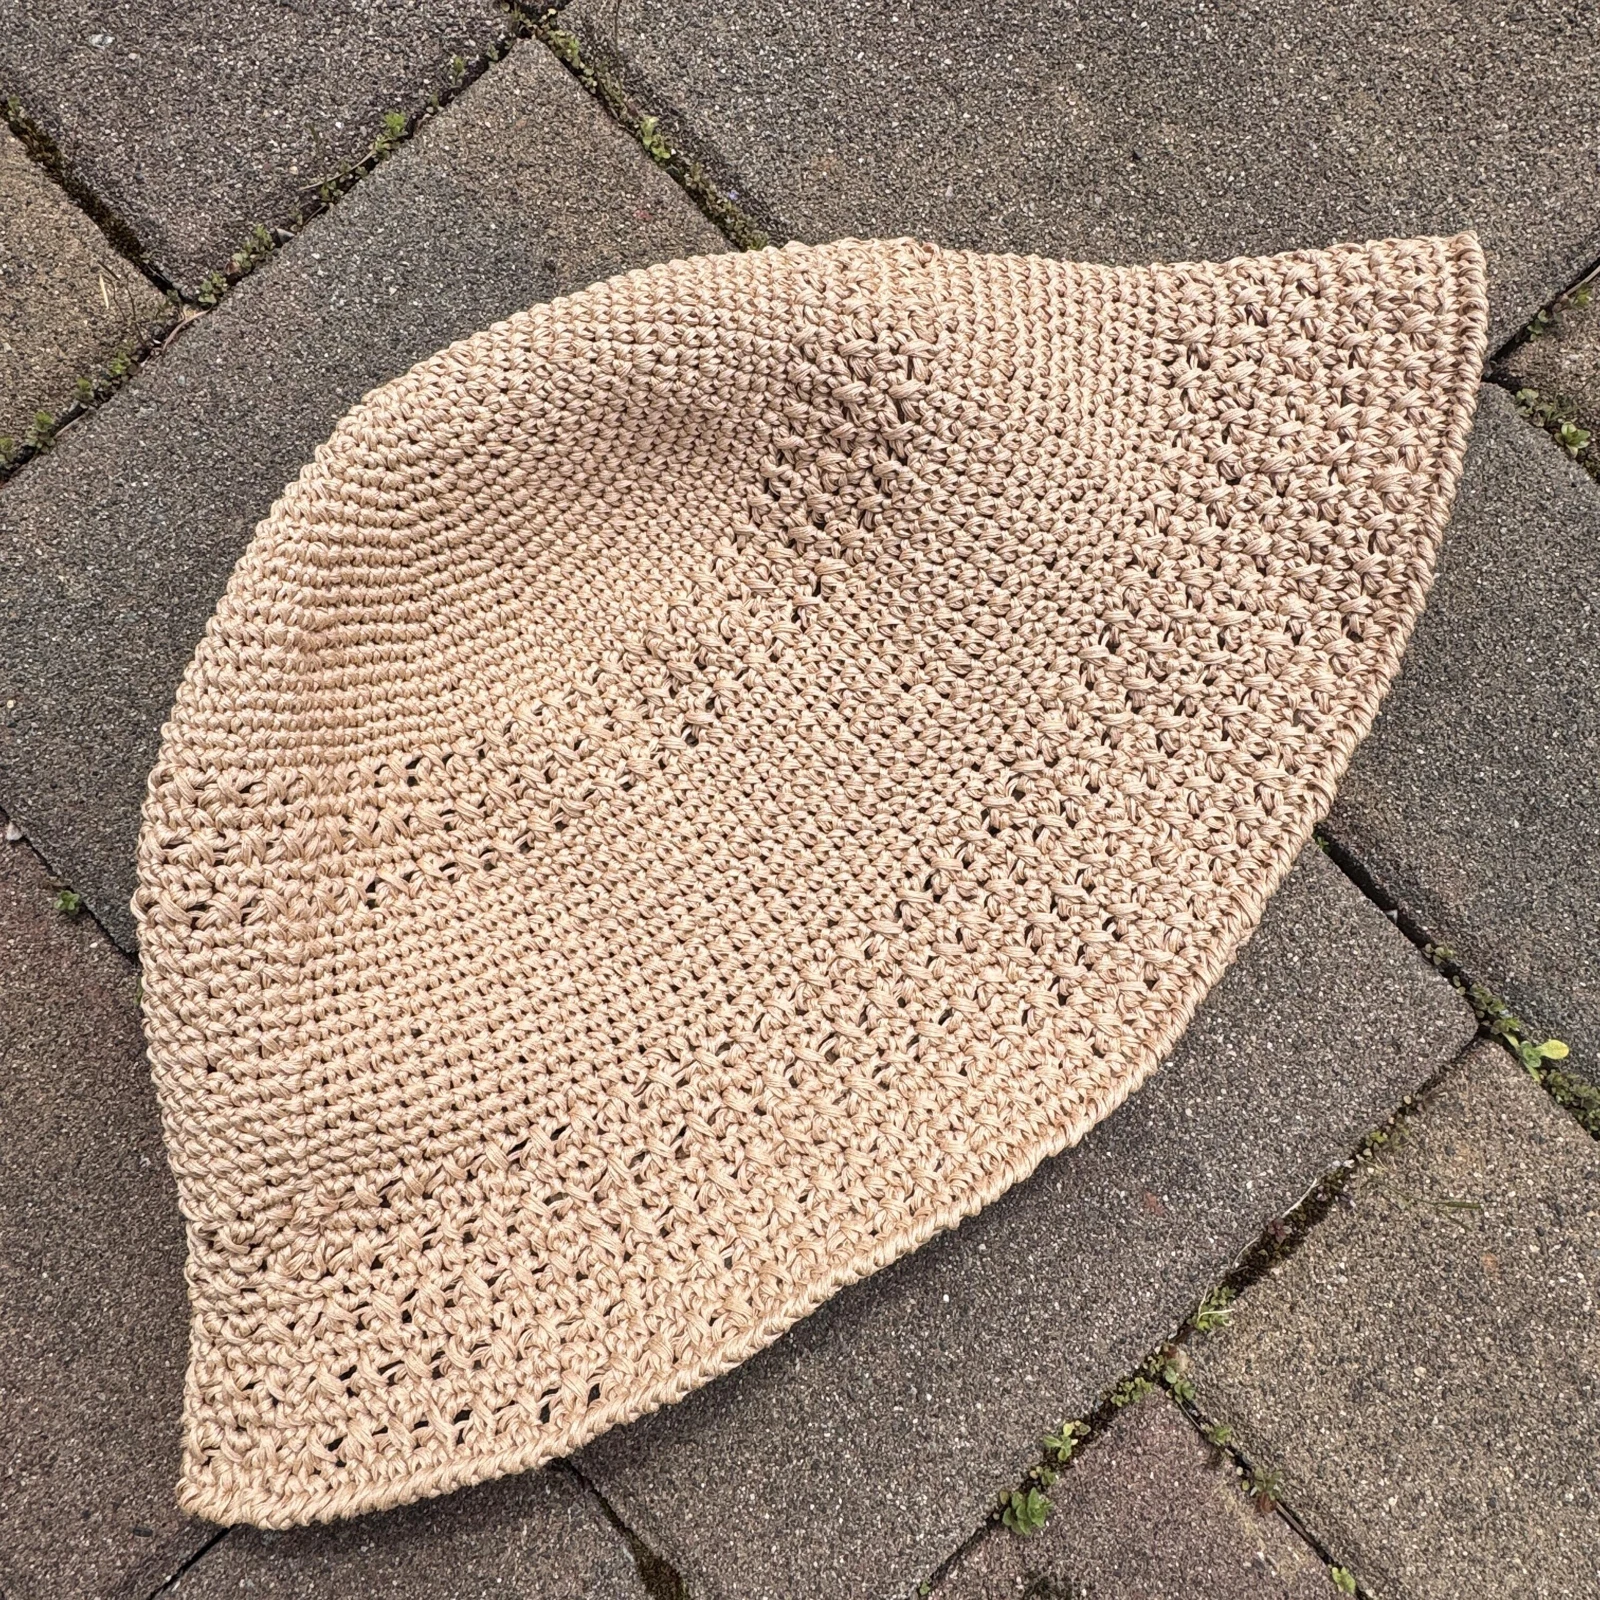
This crochet bucket hat pattern follows the rounded crown, textured bands, and flared brim shown in the supplied photographs. The caramel version highlights the stitch definition, while the lighter beige version makes the open bands easy to spot. Below, the written Chinese chart is organized into practical English stages so you can track the shaping without jumping between columns.
Start the crochet bucket hat pattern at the crown and keep the yarn attached as you move into the body and brim. The crochet bucket hat pattern reaches 112 stitches before the sides, then expands the brim to 172 stitches. Those checkpoints are useful, but they do not replace checking the fit with your own yarn and tension.
Step 1 — Prepare the Yarn and Tools
The heading of the original crochet bucket hat pattern refers to cotton raffia yarn. However, the supplied sheet does not list a brand, fiber composition, yarn weight, total quantity, hook size, or a stitch-and-row gauge. Do not treat the photographed fabric as proof that any raffia yarn and hook combination will produce the same measurements.
- Choose yarn intended for hat making and check its label for suitable hook guidance.
- Prepare a crochet hook compatible with that yarn, then assess the fabric rather than relying on an invented hook recommendation.
- Keep a stitch marker, flexible measuring tape, scissors, and a suitable yarn needle nearby.
- Retain the yarn label so you can follow its finishing and care instructions.
Make a small sample before committing to the crochet bucket hat pattern. Aim for fabric that holds the intended shape without becoming uncomfortable to crochet. Because no gauge is supplied, a sample cannot certify a particular finished size; it helps you judge the material and your tension before investing in the crown.
Step 2 — Read the Notation Before Counting
The crochet bucket hat pattern uses x for single crochet and v for an increase. The English instructions below use US crochet terms. A bracketed number is the stitch total at the end of the round, not an extra group to work.
| Symbol or term | Meaning |
|---|---|
| x / sc | Single crochet |
| v / inc | Work 2 single crochets into one stitch |
| R | Round |
| (…) × 7 | Repeat the complete bracketed group seven times |
| Work even | Keep the same stitch count, without increases or decreases |
| Reverse sc | Reverse single crochet, also called crab stitch |
For example, (sc 3, inc) × 7 means seven complete groups, not one group followed by seven more. Staggered groups such as (sc 2, inc, sc 2) place the increase between plain stitches. Keep the order written in each row rather than moving every increase to the same position.
The crochet bucket hat pattern does not specify whether ordinary rounds are joined or worked continuously. Keep track of the first stitch with a marker and obtain clarification if the joining method matters to matching the pictured texture. Do not add an assumed turning chain or count a joining stitch as an extra stitch.
Step 3 — Begin the Crown: Rounds 1–12
Begin the crochet bucket hat pattern with seven single crochets in an adjustable ring. The first twelve rounds increase in seven evenly repeated groups. Move the marker at the start of each new round and count before moving on; an early extra stitch will carry into the later body and brim calculations.
| Round | Instructions | Total |
|---|---|---|
| 1 | Make an adjustable ring; work 7 sc into the ring. | 7 |
| 2 | Inc in every stitch: inc × 7. | 14 |
| 3 | (Sc 1, inc) × 7. | 21 |
| 4 | (Sc 1, inc, sc 1) × 7. | 28 |
| 5 | (Sc 3, inc) × 7. | 35 |
| 6 | (Sc 2, inc, sc 2) × 7. | 42 |
| 7 | (Sc 5, inc) × 7. | 49 |
| 8 | (Sc 3, inc, sc 3) × 7. | 56 |
| 9 | (Sc 7, inc) × 7. | 63 |
| 10 | (Sc 4, inc, sc 4) × 7. | 70 |
| 11 | (Sc 9, inc) × 7. | 77 |
| 12 | (Sc 5, inc, sc 5) × 7. | 84 |
Pause the crochet bucket hat pattern at 84 stitches and look at the fabric. The source provides no intermediate diameter for this stage. If your work is visibly puckering or waving, recheck the count and tension before proceeding rather than adding or removing stitches at random.
Step 4 — Complete the Crown: Rounds 13–21
The next section of the crochet bucket hat pattern mixes increase rounds with rounds worked even. Those plain rounds are part of the shaping. Do not replace them with another increase round simply because the earlier section increased every time.
| Round | Instructions | Total |
|---|---|---|
| 13 | Sc in each stitch. | 84 |
| 14 | (Sc 11, inc) × 7. | 91 |
| 15 | Sc in each stitch. | 91 |
| 16 | (Sc 6, inc, sc 6) × 7. | 98 |
| 17 | (Sc 13, inc) × 7. | 105 |
| 18 | Sc in each stitch. | 105 |
| 19 | (Sc 7, inc, sc 7) × 7. | 112 |
| 20–21 | Sc in each stitch for both rounds. Keep the yarn attached. | 112 |
In the crochet bucket hat pattern, at the end of round 21, check that you have exactly 112 stitches. This is the count used by the standard body sequence and the first brim expansion. Leave the working yarn attached; the chart specifically tells you not to cut it here.
Step 5 — Check the Crown Before Adding Depth
The source note for this crochet bucket hat pattern reports a crown diameter of approximately 17 cm after round 21. Its writer mentions a head circumference of about 55 cm and personally finding that stopping around round 18 was sufficient. These are personal observations, not a graded size chart or a guaranteed adult fit.
Measure gently without pulling the fabric out of shape. If the crown is clearly unsuitable for the intended wearer, resolve the yarn, tension, and sizing approach now. Trying to force a different stitch count into the printed brim instructions will make the arithmetic fail later.
Step 6 — Work the Hat Body: Rounds 22–35
The body of the crochet bucket hat pattern keeps 112 stitches throughout. Its first six rounds alternate a named textured round with a plain round. The remaining eight rounds are worked even, and the source allows the depth to be adjusted by changing the number of plain rounds.
| Round | Source instruction | Total |
|---|---|---|
| 22 | Crossed long/short-stitch texture — confirm execution with source. | 112 |
| 23 | Sc in each stitch. | 112 |
| 24 | Repeat the source texture, once clarified. | 112 |
| 25 | Sc in each stitch. | 112 |
| 26 | Repeat the source texture, once clarified. | 112 |
| 27 | Sc in each stitch. | 112 |
| 28–35 | Sc in each stitch for eight rounds; keep the yarn attached. | 112 |
Try the crochet bucket hat pattern project on as you approach the end of the body. The source aims for the lower body edge to sit just above the ears before the brim begins. Add plain body rounds if it is too shallow, or use fewer if it extends too far. Keep the same stitch count while changing depth.
When extra body rounds change your actual round numbers, label the next stage “first brim round” in your notes. The numbers 36–47 below refer to the original schedule, not a requirement to ignore the depth adjustment you just made.
Step 7 — Expand the Brim: Rounds 36–45
The brim of the crochet bucket hat pattern alternates single-crochet increase rounds with the same named texture used in the body. First verify the texture method, then follow the complete increase groups below. The extra stitches after each repeated group are intentional; do not leave them out.
| Round | Instructions | Total |
|---|---|---|
| 36 | (Sc 5, inc) × 18, sc 4. | 130 |
| 37 | Source crossed long/short-stitch texture; no net increases. | 130 |
| 38 | (Sc 9, inc) × 12, sc 10. | 142 |
| 39 | Source crossed long/short-stitch texture; no net increases. | 142 |
| 40 | (Sc 10, inc) × 12, sc 10. | 154 |
| 41 | Source crossed long/short-stitch texture; no net increases. | 154 |
| 42 | (Sc 14, inc) × 10, sc 4. | 164 |
| 43 | Source crossed long/short-stitch texture; no net increases. | 164 |
| 44 | (Sc 19, inc) × 8, sc 4. | 172 |
| 45 | Source crossed long/short-stitch texture; no net increases. | 172 |
Count after every crochet bucket hat pattern increase round. The brim adds 18 stitches first, then 12, 12, 10, and 8. If your total differs, find the missing increase or trailing plain stitches before beginning the next texture round. Keeping these checkpoints visible is more reliable than judging the width from a photograph alone.
The original note permits a wider or narrower brim by adjusting the shaping regularly. However, it gives no alternate repeat table. For a faithful first version, keep the listed schedule. Any extension needs a separately calculated and checked stitch sequence; it is not automatically another repeat of round 44.
Step 8 — Confirm Round 46, Then Finish the Edge
Before completing the crochet bucket hat pattern, resolve its final unclear line. Round 46 states that the count stays at 172, but prints the stitch label 圈圈针. This label is not explained elsewhere on the supplied sheet. It must not be silently translated as slip stitch or single crochet.
Round 46: Work one non-increasing round at 172 stitches using the stitch confirmed by the source. The printed label is unresolved.
Round 47: Work reverse single crochet around the edge. The chart lists 172 stitches.
For standard reverse single crochet, work single crochets in the opposite direction from your usual direction of travel. A right-handed crocheter typically works this edging from left to right. Insert the hook into the next stitch in that direction, draw up a loop, yarn over, and draw through both loops. Keep the edge relaxed enough not to pull the brim inward.
That crochet bucket hat pattern description explains the named edging only; it does not answer the separate round-46 question. Follow the confirmed round-46 method first, then complete the reverse-single-crochet edge. Secure the working yarn and weave in the ends once the final round is complete.
Step 9 — Inspect the Shape and Finish Carefully
Lay the crochet bucket hat pattern project on a clean surface and compare the crown, body, and brim with the reference photographs. Check the join area, loose tails, and any places where an increase was missed. The brim should be assessed on the wearer as well as flat on the table.
- Confirm the standard-route checkpoints: crown 112, first brim round 130, final brim count 172.
- Check that the body depth is comfortable above the ears.
- Look for accidental increases in the texture bands.
- Keep the reverse-stitch edging from tightening the outer brim excessively.
- Use only finishing and care methods allowed by the yarn manufacturer.
For the crochet bucket hat pattern, do not assume that steam, soaking, or high heat is safe for every raffia-style material. Different products can behave differently, so use the label rather than an unsourced blocking recipe. If you test a finishing treatment, try it on the sample before applying it to the hat.
Save your yarn details, hook choice, actual body-round count, and any confirmed source corrections with the crochet bucket hat pattern. Those notes are what will make a second version reproducible; the finished photographs alone cannot supply missing technical instructions.
Frequently Asked Questions
Is this a complete, tested pattern?
No. This is an English organization of the supplied written chart, with its numeric shaping preserved. The crossed-texture method and round-46 stitch still require source clarification. It has not been represented as independently test-crocheted.
Which yarn and hook should I use?
The heading identifies cotton raffia yarn, but the sheet does not specify the yarn weight, quantity, hook size, or gauge. Choose a compatible hook from your yarn guidance and sample the fabric; no exact supply recommendation can be verified from these images.
Does this fit a 55 cm head?
The writer mentions approximately 55 cm as a personal head measurement and discusses stopping earlier. That is not a universal size guarantee. The standard written route reaches 112 stitches, and fit still depends on your materials and tension.
Can I stop the crown at round 18?
The personal note suggests that option, but round 18 leaves 105 stitches. The later body and brim use 112. Do not follow the remaining repeats unchanged after stopping early; obtain a recalculated size route.
How can I make the body deeper?
The source explicitly allows changing the number of even body rounds. Add plain rounds before the brim while keeping the stitch count constant, and check that the lower body sits just above the ears.
Are the photographs step-by-step process images?
They show two worn views and one flat stitch-detail view. They do not demonstrate each round or the crossed texture. The original written sheet is included as a separate reference image, without pretending it resolves its unexplained stitch labels.




