

CROCHET / SCARVES / AUTUMN COLOR
THE PRACTICAL PATTERN GUIDE
Falling Leaves Crochet Scarf Pattern: A Colorful DK Wrap
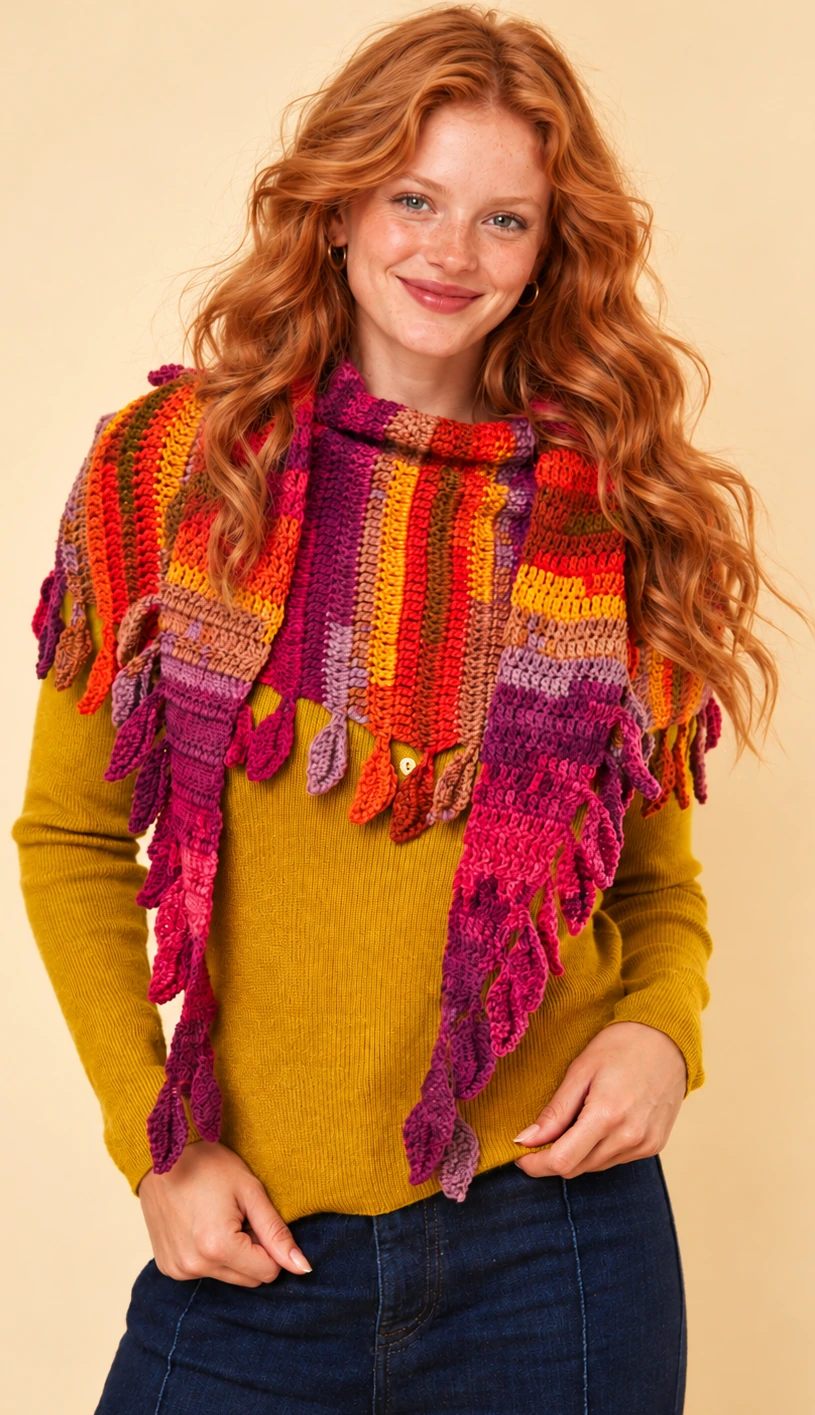
The falling leaves crochet scarf pattern combines a long, shallow triangle with little leaf motifs worked along the edge. Color-changing yarn brings the autumn palette; the shaping creates the drape. This guide keeps the UK stitch terms and puts the leaf construction and row counts where they are easy to check.
DK YARN · UK TERMS · INTERMEDIATE · LEAVES WORKED AS YOU GO
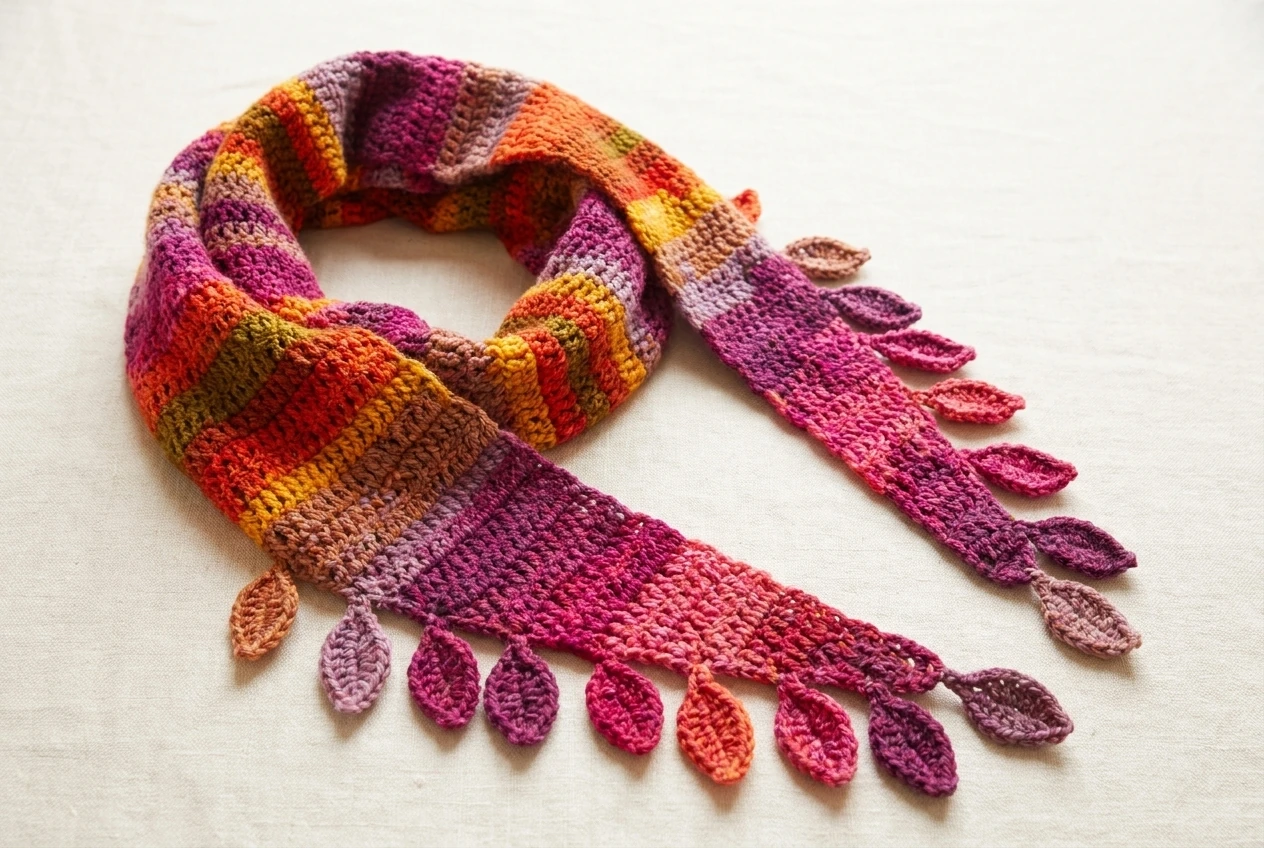
Let the yarn bring the color. Keep the shaping simple.
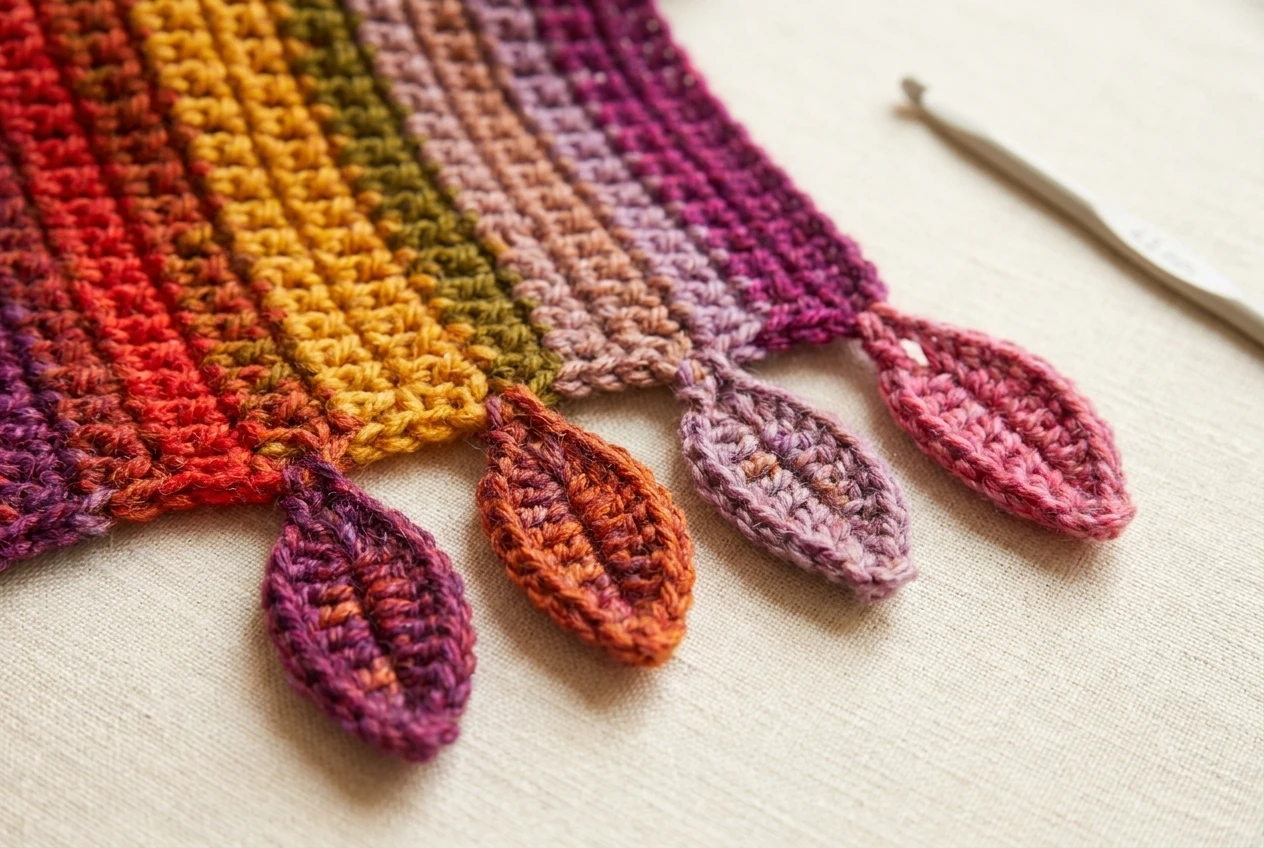
Most of the falling leaves crochet scarf pattern body is UK treble crochet. The edge is more unusual: each leaf is formed from a chain and a sequence of held loops, then finished along the other side of that chain. You make the motifs during the scarf rows rather than sew a separate pile of leaves on afterward.
The work grows from a narrow end to the center, then decreases toward the opposite end. Straight rows sit between the shaping rows, so the stitch count changes gradually. If you want a contrasting two-color accessory afterward, our crochet plaid scarf pattern offers a different approach to a colorful winter wrap.
01 / THE PATTERN
Prepare the Falling Leaves Crochet Scarf Pattern
| Project detail | Source specification |
|---|---|
| Skill level | Intermediate |
| Yarn | Sirdar Hayfield Spirit DK, Casper 405 — 2 balls |
| Yarn specification | 345 m per 100 g; 80% acrylic, 20% wool |
| Hook | 4.5 mm |
| Gauge / tension | 14 stitches × 7 rows = 10 cm over UK treble crochet |
| Finished dimensions | 236 cm long × 30.5 cm wide, excluding the leaves |
| Other source supply | Optional stitch marker |
| Practical finishing tools | Yarn needle, scissors, measuring tape, and suitable blocking supplies |
The falling leaves crochet scarf pattern is designed to show off color-changing yarn. Two listed balls provide 690 m in total. The source recommends using the first ball for the increase section and joining the second for the decreases. That is a useful planning cue, not a reason to ignore the specified midpoint stitch count.
Swatch in UK tr with the 4.5 mm hook, then care for the sample according to your actual yarn label before measuring its center. A different gauge changes the body width and length, and it can change how much yarn the leaves consume. Measure the scarf body separately from the hanging motifs.
UK terms at a glance
| Term | Meaning / US equivalent |
|---|---|
| tr | UK treble = US double crochet |
| htr | UK half treble = US half double crochet |
| dc | UK double crochet = US single crochet |
| tr2tog | UK two trebles together = US dc2tog |
| tr3tog | UK three trebles together = US dc3tog |
| ch / sl st | Chain / slip stitch |
| yrh / st(s) | Yarn round hook / stitch(es) |
The beginning ch-2 does not count as a stitch in the falling leaves crochet scarf pattern. Keep it separate from the actual trebles when you count a row. The leaf loops also have their own counts; they are not added to the 3–43 stitches across the main scarf body.
02 / THE PATTERN
Falling Leaves Crochet Scarf Pattern: Leaf Stitch
1
Build the held-loop side
Work the leaf from a 12-chain foundation and check the loop total at each stage.
Before starting the full falling leaves crochet scarf pattern, try one practice leaf with spare yarn. Keep the foundation chain relaxed enough to work into both sides. The unusual held-loop section is easier to understand when you watch the loop count grow from four to seven to ten, rather than trying to rush the whole sequence.
| Leaf stage | Written sequence and checkpoint |
|---|---|
| Foundation | Ch 12. Starting in the second chain from the hook, repeat [insert hook into next chain, yrh, pull up a loop] 3 times. You have 4 loops on the hook. |
| Middle section | Repeat [yrh, insert hook into next chain, yrh, pull up a loop, yrh, draw through 2 loops] 3 times in total. You have 7 loops on the hook. |
| Final pickups | Repeat [insert hook into next chain, yrh, pull up a loop] 3 times. You have 10 loops on the hook. |
| Close the loops | Repeat [yrh, draw through 2 loops] 9 times. One loop remains on the hook. |
The middle section of the falling leaves crochet scarf pattern adds one net loop each time: it picks up yarn, then works through two loops before moving on. Do not close every loop in one pull as if making an ordinary cluster. The nine successive pull-throughs create the long side of the leaf.
2
Finish the other side of the leaf
Turn the leaf and scarf together, then work back toward the scarf along the foundation chain.
Ch 1. Working along the other side of the foundation chain from the leaf point toward the scarf, skip the first chain, then work: 1 sl st, 1 dc, 1 htr, 3 tr, 1 htr, 1 dc, and 1 sl st in each of the next 3 chains. The final two slip stitches go into the two previously unworked foundation chains nearest the scarf.
That return sequence completes the leaf in the falling leaves crochet scarf pattern. Keep the point tidy but don’t pull the small stitches into a hard knot. A marker placed in the unused loops of the first worked chain helps you locate the correct starting point after the turn, as the source recommends.
03 / THE PATTERN
Falling Leaves Crochet Scarf Pattern: Triangle Rows
3
Work the increase section
Start at one narrow point and increase on alternate rows until the body reaches 43 stitches.
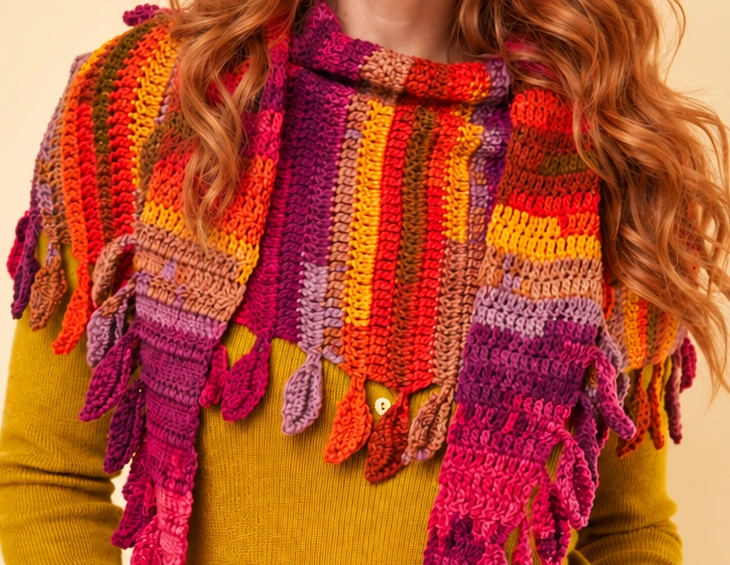
The falling leaves crochet scarf pattern is worked side to side. On even rows in the increase section, keep the same body count as the previous row. On odd shaping rows, increase by one. The written Row 1 makes two leaves and establishes three main body stitches.
| Row | Instructions | Body count |
|---|---|---|
| 1 | Make a Leaf. Ch 2, work 3 tr into the beginning ch-1 of the Leaf, then make another Leaf. | 3 sts; 2 leaves |
| 2 | Ch 2, work 3 tr. Turn. | 3 |
| 3 | Ch 2, work 2 tr, then 2 tr in the last stitch. Make a Leaf. | 4 |
| 4 | Ch 2, tr across. Turn. | 4 |
| 5 | Ch 2, tr across to the last stitch, work 2 tr in that stitch, and make a Leaf. | 5 |
| 6–81 | Repeat Rows 4–5 thirty-eight more times. | 43 at Row 81 |
The two-row repeat gives you a plain row followed by an increase-and-leaf row. Place a removable marker in the last body stitch if it is easy to confuse with the leaf base. In the falling leaves crochet scarf pattern, both a missed increase and an accidental extra treble change the depth of the triangle.
4
Work back down to the second point
Join the second ball where specified, then decrease on alternate rows until three body stitches remain.
For the decrease section of the falling leaves crochet scarf pattern, join the second ball with a slip stitch into the last stitch of the Leaf. The even rows keep the existing stitch count; the odd shaping rows reduce it by one. Use the midpoint count of 43 as your starting checkpoint.
| Row | Instructions | Body count |
|---|---|---|
| 82 | Ch 2, tr across. Turn. | 43 |
| 83 | Ch 2, tr across to the last 2 stitches, work 1 tr2tog, and make a Leaf. | 42 |
| 84–161 | Continue alternating the plain row and decrease-with-leaf row through Row 161. See repeat-count note below. | 3 at Row 161 |
| 162 | Ch 2, tr across. Turn. | 3 |
| 163 | Ch 2, work 1 tr3tog, and make a Leaf. Fasten off. | Final grouped decrease |
For a steady falling leaves crochet scarf pattern workflow, tick off each two-row pair and recount after the decrease row. Don’t use the number of finished leaves alone as your row tracker, especially near the first and final points. A simple paper tally prevents losing your place when the color changes naturally.
04 / THE PATTERN
Finish the Falling Leaves Crochet Scarf Pattern
Set the final leaf at the point
Fasten off and weave in the ends. The source gives one useful detail for the falling leaves crochet scarf pattern: when weaving in the final ends, insert the needle into stitches along the straight edge so the last leaf sits at the point. Check its position before pulling the tail snugly or trimming it.
Block the scarf to the supplied dimensions, using a care method suitable for your actual yarn. Support the body and spread the leaves gently so they can settle without being stretched into thin cords. The stated 236 × 30.5 cm measurement excludes the leaf motifs; don’t include them when checking the body width.
A practical stitch-count checklist
| Checkpoint | What to check |
|---|---|
| After Row 1 | 3 body stitches and 2 leaves |
| After Row 5 | 5 body stitches |
| After Row 81 | 43 body stitches at the midpoint |
| After Row 83 | 42 body stitches |
| After Row 161 | 3 body stitches, using the printed range and flagged repeat reconciliation |
| Before trimming ends | Final leaf positioned at the point; tails secured along suitable stitches |
If the falling leaves crochet scarf pattern becomes deeper than expected, check gauge and count before adding or removing rows. If leaves curl tightly, relax the pickup loops and the small return stitches. If the point looks bulky, check the final tr3tog and the direction in which the yarn tail was woven.
A different color-changing DK yarn can create a softer palette or a brighter one, but its meterage and fiber behavior still matter. Swatch first and allow extra yarn if your gauge or motif tension differs. For more garment and accessory ideas after the falling leaves crochet scarf pattern, explore our crochet wearables.
05 / THE PATTERN
Falling Leaves Crochet Scarf Pattern FAQ
Is the falling leaves crochet scarf pattern beginner friendly?
The source rates it intermediate. The treble rows are straightforward, but the held-loop leaf, turning sequence, and integrated shaping need attention. Practice the leaf first and use the crochet guides for beginners if you need a stitch refresher.
Are the leaves sewn onto the scarf afterward?
No. In the falling leaves crochet scarf pattern, leaves are made during the row sequence, including at the first and last points. The body is turned as part of the leaf construction, which is why the source turning-chain conflict needs careful review.
Does the falling leaves crochet scarf pattern use UK terms?
Yes. UK tr is US double crochet, UK htr is US half double crochet, and UK dc is US single crochet. The beginning ch-2 does not count as a body stitch. Keep the same terminology throughout the leaf and scarf.
Can I replace the color-changing yarn with a solid shade?
You can use a suitable yarn that matches the gauge, but the result will not have the same shifting stripes. The falling leaves crochet scarf pattern recommends color-changing yarn to make the most of the design. A solid sample may make the leaf construction easier to study.
Which decrease count should I follow?
The printed Row 84–161 range and the 3-stitch checkpoint require 39 pairs after Row 83, although the source says 38. This falling leaves crochet scarf pattern guide explains that arithmetic but does not claim confirmed publisher errata. Verify the original instructions before treating the pattern as tested.
Enjoy the color changes. Keep the row counts close.
The falling leaves crochet scarf pattern gets its character from the yarn and its rhythm from the alternating rows. Practice the leaf, mark the source discrepancies, and keep the three main checkpoints nearby: 3 stitches at the start, 43 at the center, and 3 before the final grouped decrease. A careful finish lets the leaves become the detail you notice first.
Reference guides: crochet abbreviations and yarn-weight standards from the Craft Yarn Council. This article keeps UK terms.




