

Amigurumi Mistakes: 7 Proven Fixes for a Perfect Doll
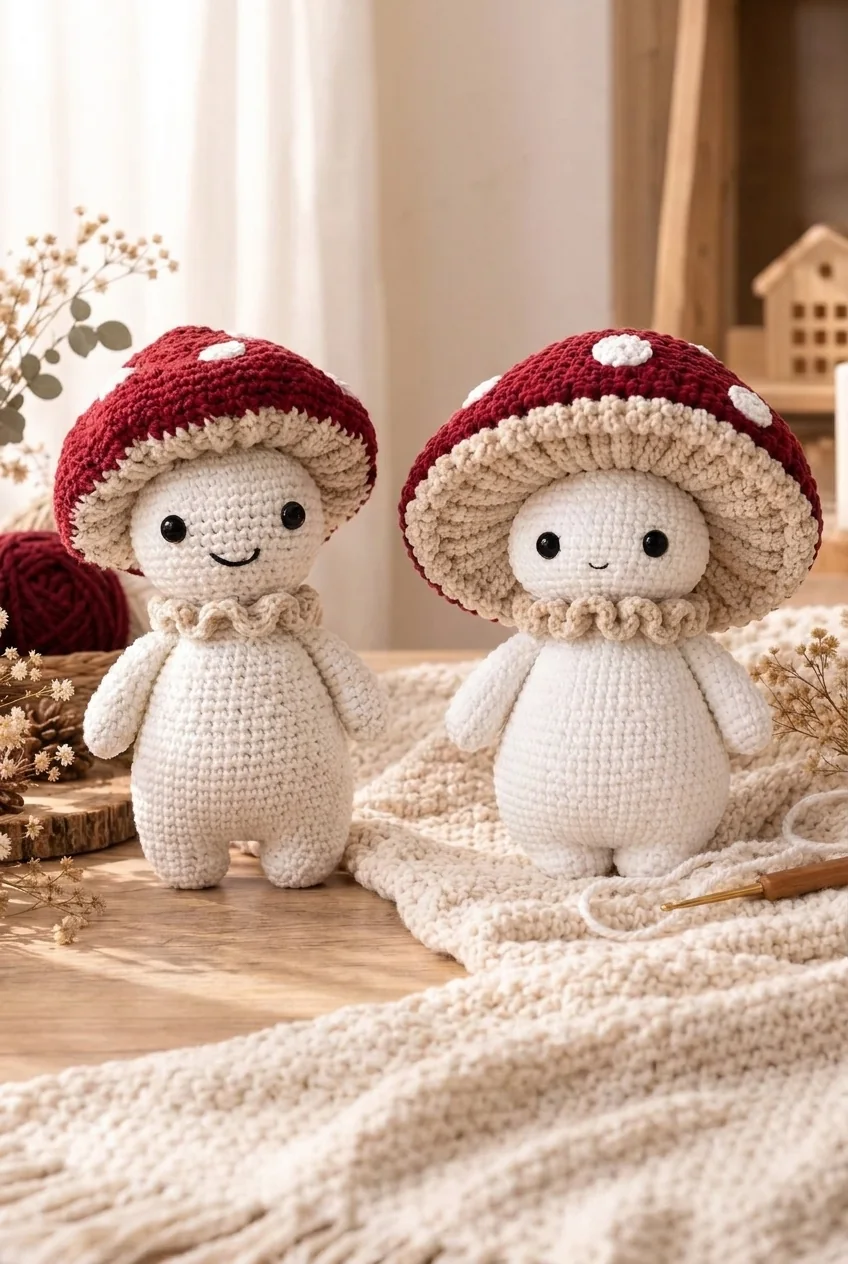
My first mushroom doll looked like it had survived something. Gaps between the stitches you could park a finger in. Stuffing peeking out like the doll was molting. A face so lopsided it seemed to be apologizing for existing. I photographed it anyway, hid it in a drawer, and nearly decided amigurumi “wasn’t for me.”
Here’s what I know now: that doll wasn’t a talent problem. It was seven specific, nameable amigurumi mistakes — and every single one had a fix I could have learned in one evening.
Why Every First Doll Fails
Amigurumi looks deceptively simple. One stitch — the single crochet — worked in a spiral. That’s it. And that simplicity is exactly the trap: because the technique list is so short, beginners assume there’s nothing to get wrong. Then, mid-doll, they discover that precision was the whole game all along.
Scroll Pinterest and every doll is flawless. The lumpy first drafts live in drawers, unphotographed. Why does nobody post their first doll? Because nobody told them the ugly phase was part of the process — and nobody handed them the short list of fixes that ends it.
So here is my argument, stated plainly: every disappointing first doll comes from the same seven amigurumi mistakes, all of them are technique rather than talent, and once you can name them, you can fix them. This article walks through all seven — with the fixes — demonstrated on my own mushroom doll.
Mistake 1: Trusting the Hook Size on the Yarn Label
Symptom: gaps between stitches, stuffing visible through the fabric. Why it happens: the hook size printed on a yarn label is chosen for drapey scarves and blankets — not for the dense, sculptural fabric a doll needs. The fix: drop one to two millimeters below the label size, and keep dropping until you hold the fabric to the light and can’t see through it. The day I swapped the label’s 4 mm for a 2.5 mm, my dolls stopped leaking stuffing. Of all the amigurumi mistakes on this list, this one causes the most damage for the least effort to fix.
Mistake 2: Yarn Over Instead of Yarn Under
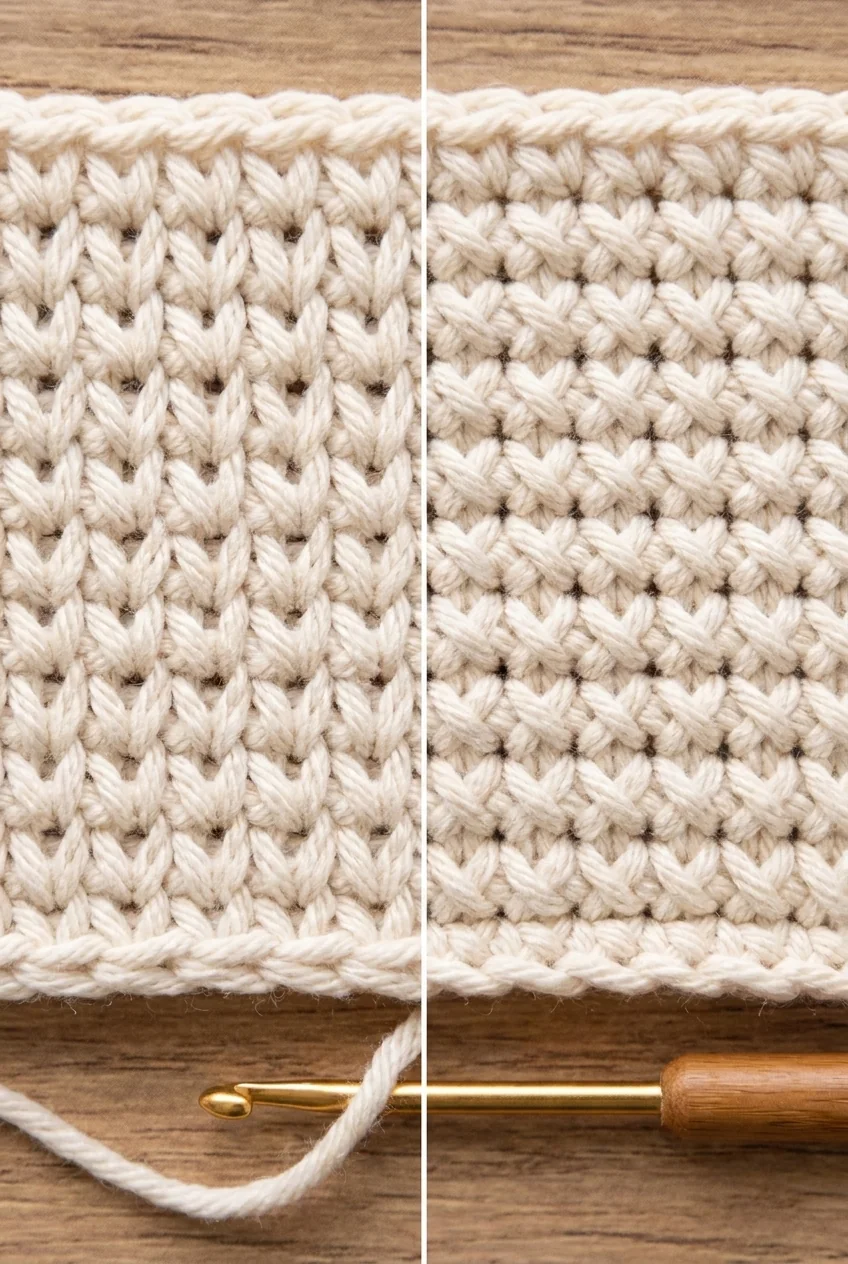
Symptom: stitches look like little “v”s, the fabric feels loose, and your doll has a subtle slouch even when stuffed. Why it happens: most of us learned to yarn over, which produces a pretty, open “v” stitch — perfect for wearables, wrong for dolls. The fix: yarn under instead. It creates a tighter, squarer “x” stitch that sits denser and holds shape. It feels wrong for about fifty stitches, and then it feels like the cheat code it is. Practice one small square before your next doll; that single habit change fixes half the “homemade look” people blame on talent.
Mistake 3: Placing the Face After Closing the Head
This is the one almost everyone makes — which is why the pin for this article says “you’re making #3.”
My story: I stitched my first doll’s face after the head was stuffed and closed. To reach the inside, I bent a needle, stabbed my thumb, and produced a smile so crooked the doll looked seasick. I performed emergency “face surgery” at midnight and it still wasn’t straight. Why it happens: the pattern says “embroider the face” and you assume you’ll do it at the end. The fix: map the face before closing — pins first, then a few guide stitches in contrasting thread, then embroider while you can still flatten the piece and reach inside. Two minutes of planning replaces an hour of surgery.
Mistake 4: Ignoring the Invisible Decrease
Symptom: bumpy shaping, little holes at every decrease, a cap that looks like it has dents. Why it happens: the standard decrease (insert, pull through, insert, pull through, finish) leaves a visible lump and a small gap. The fix: the invisible decrease — through the front loops only of the next two stitches, then finish as one. Same stitch count, dramatically smoother surface. If your dolls look “almost right but not quite,” this is usually why. It’s one of those amigurumi mistakes you can’t unsee once you learn it exists.
Mistake 5: Stuffing Wrong — All at Once, at the End
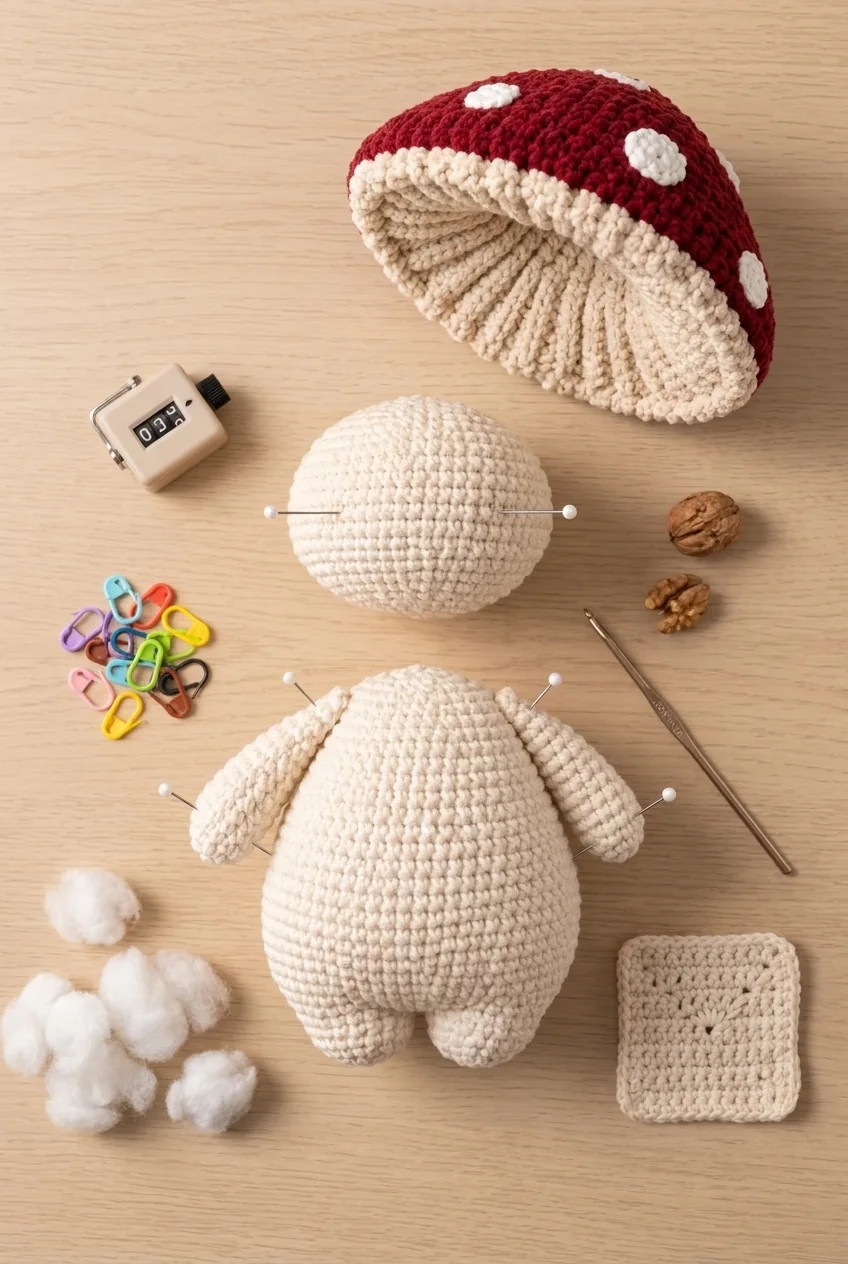
Symptom: lumps, a floppy neck, a doll that slowly deflates over a month. Why it happens: you finish the piece, then push one big wad of stuffing in through a small hole. Physics refuses to cooperate. The fix: stuff as you go, in tufts the size of a walnut. Firm at the base so the doll stands, lighter at the top so it doesn’t look swollen. More stuffing than feels reasonable — amigurumi compresses over time, and under-stuffing is a slow-motion disaster.
Mistake 6: Counting Rounds From Memory
Her story: a friend of mine counted rounds “in her head” while watching a series. Her mushroom cap had 47 stitches where the pattern said 52. She didn’t notice until the cap sat on the head like a tilted beret. Three evenings of work, unraveled in four minutes. Why it happens: rounds blur together; there are no rows to count. The fix: a stitch marker in the first stitch of every round, moved up every round, plus a tally on paper or a counter app. Count every round. It takes ten seconds and it is the cheapest insurance in all of crochet.
Mistake 7: Sewing Limbs Without Pinning First
Symptom: one arm higher than the other, legs that point in different time zones. Why it happens: you commit with the needle before you’ve judged the placement. The fix: pin every piece, then photograph the doll from the front, back, and both sides — the camera catches asymmetry your eyes forgive. Adjust until the photos look right, and only then sew. Assembly is where good pieces become a great doll; don’t rush the last ten percent.
“But Won’t All This Slow Me Down?”
Objection one: “Seven fixes sounds like seven extra hours.” The opposite. Yes, your next doll will be slightly slower. Every doll after it will be dramatically faster — because unpicking is the real time thief, and these amigurumi mistakes are exactly what you’ve been unpicking. One slower doll buys you a lifetime of faster ones.
Objection two: “Some people just have the hands for it. I don’t.” Let’s reframe that. Myth: neat dolls come from natural talent. Reality: neat dolls come from the seven fixes above, repeated. Talent, in amigurumi, is just technique that has been practiced past the point of thinking. Every flawless doll on your feed was somebody’s second, fifth, or tenth doll. The only people who “can’t do it” are the ones who quit at doll number one.
Your Second-Doll Protocol
Take the doll in the drawer out, look at it with these seven names in your head, and then start fresh — this time:
- Drop your hook 1–2 mm below the label and test the fabric against light
- Switch to yarn-under and give it one practice square
- Map and embroider the face before closing the head
- Use the invisible decrease everywhere, no exceptions
- Stuff in walnut-sized tufts, firm at the base, as you go
Why Your Second Doll Matters More Than Your First
Your first doll is tuition. Mine sits in a drawer and it earned its place there — every lump in it is a lesson I never forgot. But tuition only pays off if you go back to class. Muscle memory fades fast; the window to convert these fixes into habit is now, while the frustration is still fresh and the fixes are still new.
And here is the real prize: doll number two is where crochet stops feeling like fighting materials and starts feeling like making decisions. That feeling is the whole hobby.
Conclusion
Seven mistakes. Seven fixes. None of them require talent, special tools, or more than an evening to learn: hook down, yarn under, face first, invisible decreases, tufted stuffing, counted rounds, pinned assembly. That is the entire distance between the doll in the drawer and the doll on the shelf.
You were never bad at this. You were uninstructed — and now you’re not.
Want the perfect project to practice all seven fixes on? My mushroom doll pattern was designed to be exactly that: few parts, simple shapes, and a face that teaches you placement the forgiving way. Grab it on Etsy, make your second doll, and put the first one on the shelf too — as a before photo.
Your first doll is supposed to be ugly. Your second one is supposed to prove you listened.
—
Frequently Asked Questions
What are the most common amigurumi mistakes?
The most common amigurumi mistakes are using a hook that is too large, making loose yarn-over stitches, embroidering the face too late, skipping invisible decreases, stuffing all at once, losing the round count and sewing parts without pinning.
How can I prevent gaps between stitches?
Prevent these amigurumi mistakes by moving down one or two hook sizes, testing the fabric against light and using yarn-under single crochet when it suits the pattern.
Why does my amigurumi look lumpy?
Lumps usually come from large pieces of stuffing or uneven distribution. Add walnut-sized tufts as you work and shape the piece gradually instead of forcing one large wad through the final opening.
Should I restart after noticing amigurumi mistakes?
Not always. Correct the stitch count as soon as possible, reposition pinned pieces before sewing and redistribute accessible stuffing. Restart only when the problem changes the structure or cannot be repaired cleanly.
How do I keep the face symmetrical?
Place eye and mouth guides before closing the head, photograph the placement from the front and sides, then embroider while the inside is still accessible.
Will fixing amigurumi mistakes slow the project down?
A careful setup may add minutes, but fixing amigurumi mistakes early prevents hours of unpicking and makes later dolls faster and more consistent.




