

Amigurumi tutorial • US crochet terms
Panda Keychain Crochet Pattern: 12 Clever Steps
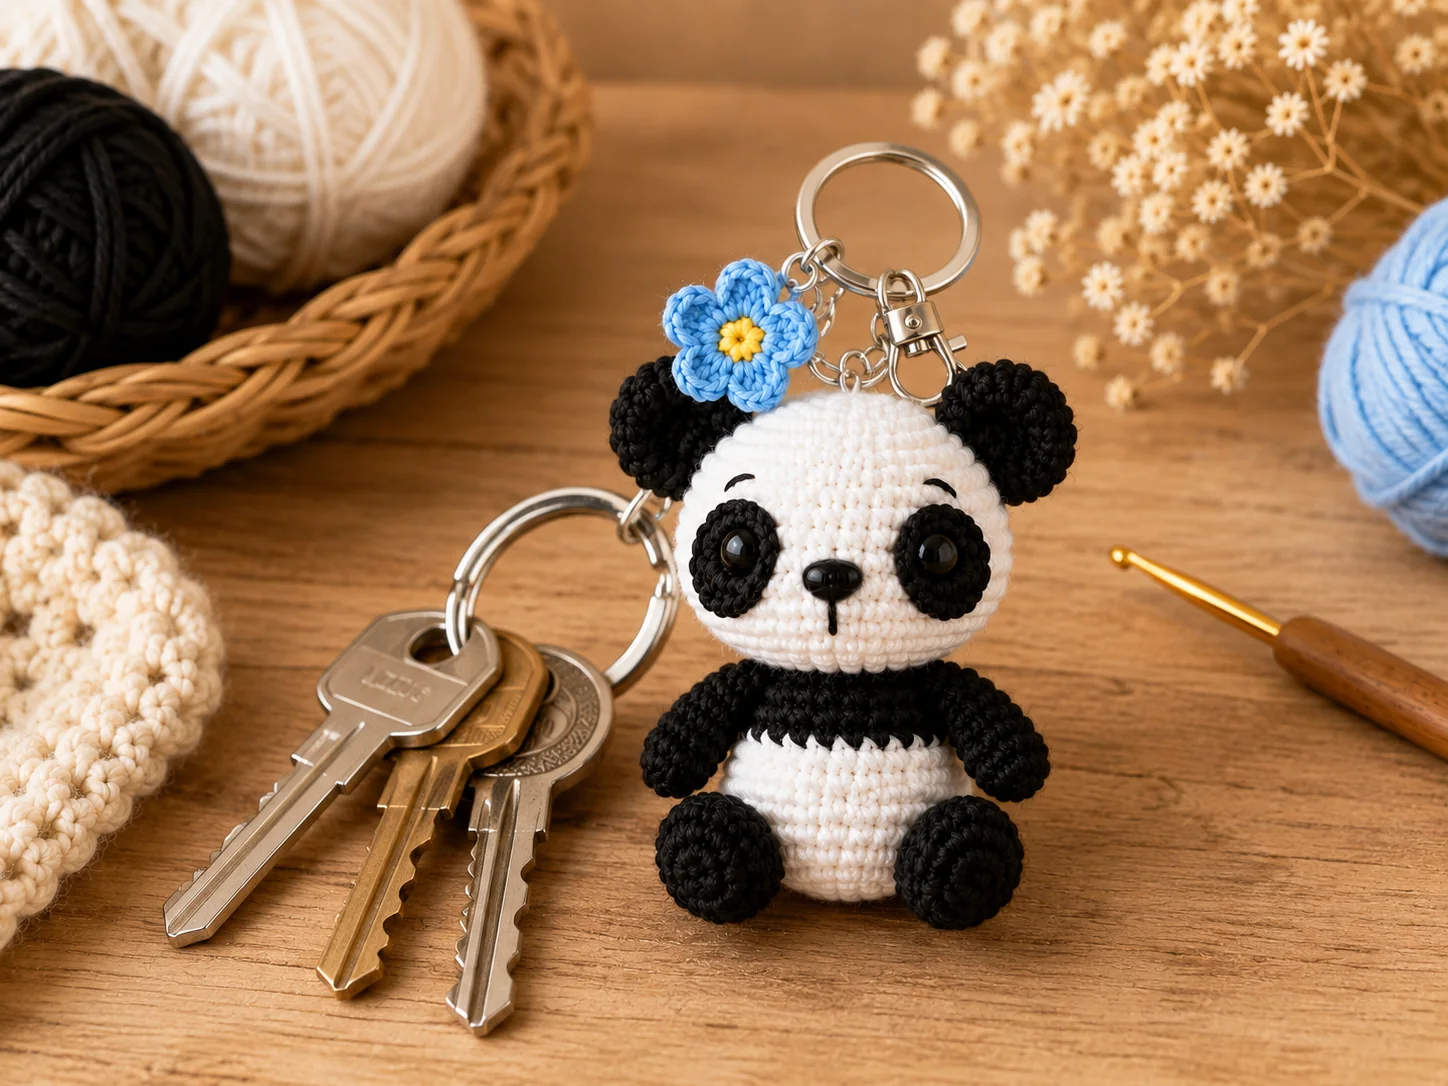
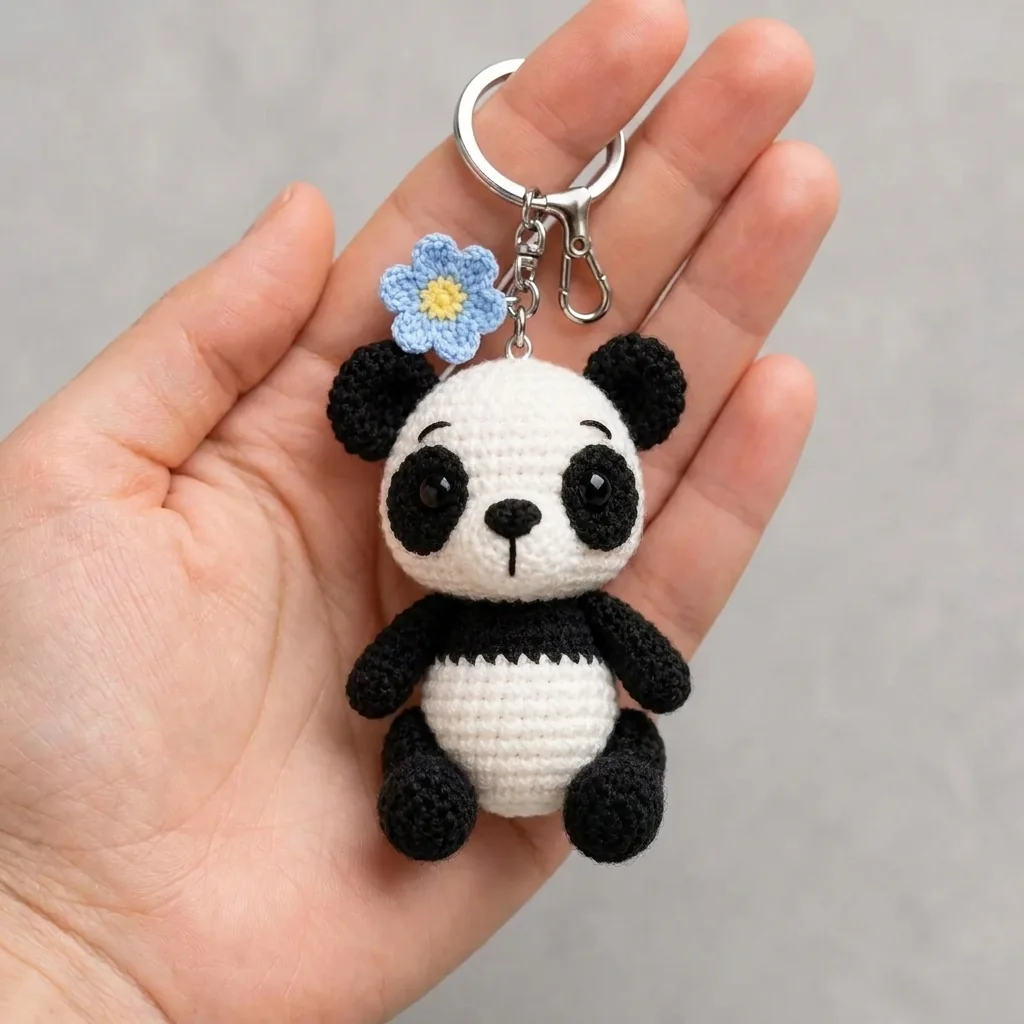
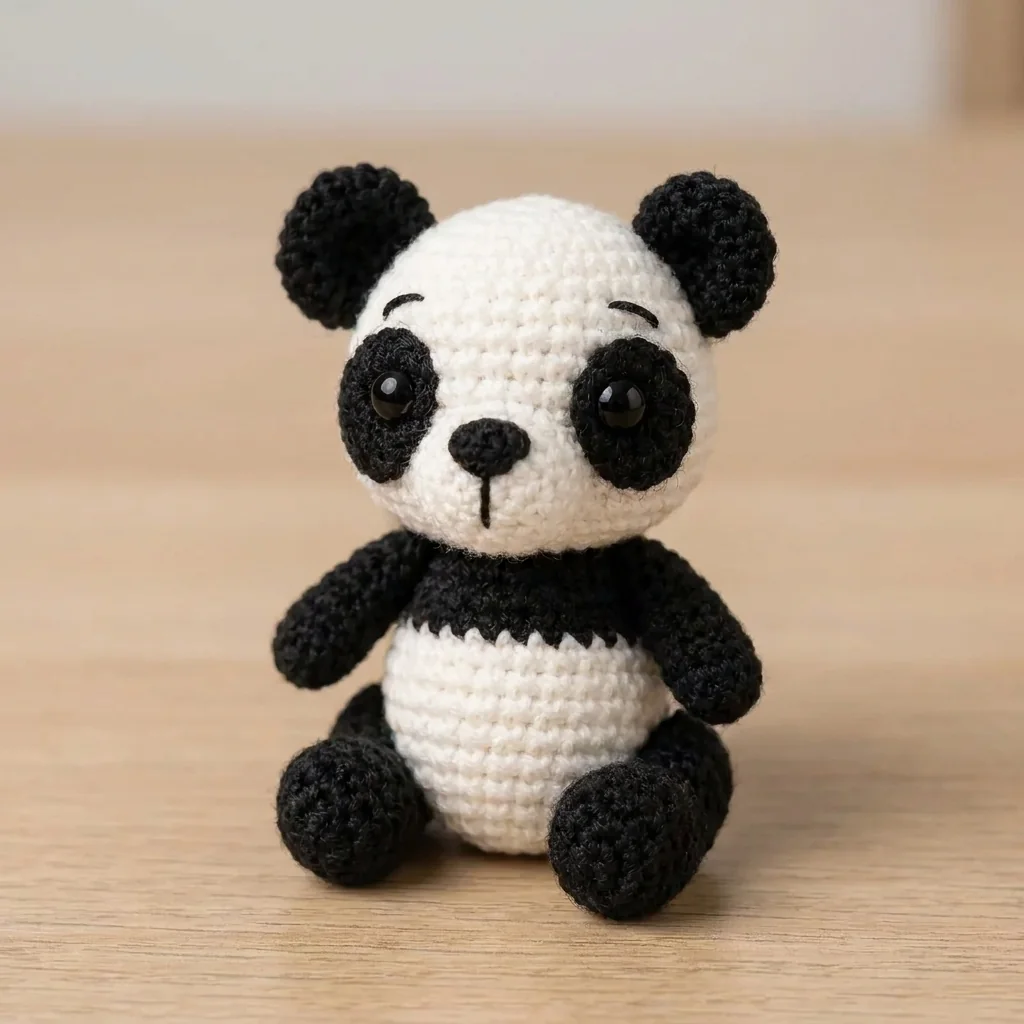
This panda keychain crochet pattern turns small, tightly crocheted pieces into a seated amigurumi with an expressive face, blue flower charm, and reinforced metal keyring. Follow the written counts carefully and keep every join strong enough for regular handling.
Build the head and muzzle foundation
Step 1: Prepare firm, durable fabric
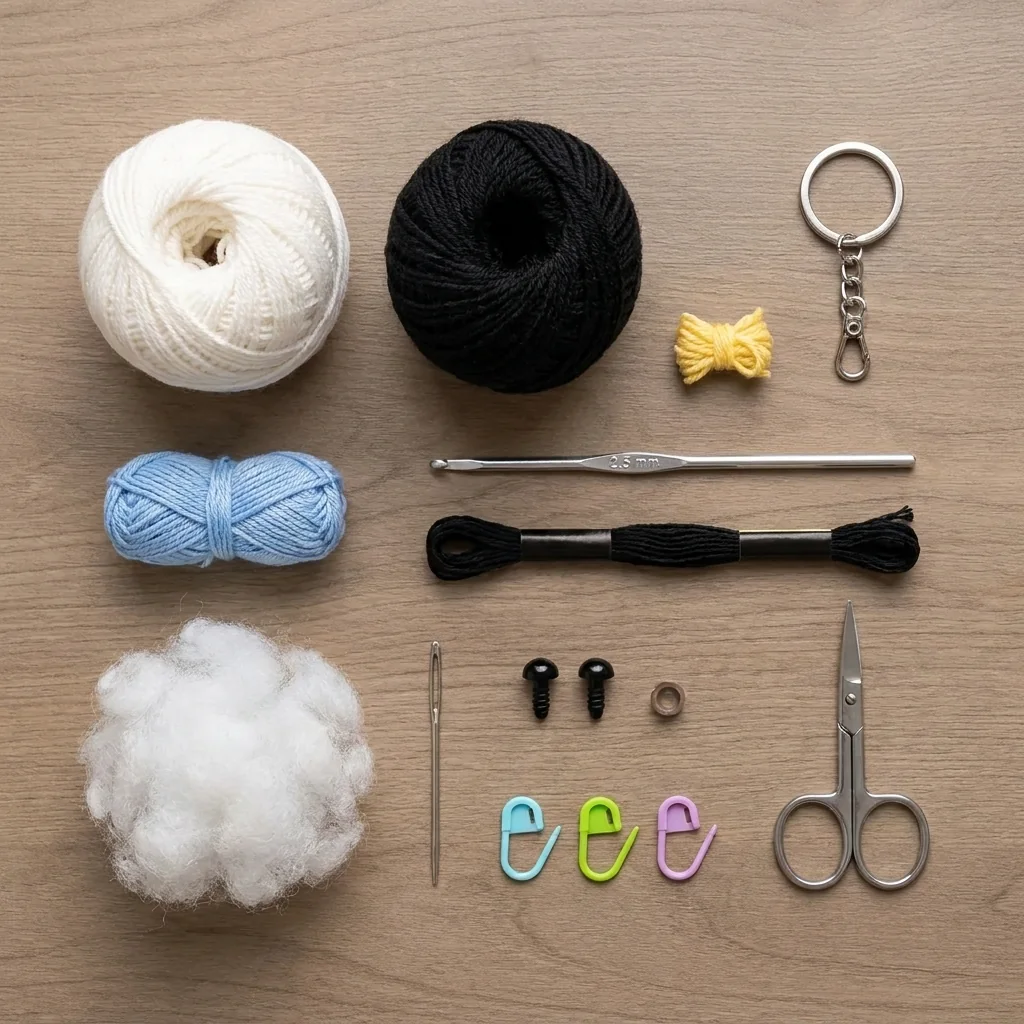
Gather the listed yarn colors, stuffing, 6–8 mm eyes, markers, needle, scissors, and hardware. Move the marker after every round and crochet tightly.
Step 2: Crochet the head
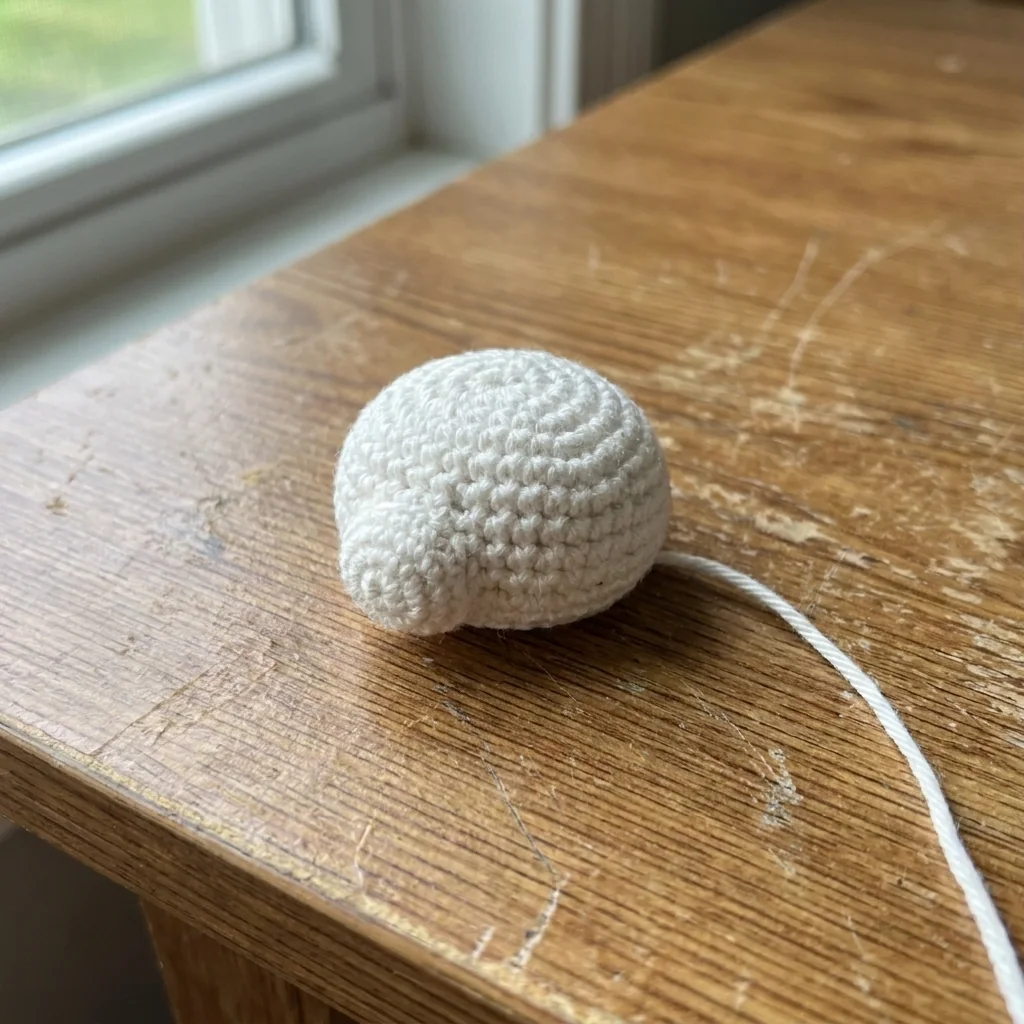
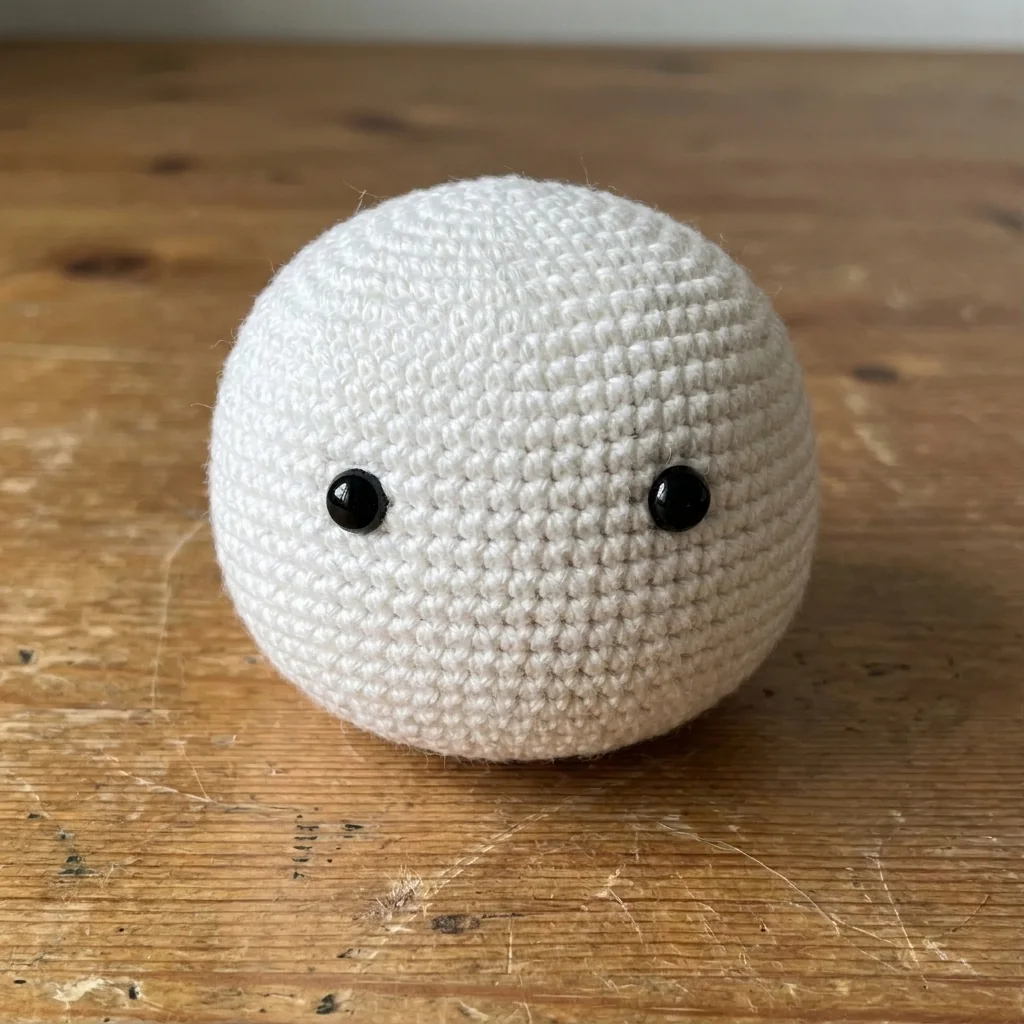
With white, begin with 6 sc in a magic ring. Increase to 12, 18, 24, 30, 36, and 42 stitches through Rounds 2–7. Work 42 sc for Rounds 8–14. At the end of Round 10, position the eyes between Rounds 10 and 11, six to seven stitches apart.
Decrease to 36, 30, 24, 18, 12, and 6 stitches through Rounds 15–20. Stuff firmly, close through the front loops, and hide the tail.
Step 3: Make the muzzle
With white, work 6 sc in a magic ring, increase to 12, then repeat sc and increase six times for 18. Work two more rounds at 18 stitches. Fasten off with a long sewing tail and add only light stuffing immediately before attachment.
Keep every round count nearby
The printable PDF is the final authority for increases, decreases, placement, and finishing.
Crochet the eye patches, ears, and body
Step 4: Make two eye patches
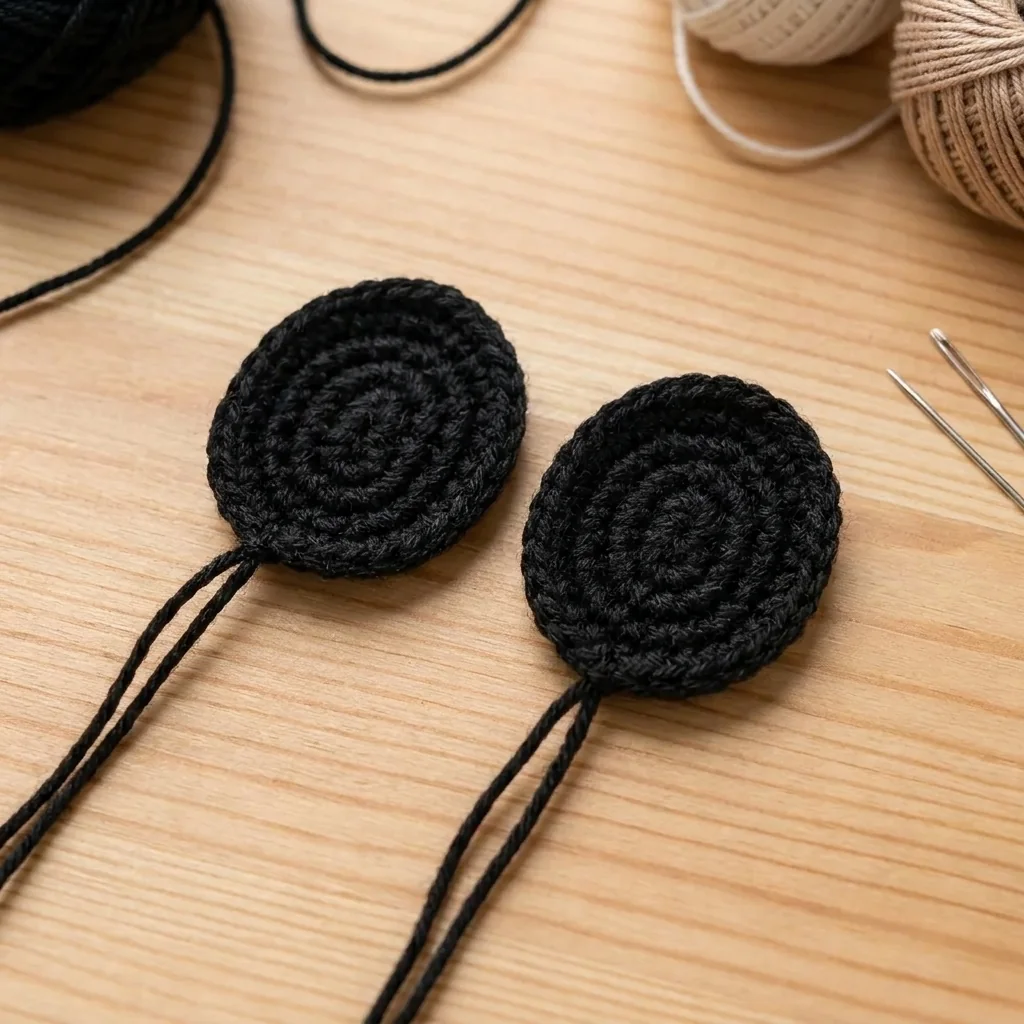
With black, work 6 sc in a magic ring. Repeat sc and increase three times for 9 stitches, then crochet one round of 9. Fasten off with sewing tails. Do not stuff; shape the two flat ovals symmetrically.
Step 5: Make two ears
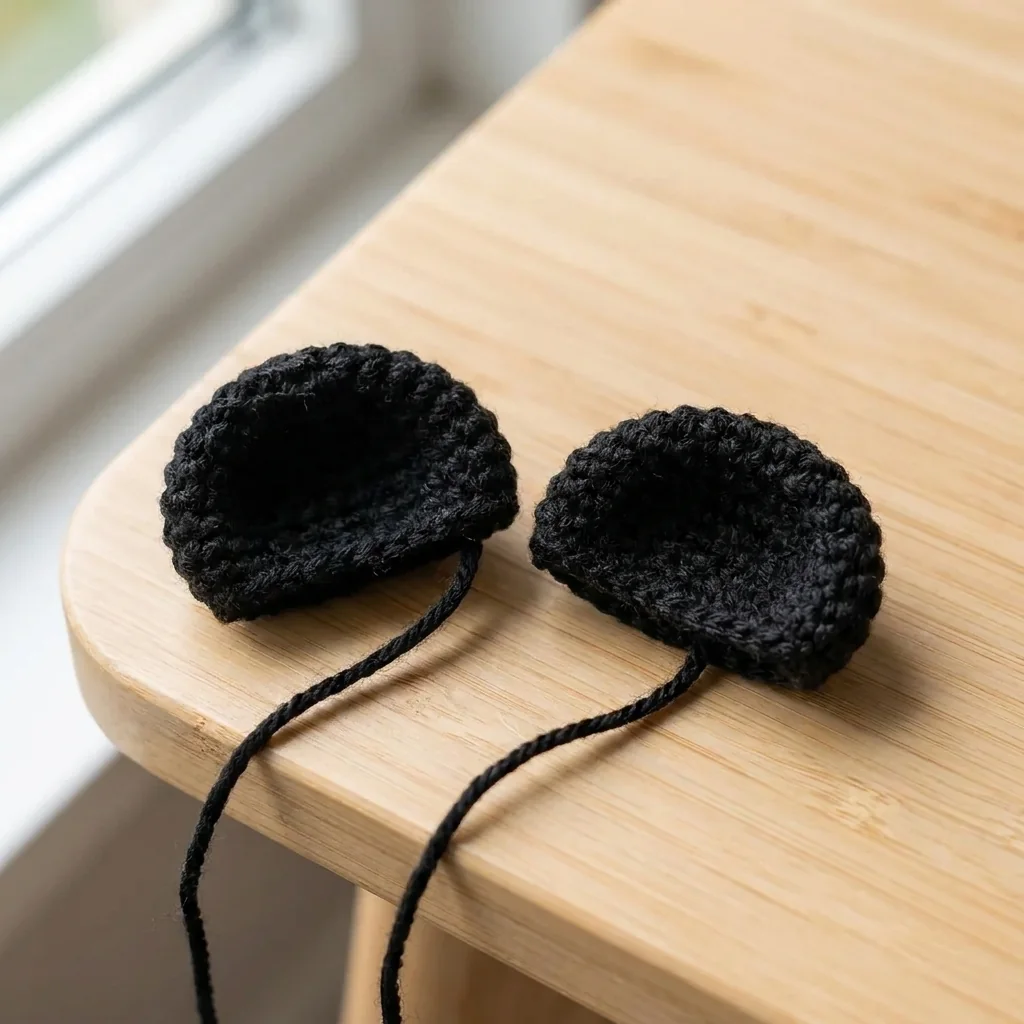
Start with 6 black sc in a magic ring, increase to 8, work one round even, then increase to 10. Leave long sewing tails, flatten lightly, and do not add stuffing.
Step 6: Crochet the body
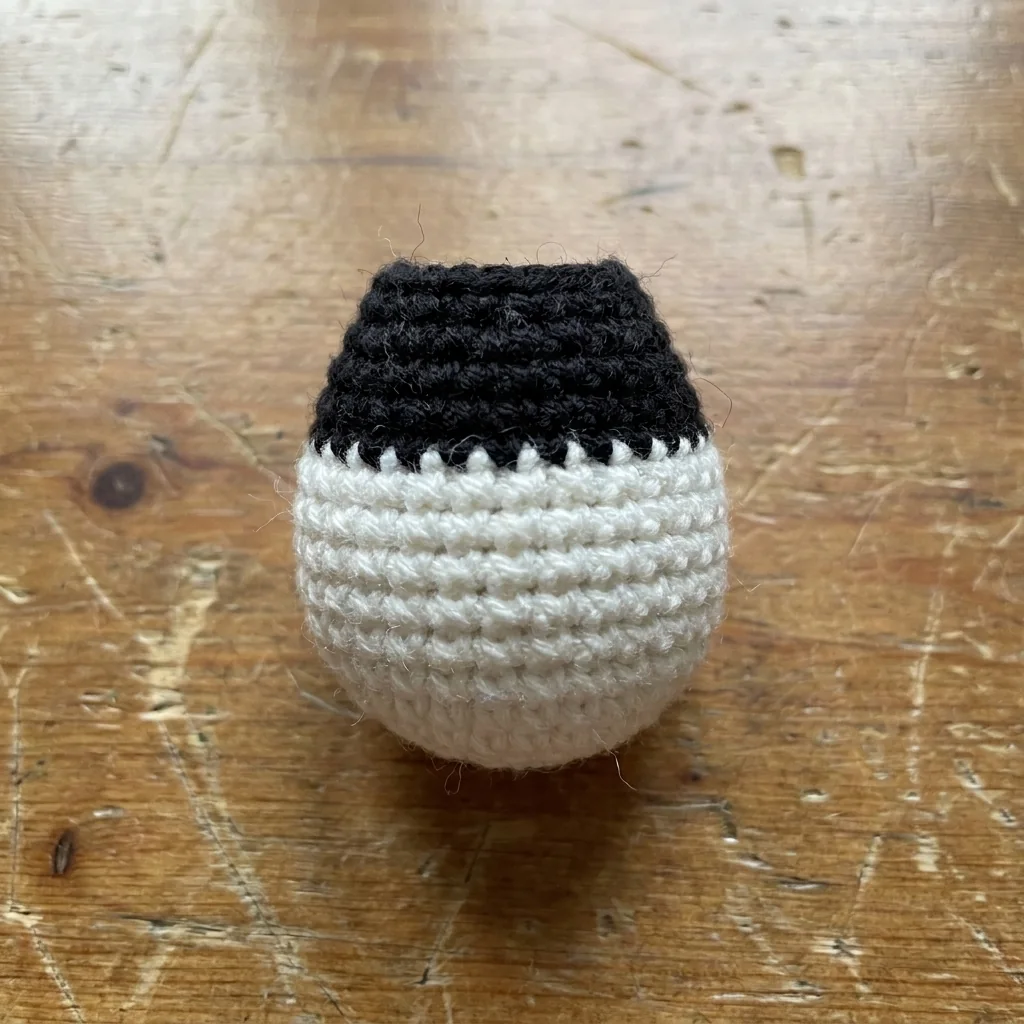
Begin in black, increase from 6 to 30 stitches by Round 5, and work Rounds 6–8 even. Change to white, work Rounds 9–13 at 30, then decrease through 24, 18, 12, and 6 while stuffing firmly.
This stage gives the panda keychain crochet pattern its recognizable black upper body and white belly. Shape the body into a firm oval that can support the head.
See five ways to style the finished panda
The companion post includes blue-flower, pastel, sunflower, monochrome, and nature-inspired concepts.
Make the limbs and assemble the face
Step 7: Crochet two arms
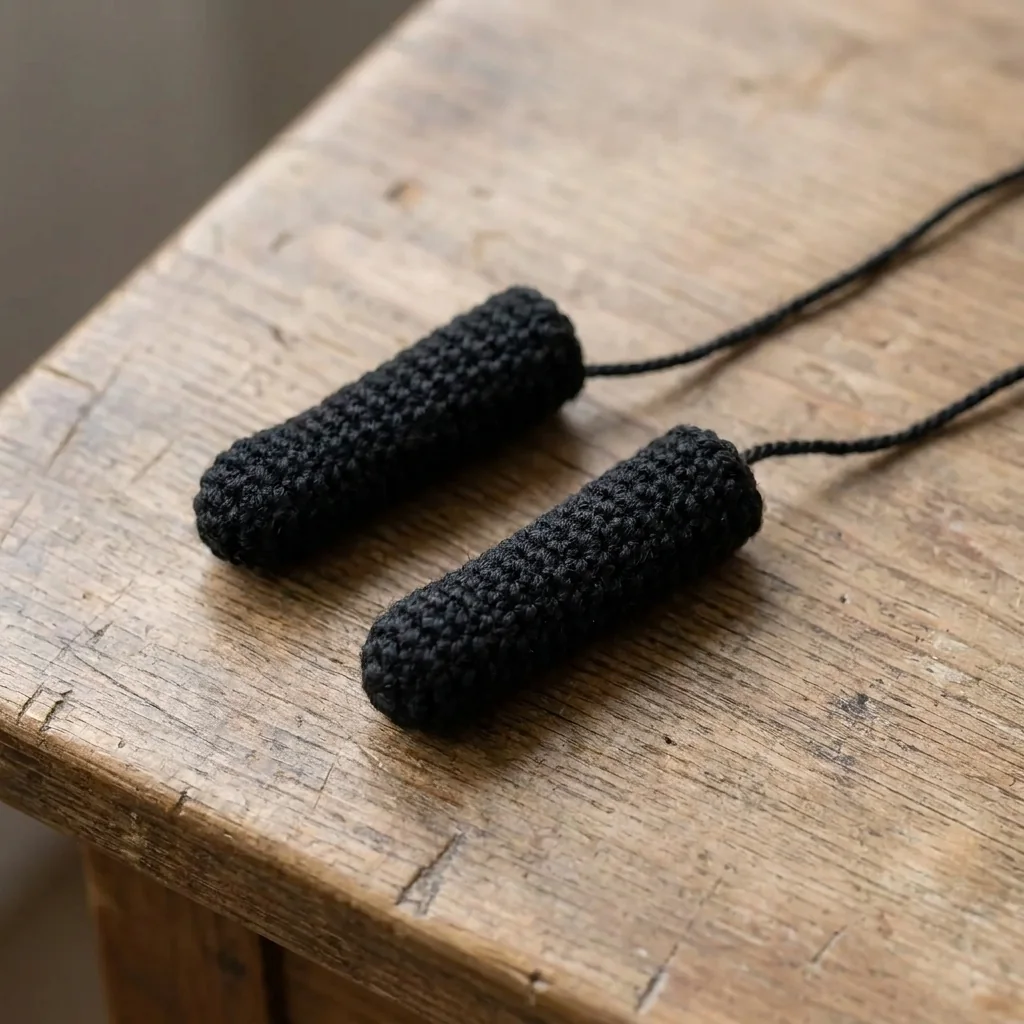
With black, start with 6 sc, increase to 8, and work Rounds 3–5 even. Add a small amount of stuffing toward each paw. Decrease to 6 on Round 6, fasten off with long tails, and keep the ends rounded.
Step 8: Crochet two legs
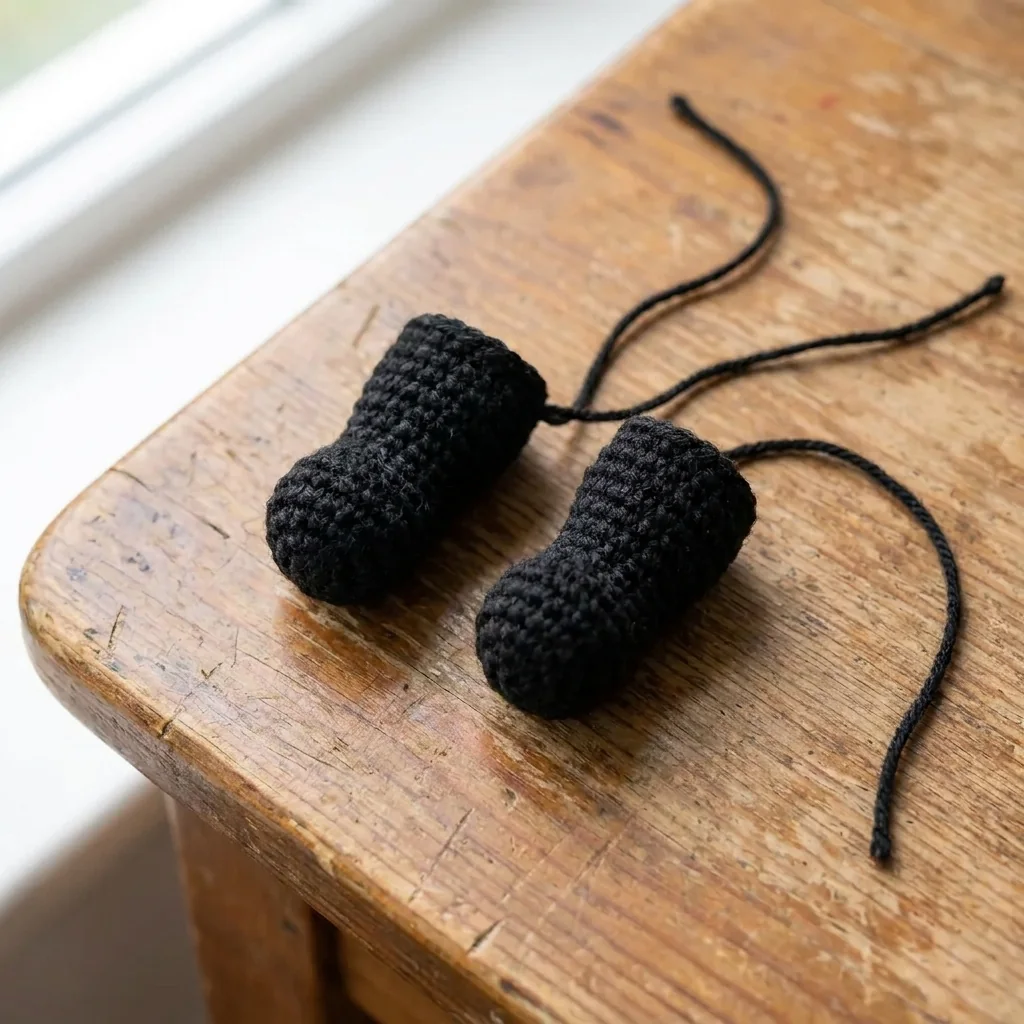
Begin with 6 black sc, increase to 12, and work Rounds 3–5 even. Decrease to 9, stuff firmly, then decrease to 6. Leave long tails and flatten the top of each rounded paw where it will meet the body.
Step 9: Create the expression
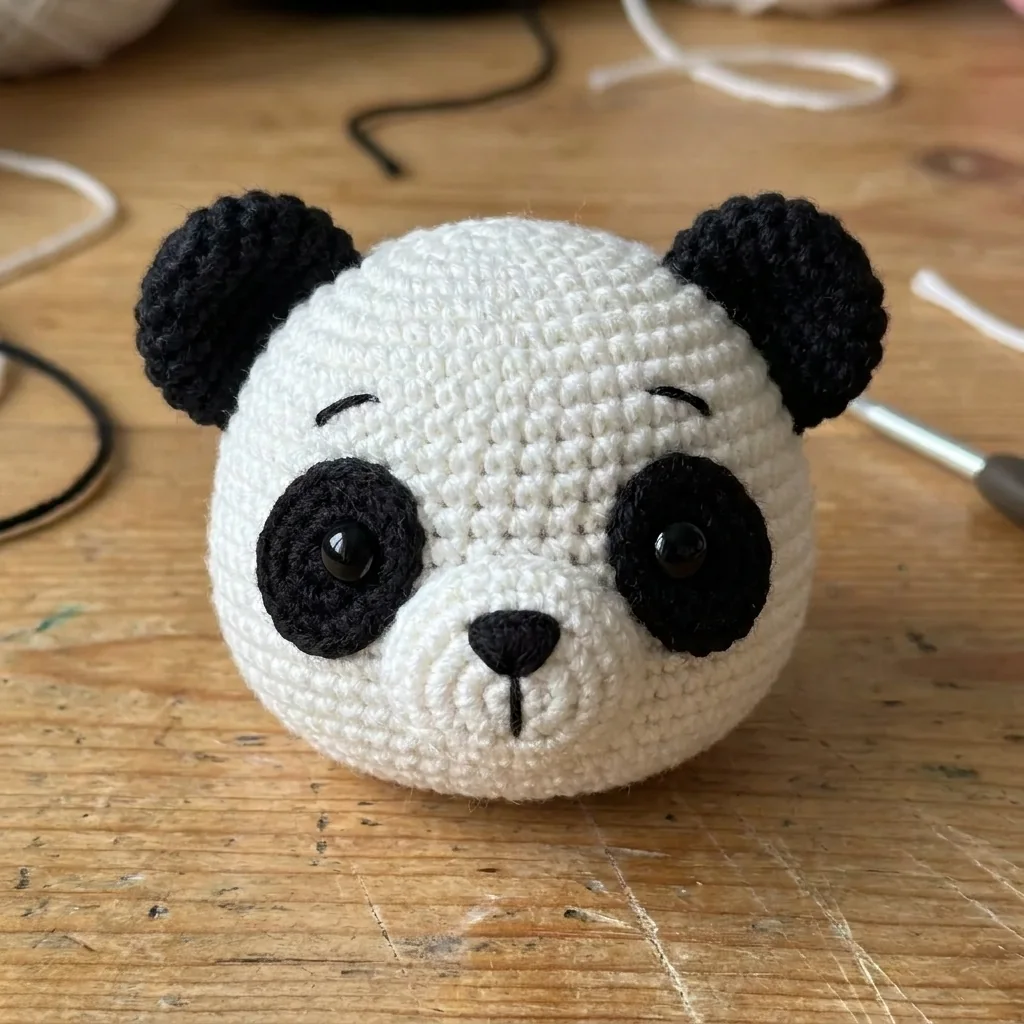
Center each black patch around an eye and whip stitch smoothly. Place the lightly stuffed muzzle between the patches, about two rounds above the head’s lower edge. Embroider a triangle nose, short vertical line, tiny V-shaped mouth, and curved eyebrows. Sew the ears four to five stitches apart and reinforce their bases.
Check the panda keychain crochet pattern from several angles before tying final knots. Tiny changes in eye-patch height, muzzle centering, or ear angle can noticeably change the expression.
Assemble the panda, flower, and keyring
Step 10: Attach the head and limbs
Align the body beneath the head and sew one head stitch to one body stitch around the neck. Add stuffing if the neck needs support. Attach the arms just below the neck at equal height, then place the legs on the lower front. Test that the panda sits evenly and make several passes through every joint.
Step 11: Crochet the flower
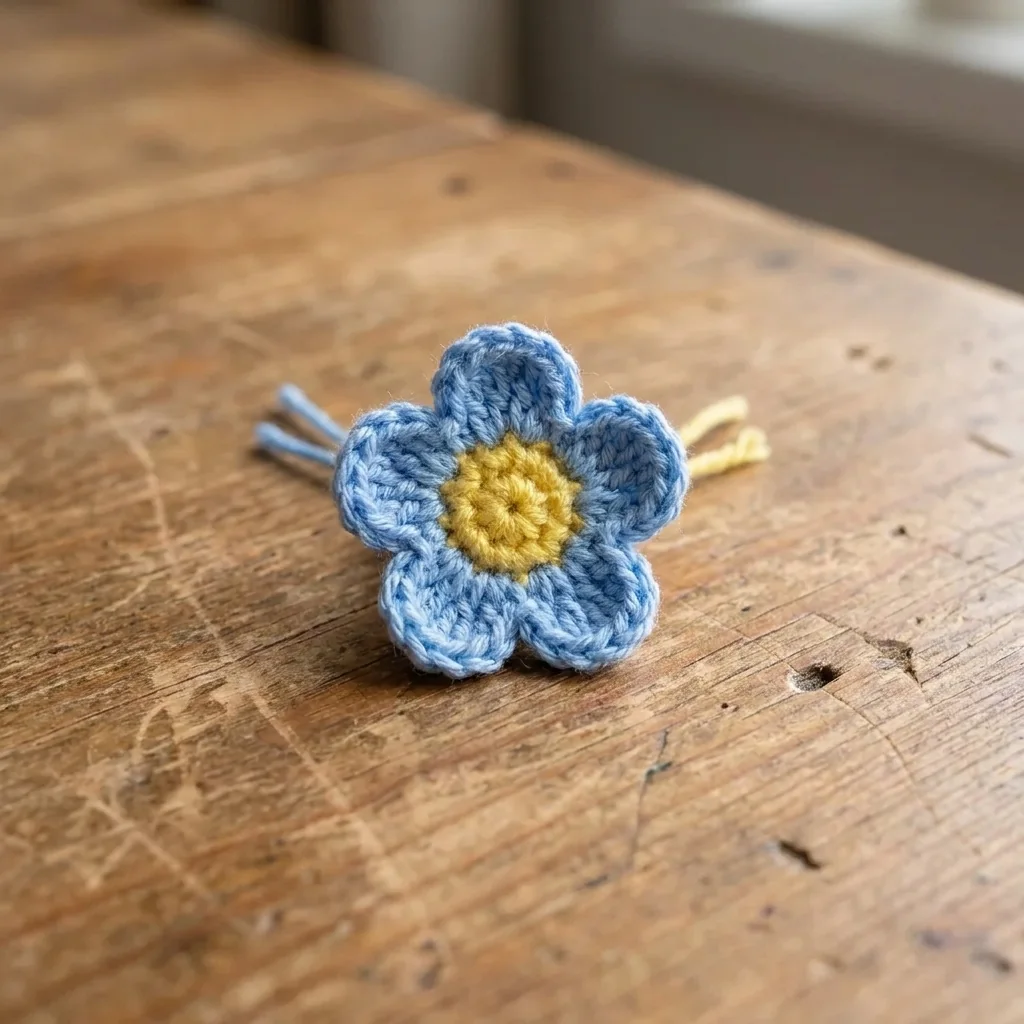
For the center, make 6 yellow sc in a magic ring, join with a slip stitch, and fasten off. Join blue and repeat: chain 2, work 2 dc in the same stitch, chain 2, then slip stitch in the next stitch. Repeat six times. For the five-petal reference look, begin with 5 center stitches and repeat five times.
Step 12: Secure the keyring
Tie the flower around a chain link. Stitch the head firmly around the bottom jump ring, spread the strain across nearby stitches, center the chain, and tug-test the hardware.
Once finished, link readers to your amigurumi basics. The complete panda keychain crochet pattern should hang straight and measure about 8–10 cm before the keyring.
Final safety and seller checks
Small metal parts and plastic eyes are choking hazards; this keychain is not suitable for children under three. Makers remain responsible for hardware, seams, warnings, labels, and local requirements.
Ready to crochet your pocket panda?
Download the printable six-page pattern and keep every round count at hand.
A tiny project with important finishing details
The panda keychain crochet pattern is compact, but accuracy matters. Tight fabric, balanced placement, buried tails, and a reinforced keyring connection turn the separate pieces into a durable handmade accessory.
Frequently asked questions
Which terms does the PDF use?
English instructions with standard US crochet abbreviations.
Is gauge essential?
Exact gauge is not critical, but the fabric must be tight and stuffing-safe.
How large is the panda?
Approximately 8–10 cm or 3–4 inches, excluding hardware.
Can I sell finished keychains?
The pattern permits small-scale finished-item sales while assigning safety and legal responsibility to the maker.
Is this a physical product?
No. The Etsy CTA is for a digital PDF pattern only.




