

My Crochet Universe · Structured handbag series
Crochet Bag Finishing: 7 Proven Details for a Store-Bought Look
A polished, image-rich guide for a modern handmade bag.
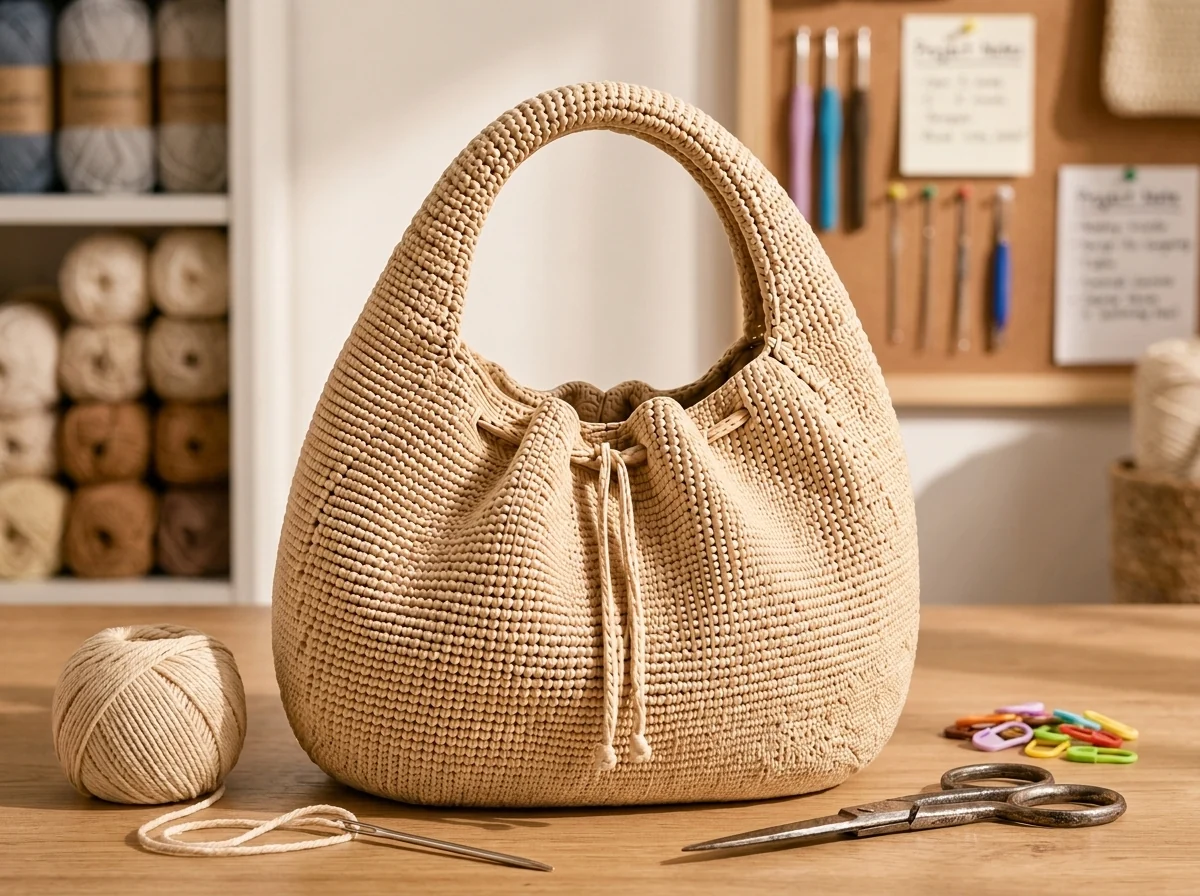
The last ten percent is where bags become bags
Crochet bag finishing begins long before the final yarn tail is hidden.
You can crochet a beautiful bag body and still end up with something that feels unfinished. Not bad. Just unfinished.
Maybe the base ripples slightly. Maybe the handle twists. Maybe one drawstring tail is longer than the other, or the yarn ends are hiding until the first time the bag moves. None of these are dramatic problems. Together, though, they are what separate a project you are proud to carry from one that stays in a drawer.
Crochet bag finishing is not glamorous, which is probably why people rush it. But it is the stage that makes the biggest visual difference. Treat it like the final fitting of a garment: small adjustments, careful checking, and no pretending that “it will probably be fine” is a plan.
- Start with the right fabric
- Detail 1: Fix tension before finishing
- Detail 2: Make the base behave
- Detail 3: Weave ends like they matter
- Detail 4: Check the drawstring path
- Detail 5: Shape the handle
- Detail 6: Steam gently, never flatten
- Detail 7: Store the bag with intention
- A five-minute final inspection
- FAQ
Start with the right fabric
Consistent tension makes crochet bag finishing cleaner and more predictable.
Finishing cannot rescue fabric that is too loose for a structured bag. It can improve it, but it cannot change physics.
Before you invest hours in the body, make a small swatch and bend it in your hands. Does it hold its own shape? Can you see through the stitches? Does it spring back after you press it? If the answer is no, change the hook or yarn before you build more.
That is not perfectionism. It is saving yourself from a very long lesson. For a more deliberate way to test yarn before starting, see five essential tests for a structured crochet bag.
Detail 1: Fix tension before finishing
Strong crochet bag finishing protects the base, drawstring, and handle from distortion.
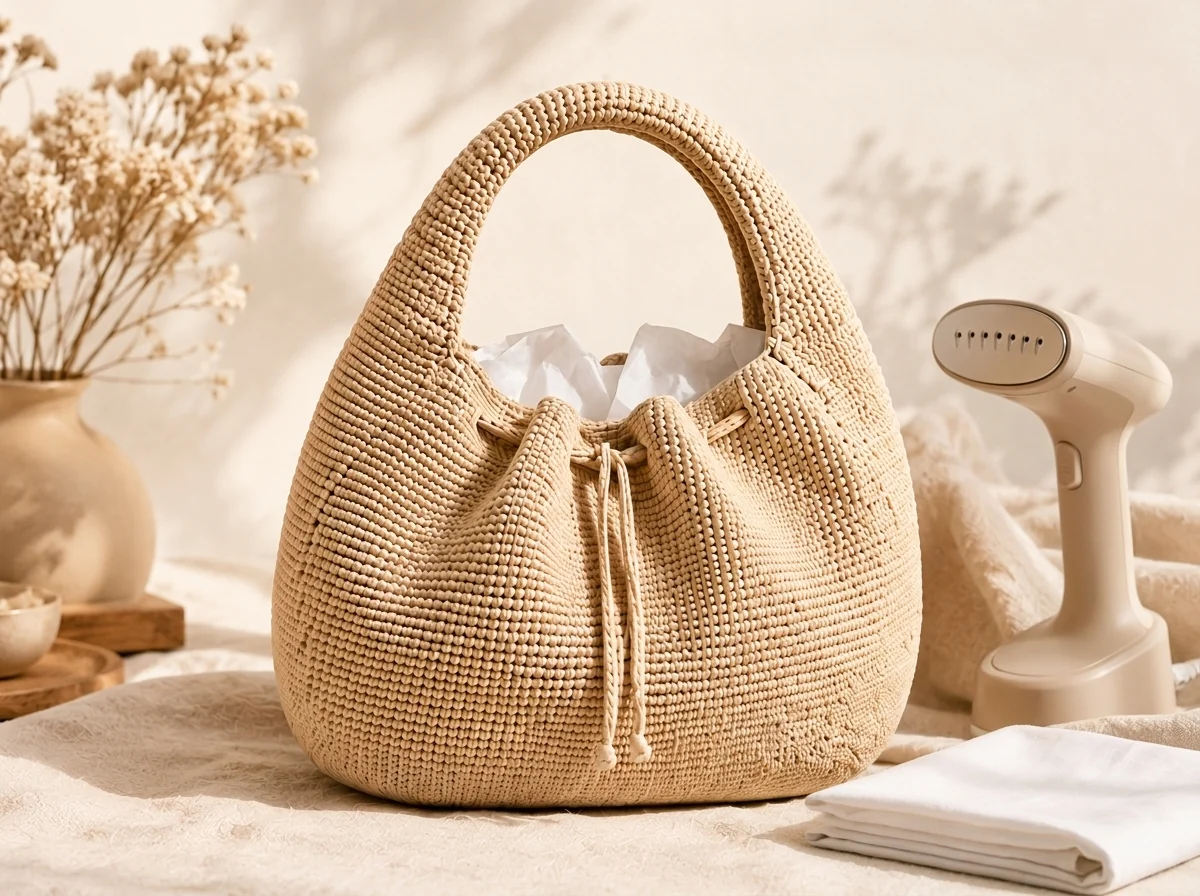
Look for inconsistent areas before you weave in any ends. One loose round near the top may be easy to correct now and annoying forever later.
With dense cotton crochet, a tiny tension change can create a visible stripe. Work under good light. Turn the bag slowly. If one area looks different, decide whether it is a charming handmade variation or something you will notice every time you carry it. Be honest. You know the answer.
Detail 2: Make the base behave
Gentle steam is useful in crochet bag finishing only when it does not flatten texture.
Set the bag on a flat table. If the base rocks, cups, or ripples, deal with it before you celebrate.
A little steam-blocking can relax a stubborn curve. Fill the bag with towels, hold steam above the fabric rather than pressing directly onto it, and use your hands to guide the base into shape. If you want more firmness, add a cut-to-size piece of firm felt or plastic mesh inside the base.
The goal is not to make the bag rigid. It is to give it a reliable starting point.
Detail 3: Weave ends like they matter
Careful crochet bag finishing includes storage and washing instructions.
Because they do.
Do not just knot an end and cut it close. On a bag, the fabric gets pulled, rubbed, and filled. A short end can work itself loose at exactly the wrong time.
Use a yarn needle, run the tail through several dense stitches, change direction once or twice, and bury it inside the fabric. If a seam carries strain — especially around the handle — reinforce it with extra passes.
Detail 4: Check the drawstring path
A final inspection is the simplest crochet bag finishing habit to adopt.
The drawstring is small, but it can make the bag look lopsided if it is not centered. Thread it through the eyelets evenly and make sure both tails emerge at the front with similar length.
Pull the cords slowly. The opening should gather softly rather than bunching on one side. If it does bunch, unthread and reset it. This takes five minutes. Living with a crooked closure takes much longer.
Detail 5: Shape the handle
Crochet bag finishing begins long before the final yarn tail is hidden.
The handle is not finished just because it is joined. Roll it gently between your fingers to smooth the padding and check the arch from the front and side.
You want the two sides to rise evenly and meet cleanly at the center. If one side leans more than the other, it may simply need to be shaped while the fabric is warm from your hands. Cotton responds surprisingly well to a little patience.
For the full sequence that creates the base, body, eyelets, taper, and padded arch, see the crescent bag construction stages.
Detail 6: Steam gently, never flatten
Consistent tension makes crochet bag finishing cleaner and more predictable.
Steam is useful. Pressing is risky.
Dense crochet gets its character from the stitch texture. Put a hot iron directly on it and you can flatten the very surface that makes the bag look good. Instead, fill the bag with towels, hover steam a few centimeters above it, and pat the sides into shape with clean hands.
Let it dry completely before removing the stuffing. This gives the cotton a chance to remember the silhouette you want.
Detail 7: Store the bag with intention
Strong crochet bag finishing protects the base, drawstring, and handle from distortion.
Do not fold it into a drawer under sweaters. Store it with tissue paper, a light cloth, or a small cushion inside so the base and handle keep their form.
This is especially important after you have spent time shaping the handle. A bag can slowly lose its crisp outline if it is crushed for weeks between uses.
A five-minute final inspection
Gentle steam is useful in crochet bag finishing only when it does not flatten texture.
Before taking photos or carrying the bag outside, check:
- Does it sit flat?
- Are the drawstring tails even?
- Are all ends hidden?
- Is the handle centered?
- Does the opening close smoothly?
- Are there loose stitches near high-stress areas?
- Is the inside clean of stray yarn tails?
This is not fussy. It is the difference between “I made a bag” and “I made this bag.”
Helpful answers
Frequently asked questions
Should I line a crochet bag?
A lining is optional. It can help with small items and add structure, but dense cotton crochet plus a base insert may be enough depending on how you use the bag.
Can I use fabric glue instead of weaving in ends?
It is better not to rely on glue alone. Glue can stiffen, discolor, or fail with washing. Weave tails through stitches first.
What if my base is still curling after steam-blocking?
Check whether the increases were distributed evenly. A base insert can help support the final form, but major curling may require correcting the crochet fabric itself.
How do I stop the handle from stretching?
Use dense tension, avoid overloading the bag, and store it supported. Cotton can stretch under weight, so keep heavy items to a minimum.
How often should I reshape the bag?
Only when it looks tired. A light steam and tissue stuffing after washing or long storage is usually enough.
Do not rush the part that makes it look finished
Careful crochet bag finishing includes storage and washing instructions.
The final stitches are not an afterthought. They are the part that lets the design show up properly.
If you want the exact rounds and photo checkpoints for a structured crescent handbag — including the base, eyelets, tapered sides, handle, drawstring, and finishing sequence — the complete PDF pattern is available in my Etsy shop. Get the complete digital pattern on Etsy
A good finish is quiet. That is why it works.




