The Best Fluffy Pancakes recipe you will fall in love with. Full of tips and tricks to help you make the best pancakes.

11-Step Crochet Bear Hood Romper Pattern: A Sweet Handmade Baby Outfit
This sweet Honey Bear romper turns warm neutral yarn into a polished baby outfit with an easy-to-follow construction path. The pattern is worked from the neckline downward, then finished with a shaped hood, rounded bear ears, tidy bands and flexible openings. The guide below follows the supplied 3–6 month pattern and keeps the important counts, measurements and safety checks close to the steps where they matter.
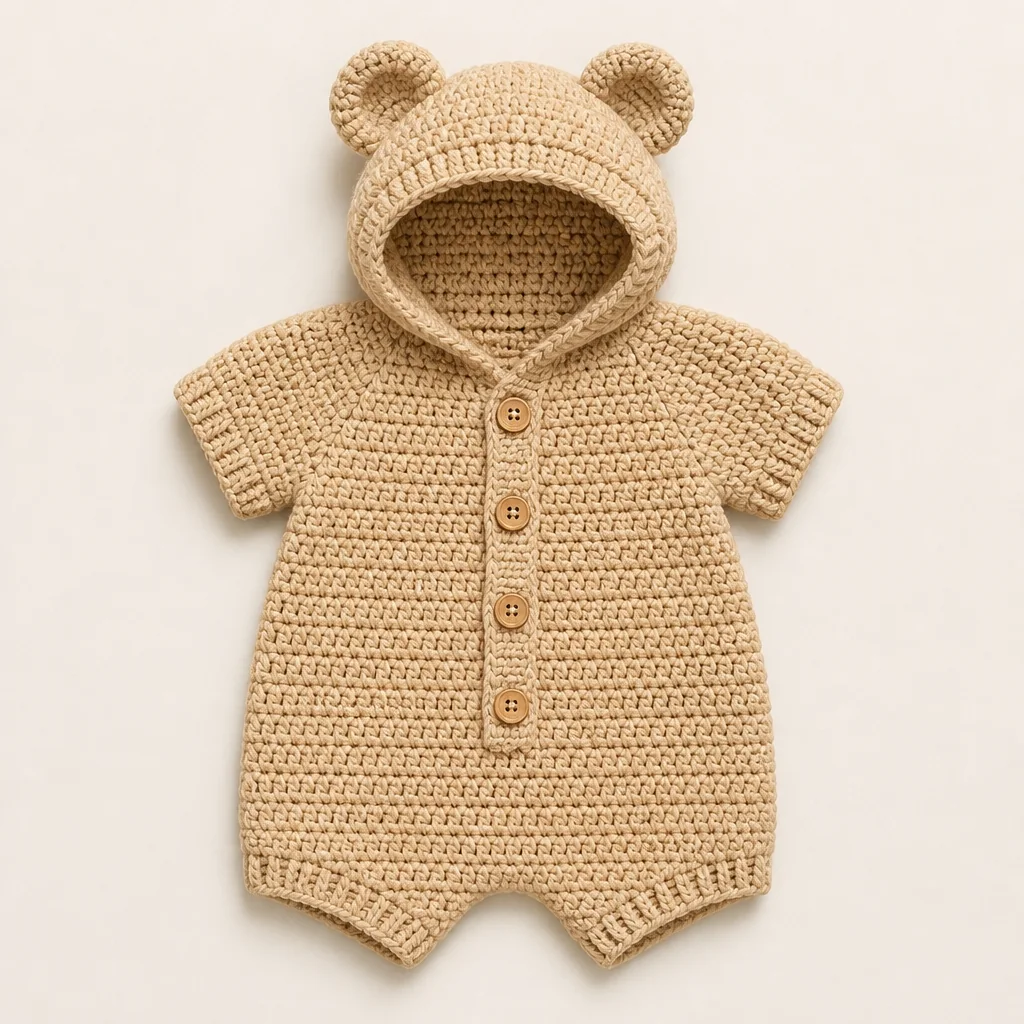
Materials: 350–420 m worsted or light aran yarn, 5 mm and 4.5 mm hooks, four stitch markers, yarn needle, scissors and four 15 mm flat buttons. Gauge: 14 hdc × 11 rows = 10 cm after washing.
In this article
- Make the foundation neck row
- Increase the raglan yoke
- Separate the sleeves
- Work the body flat
- Join and lengthen the body
- Shape the bottom and crotch
- Crochet the short sleeves
- Build and close the hood
- Make and attach the bear ears
- Finish the hood and front bands
- Add buttons, leg edging and final checks
Ready to crochet the Honey Bear romper? Keep the complete stitch counts, shaping sequence, finished measurements and safety notes together in the printable pattern.
1. Make the foundation neck row
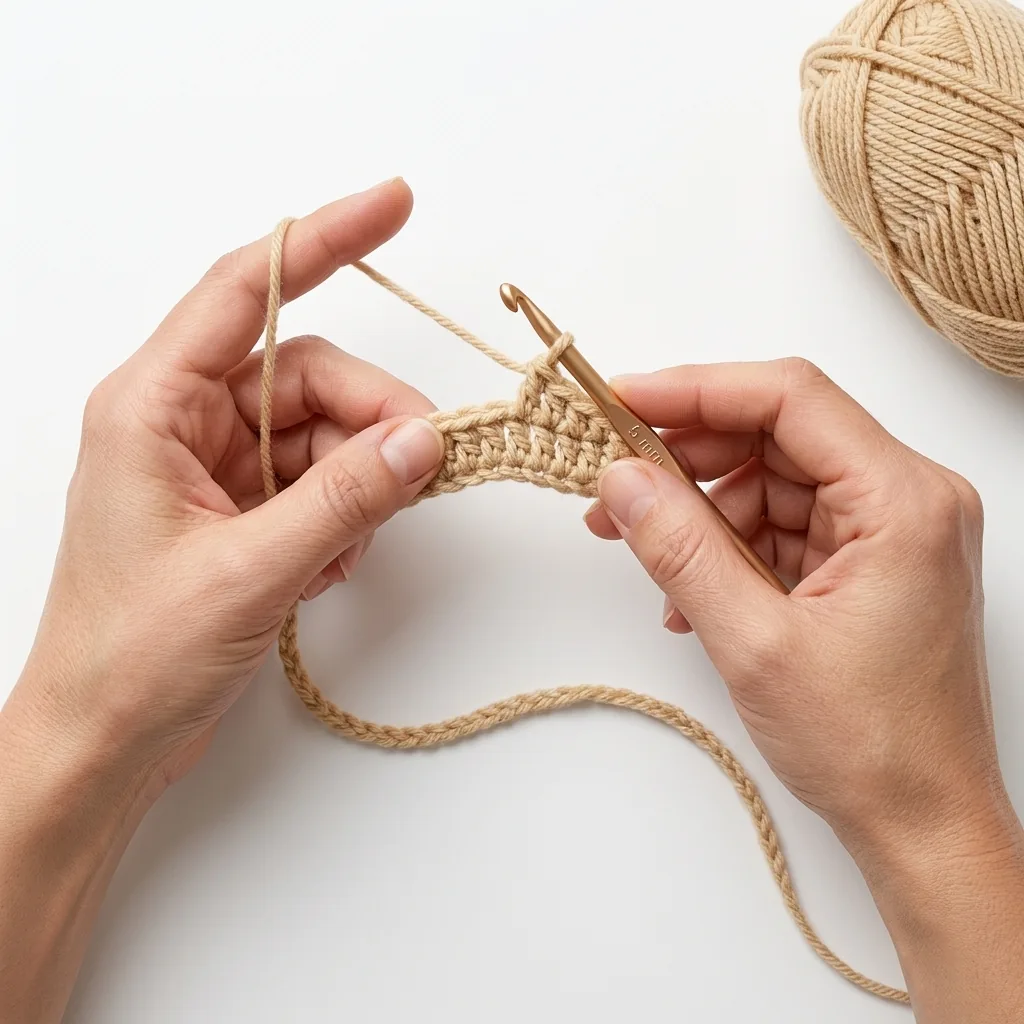
With the 5 mm hook, chain 45 with relaxed tension. Work half double crochet in the second chain and across for 44 stitches. A loose, untwisted foundation helps the neckline sit comfortably and keeps the front edges from pulling.
Place markers in stitches 8, 16, 29 and 37. These four points establish the raglan lines, so recount before continuing. The turning chain does not count as a stitch unless specifically stated.
Lay the row flat before moving on. If the chain twists, looks corded or feels much firmer than the swatch, restart now; correcting neckline tension later is much harder.
2. Increase the raglan yoke
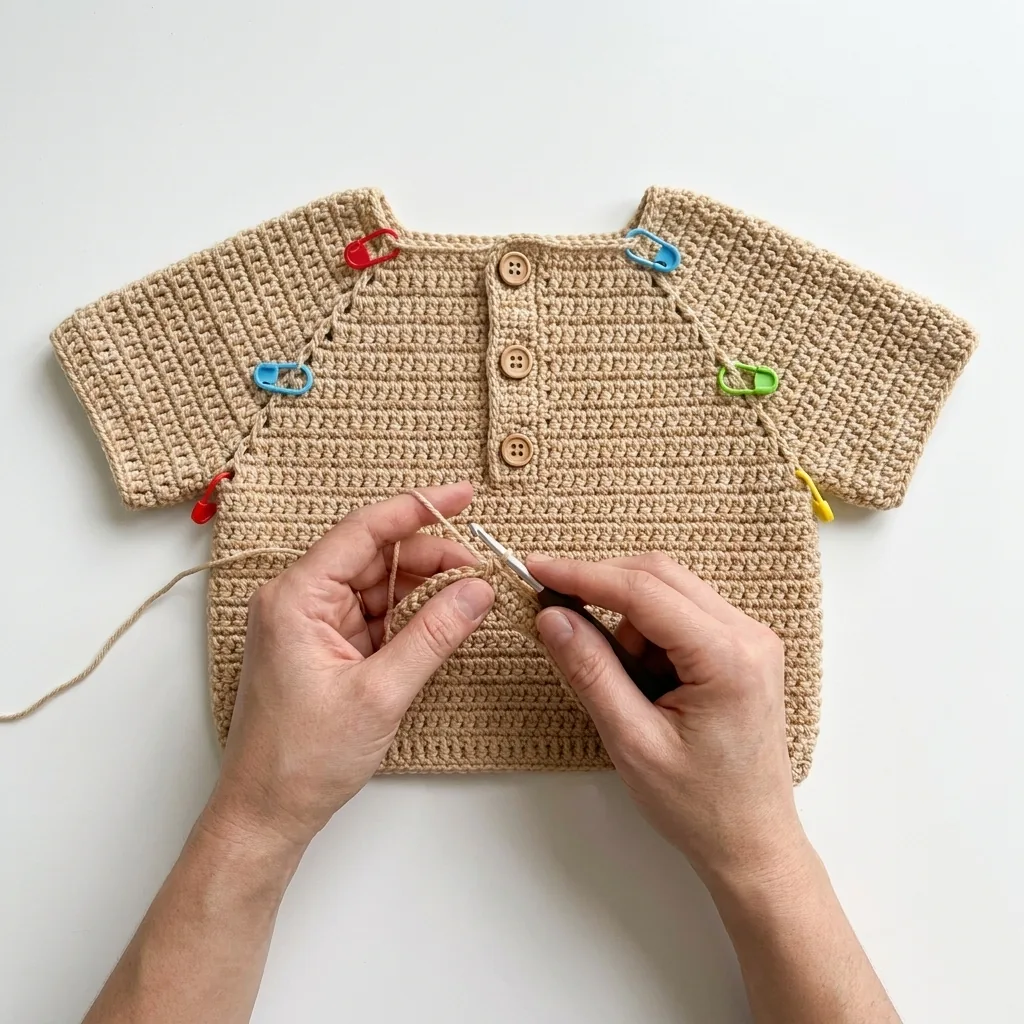
For Rows 2–10, chain one, turn and work half double crochet across. At each marked stitch, work three half double crochet stitches and move the marker into the center stitch of that new group.
Each increase adds two stitches while keeping a clear raglan line. After Row 10, the count should be approximately 116 stitches and the yoke depth should measure about 10–11 cm.
Add another increase row only when both chest width and armhole depth need room. Measure rather than guessing, because one extra row changes the body and both sleeves.
3. Separate the sleeves
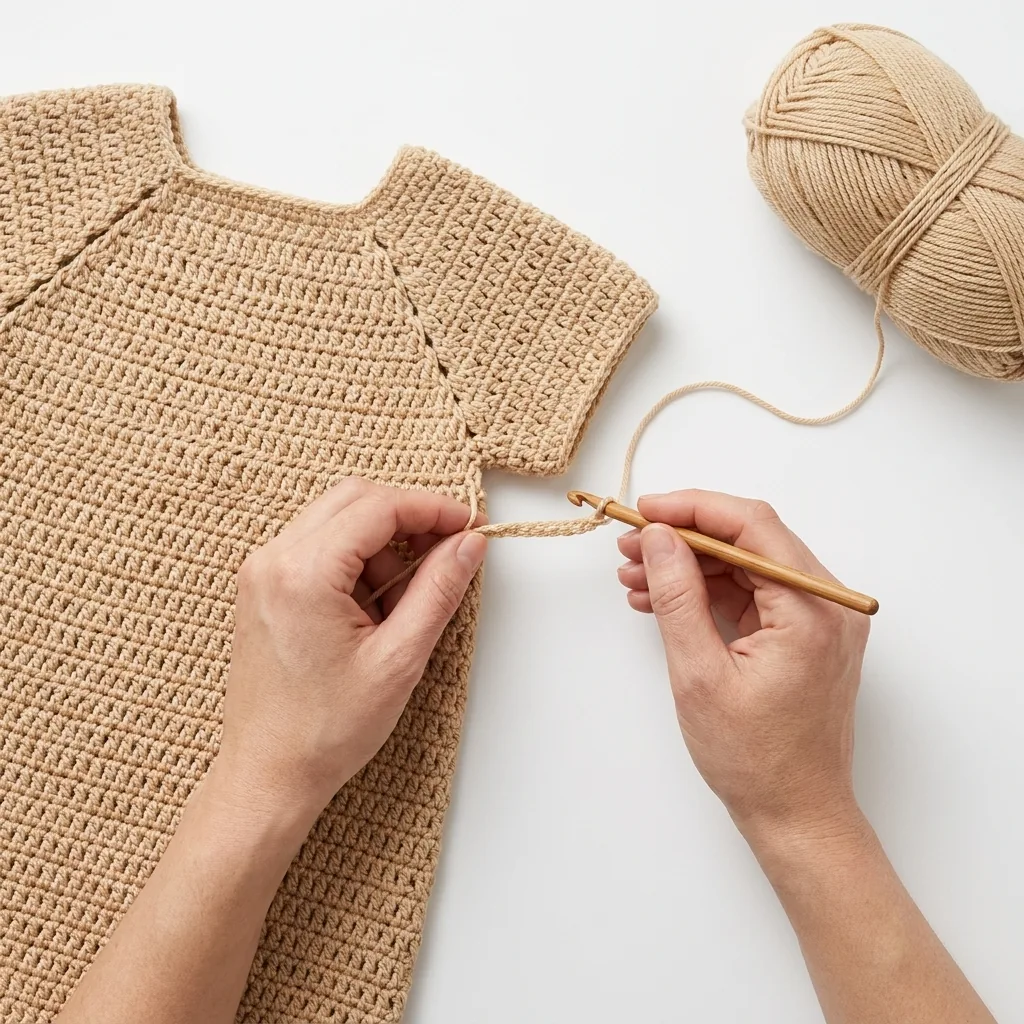
On Row 11, crochet across the first front and first raglan stitch, chain three, and skip the first sleeve section. Continue across the back, chain three again and skip the second sleeve.
Finish across the final raglan stitch and front. The two chain bridges become the underarms. Keep them relaxed enough to move comfortably without leaving oversized gaps.
Fold the yoke at the shoulder lines and compare both openings. The neckline should lie flat, the fronts should remain straight and the sleeve sections should match.
4. Work the body flat
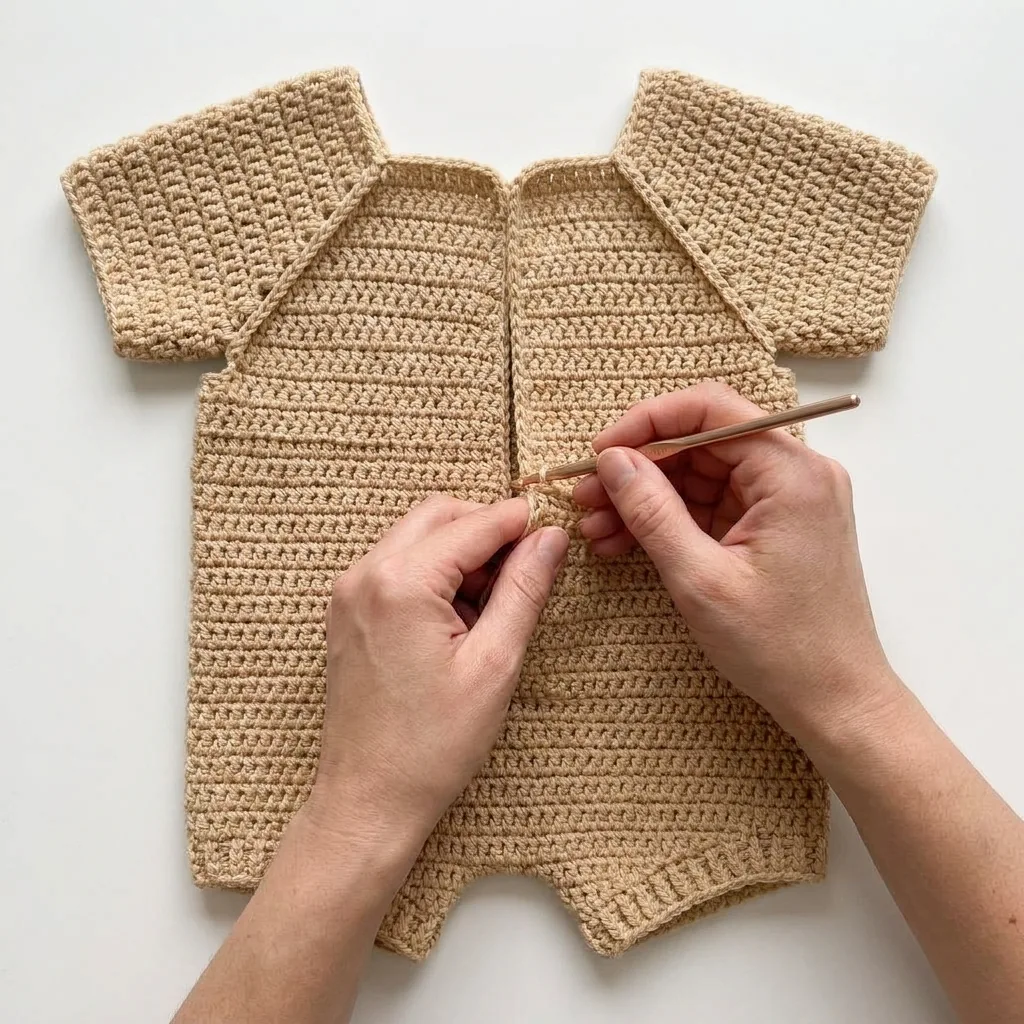
On Row 12, crochet in every body stitch and into each underarm chain. Aim for approximately 72 body stitches, adjusting only if your measured fit and established gauge require it.
Continue Rows 13–24 evenly in half double crochet. The neck-to-body length should reach roughly 20–21 cm before joining. Add or remove plain rows to customize torso length.
Keep checking the front edges. Consistent turning and an accurate first and last stitch prevent the button band area from drifting inward or becoming wavy.
5. Join and lengthen the body
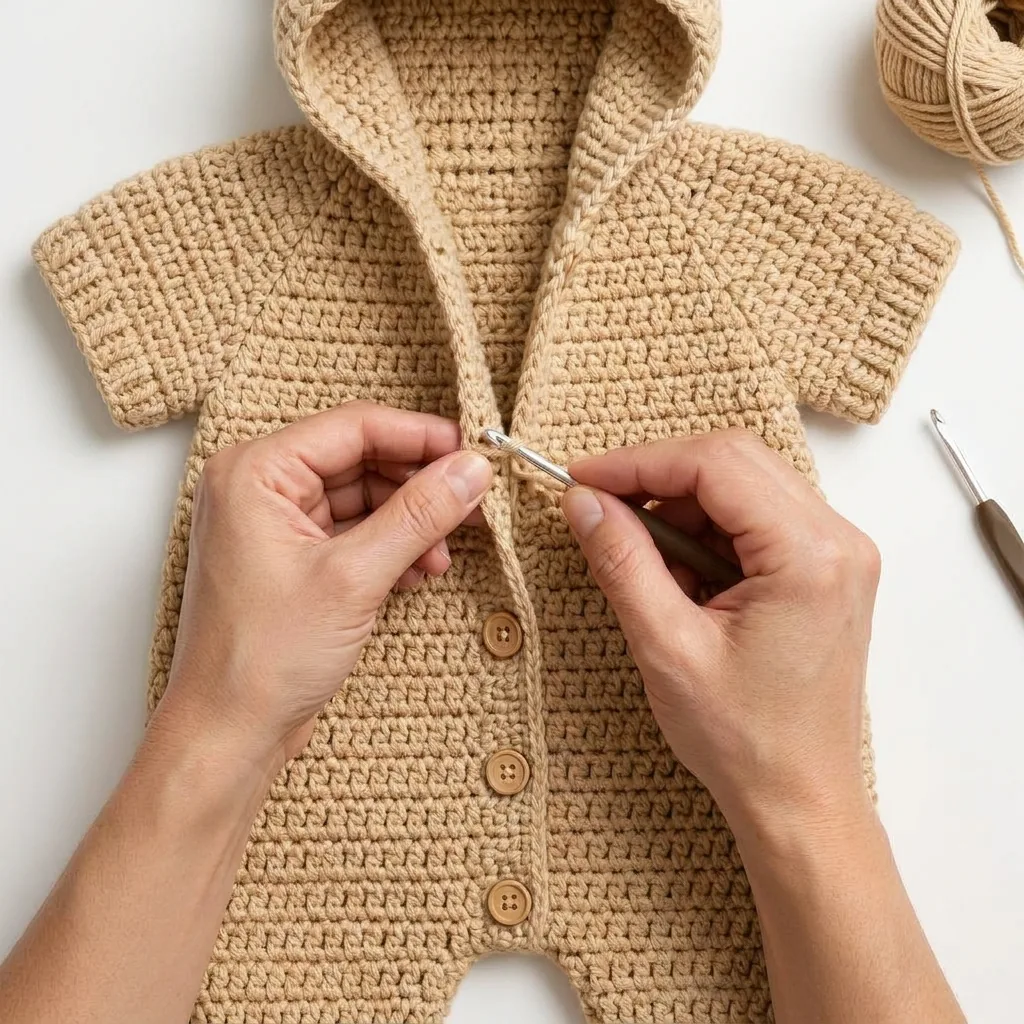
Overlap the right front over the left by about four stitches, then crochet around through both layers at the overlap. Aim for 68 stitches and join each round cleanly.
Work 18 plain rounds, or continue until the romper measures about 34 cm from shoulder. Place markers so the front and back halves are equal before shaping the bottom.
The overlap may be sewn permanently for a pull-on style or secured later with low-profile snaps. Any closure used on baby clothing must be attached firmly and checked often.
6. Shape the bottom and crotch
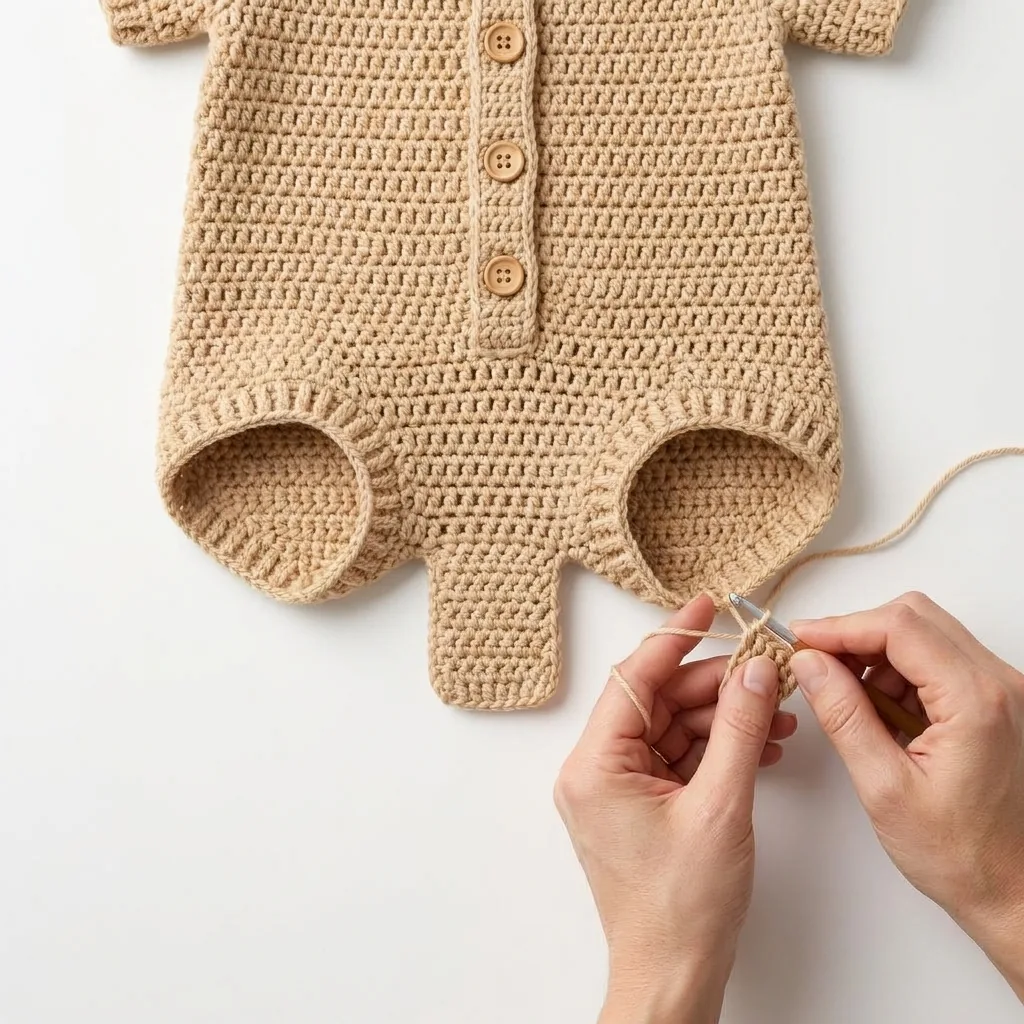
Work approximately 34 stitches for the back. Across Rows 2–6, decrease at both ends until about 24 stitches remain, then work Rows 7–9 straight and fasten off.
Repeat symmetrical decreases for the front. On Front Row 7, leave five stitches unworked at each side and continue over the center 14 stitches for the crotch tab through Row 12.
Compare the front and back shaping as you go. Smooth matching curves create comfortable leg openings and make the final edging easier to distribute evenly.
7. Crochet the short sleeves
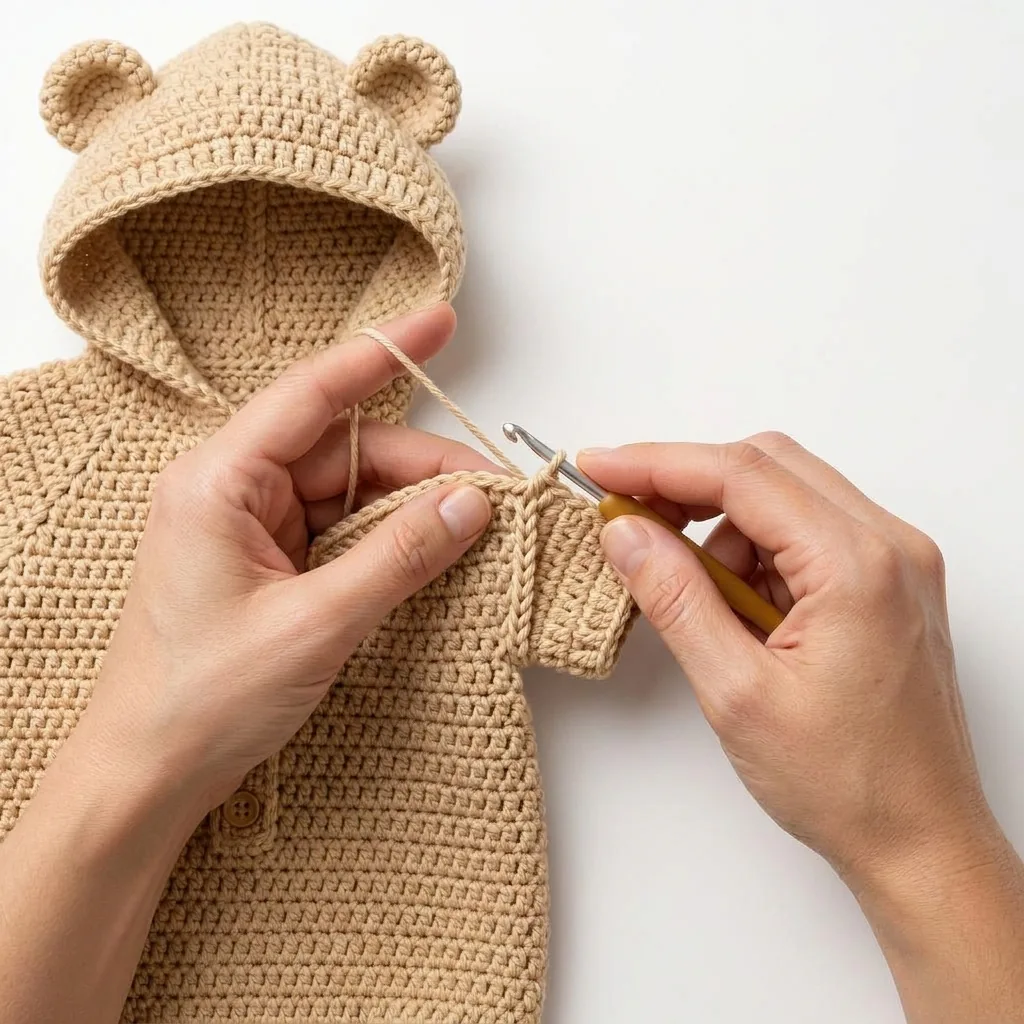
Join yarn at the center underarm and crochet around the held sleeve stitches plus the three underarm chains. Add a corner stitch only when needed to close a genuine gap.
Aim for 28 stitches, then work Rounds 2–4 evenly. For slightly longer sleeves, add one or two plain rounds without changing the opening circumference.
Switch to the 4.5 mm hook for one single-crochet round followed by one reverse-single-crochet round. Repeat on the second sleeve and compare both openings.
8. Build and close the hood
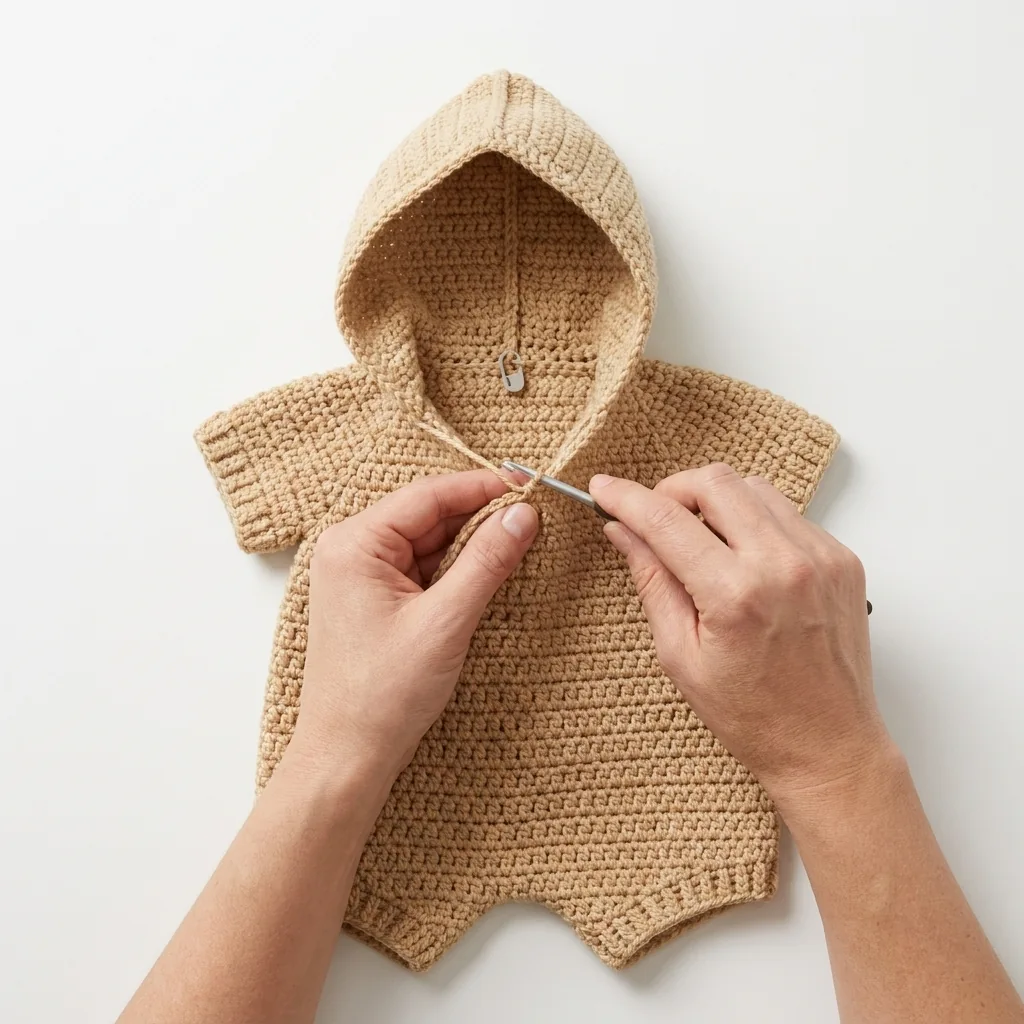
Join yarn three neckline stitches from the right front and pick up 44 half double crochet stitches, stopping three stitches before the opposite front. Mark the center back.
On Rows 3–6, work two half double crochet stitches in each of the two center stitches. Continue Rows 7–18 straight until the hood measures about 18 cm from the neckline.
Fold with right sides together and seam the top. Curve the final 4–5 cm gently toward the back so the crown is rounded rather than sharply pointed.
9. Make and attach the bear ears
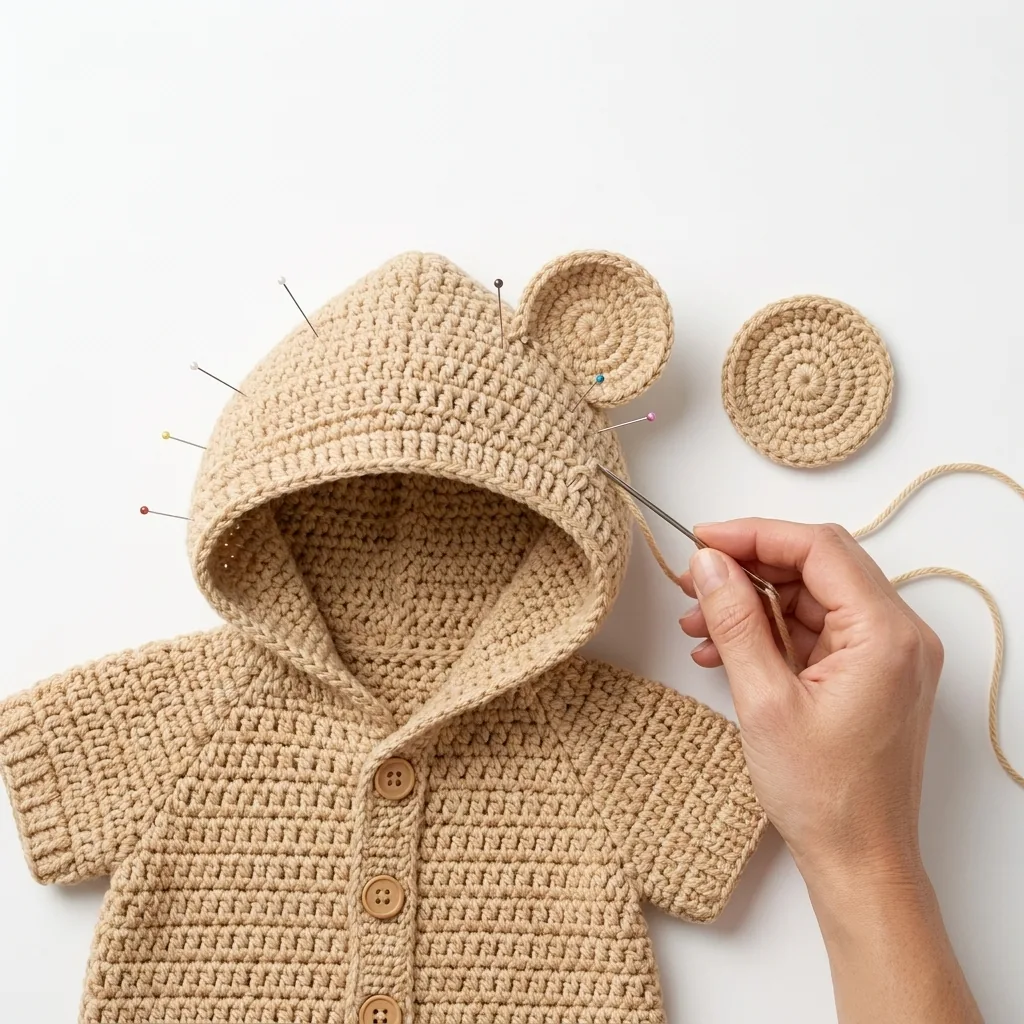
Make two matching circles: six single crochet in a magic ring; increase to 12, then 18, then 24 stitches; finish with one even round and leave a long tail.
Do not stuff the ears. Cup them gently, pin them symmetrically about 5–6 cm apart and compare the placement from the front before sewing.
Stitch securely around the lower third of each ear with small reinforced stitches. Decorative pieces on infant garments must withstand firm handling and require regular inspection.
10. Finish the hood and front bands
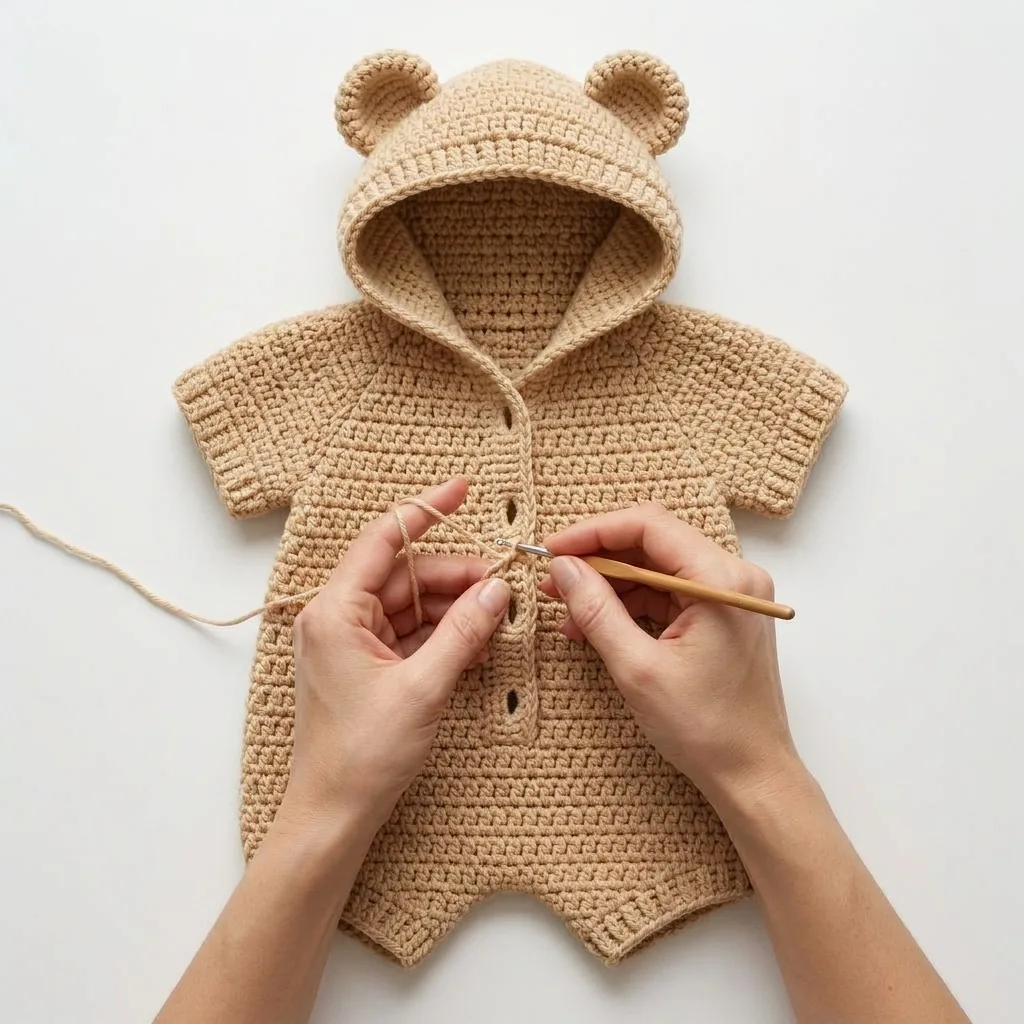
With the 4.5 mm hook, work single crochet up one front edge, around the hood and down the opposite front. Use roughly two stitches for every three row ends as a starting ratio.
Work a second row in the back loop only. If the edge ripples, use fewer stitches; if it pulls, distribute a few more. Keep the underlap flat with three rows.
On the overlap, create four evenly spaced chain-one buttonholes. Place the first below the neckline and the last above the opening base, then space the middle two evenly.
11. Add buttons, leg edging and final checks
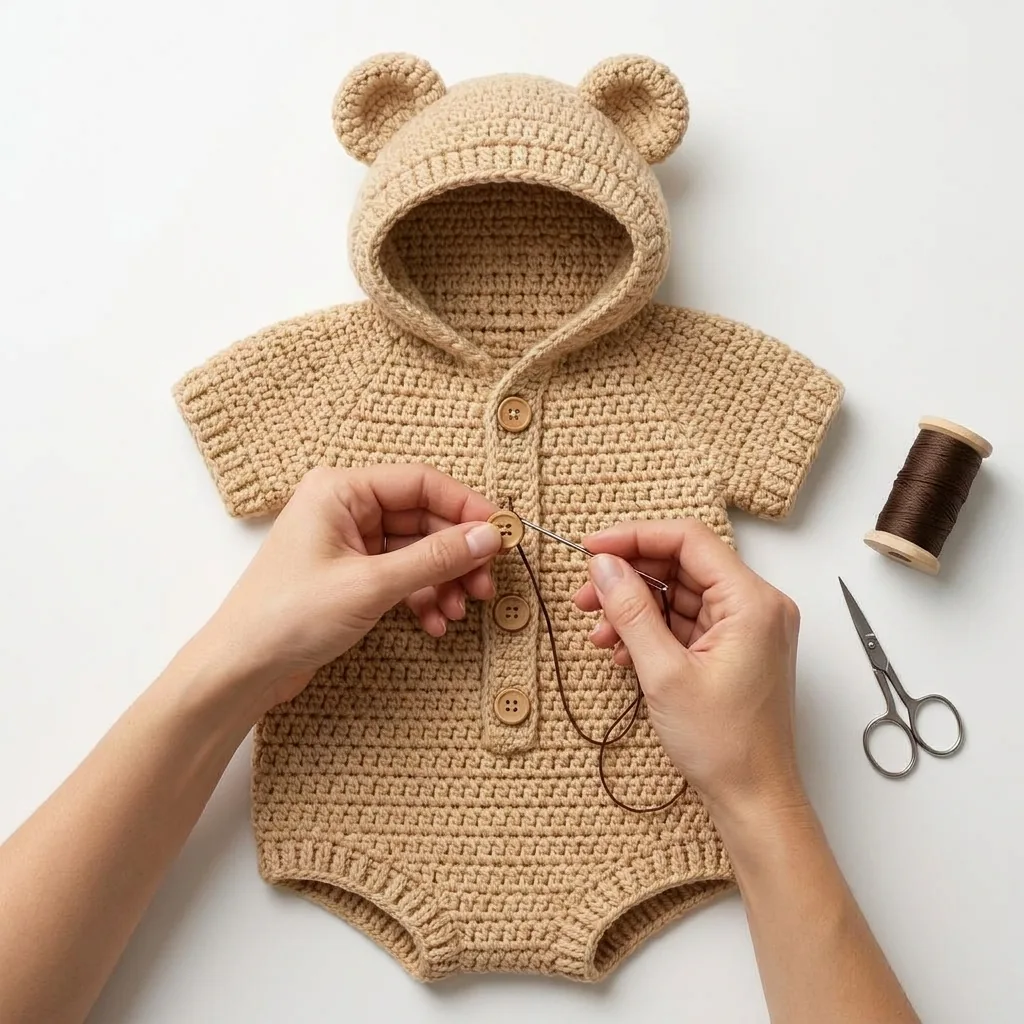
Sew on four 15 mm flat buttons using strong thread. Crochet evenly around each leg opening, finishing with reverse single crochet without reducing the target stretch.
Weave in every end, inspect the underarms, crotch, hood seam, ears and edgings, then wash according to the yarn label. Shape while damp and dry flat before measuring again.
Buttons and trim can be choking hazards. Remove hooded garments before sleep, avoid cords or loose embellishments and use the romper only with attentive adult supervision.
Ready to crochet the Honey Bear romper? Keep the complete stitch counts, shaping sequence, finished measurements and safety notes together in the printable pattern.
Continue the Honey Bear romper series
Explore the complete pattern, construction details, everyday styling, woodland inspiration and baby-shower gift ideas.
- 7 Beautiful Crochet Baby Romper Details That Make This Design Special
- 9 Cozy Ways to Style a Crochet Bear Romper for Baby’s Everyday Looks
- 6 Adorable Crochet Baby Romper Ideas Inspired by Nature & Woodland Style
- 5 Thoughtful Reasons a Handmade Crochet Romper Makes a Beautiful Baby Shower Gift
Final fit and safety checklist
Before use, confirm the finished measurements, flexible openings, secure yarn ends, reinforced ears and firmly attached buttons. Wash according to the yarn label, reshape flat and inspect the garment after every wash.
Buttons and trim can become choking hazards. Avoid cords, beads and loose embellishments, keep the hood loose around the neck, remove hooded garments before sleep and use only with attentive adult supervision.
Ready to crochet the Honey Bear romper? Keep the complete stitch counts, shaping sequence, finished measurements and safety notes together in the printable pattern.
Frequently asked questions
Is this crochet romper beginner friendly?
It suits a confident beginner who can work half double crochet, simple increases and decreases, seams and basic edging.
What size does the supplied pattern make?
The supplied edition is written for 3–6 months, with a 51–53 cm chest and approximately 5–8 cm of ease.
Can I use a different yarn?
Yes, but make and wash a gauge swatch first. Fiber changes can affect the yoke, hood, rise and opening stretch.
What safety checks are important?
Reinforce buttons and ears, avoid cords or loose trim, inspect attachments often and remove hooded garments before sleep.